Symptoms
and
probable cause
Remedy
Filament
does not light
g
Gross leak
g
Check the torque of the
screws
of the analyzer cell, sealing surface
(spray helium to check it) and
elastomer
seal
status.Change
it
if
necessary.
g
Electrical short
circuit
g
Check electrical
connections
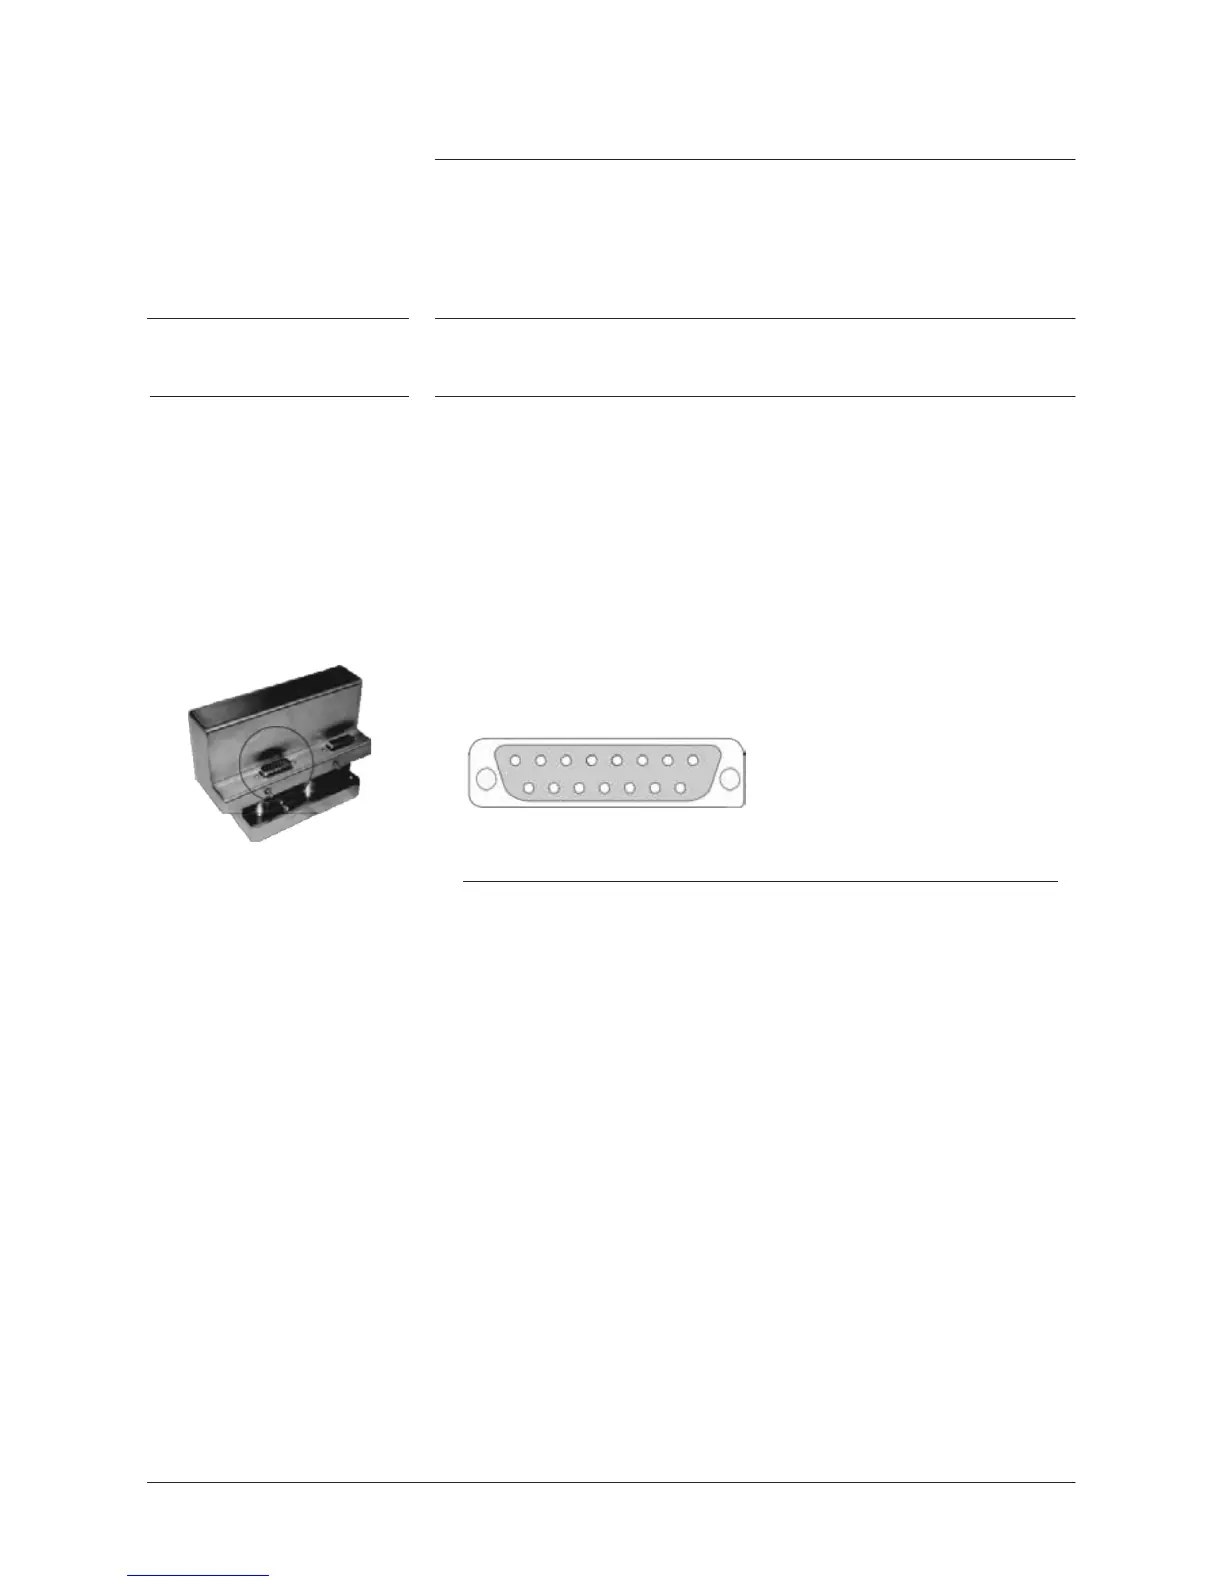
on the
sub-D
15 pin male plug
J
2
located on the top of the analyzer cell.
Dismantle
and relocate
correctly the internal wires and/or connections.
g
Check the
status
of the filament by
measuring
the
resistance
of the
filament
(connect
points A and B of the filament).
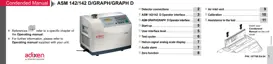
1
8
9 15
J
2
sub-D
male plug
J2 plug
Pins
Auto-calibration failure
(refer to
defect message
displayed)
g
Lack
of sensitivity
g
Check filament alignment.
g
High background: internal
g
Let
the leak
detector
run until you have a stable signal for the
degassing
and starting another auto-calibration.
Note: A low background gives a more accuracy measurement.
g
High background: leak
g
Spray helium around the sealing surfaces.
8
/
8