Diaphragm
reassembly
n
Insert
the new diaphragm between the
attachment
disk and the disk
support.
T
ake
care to position the tight side of the diaphragm on the attachment
disk side.
n
Lift
two opposite
sides
of the diaphragm so as to insert the
attachment
disk/diaphragm/support
disk in the diaphragm wrench.
T
ake
care not to
scratch
or mark the diaphragm on the sealing side
during this operation.
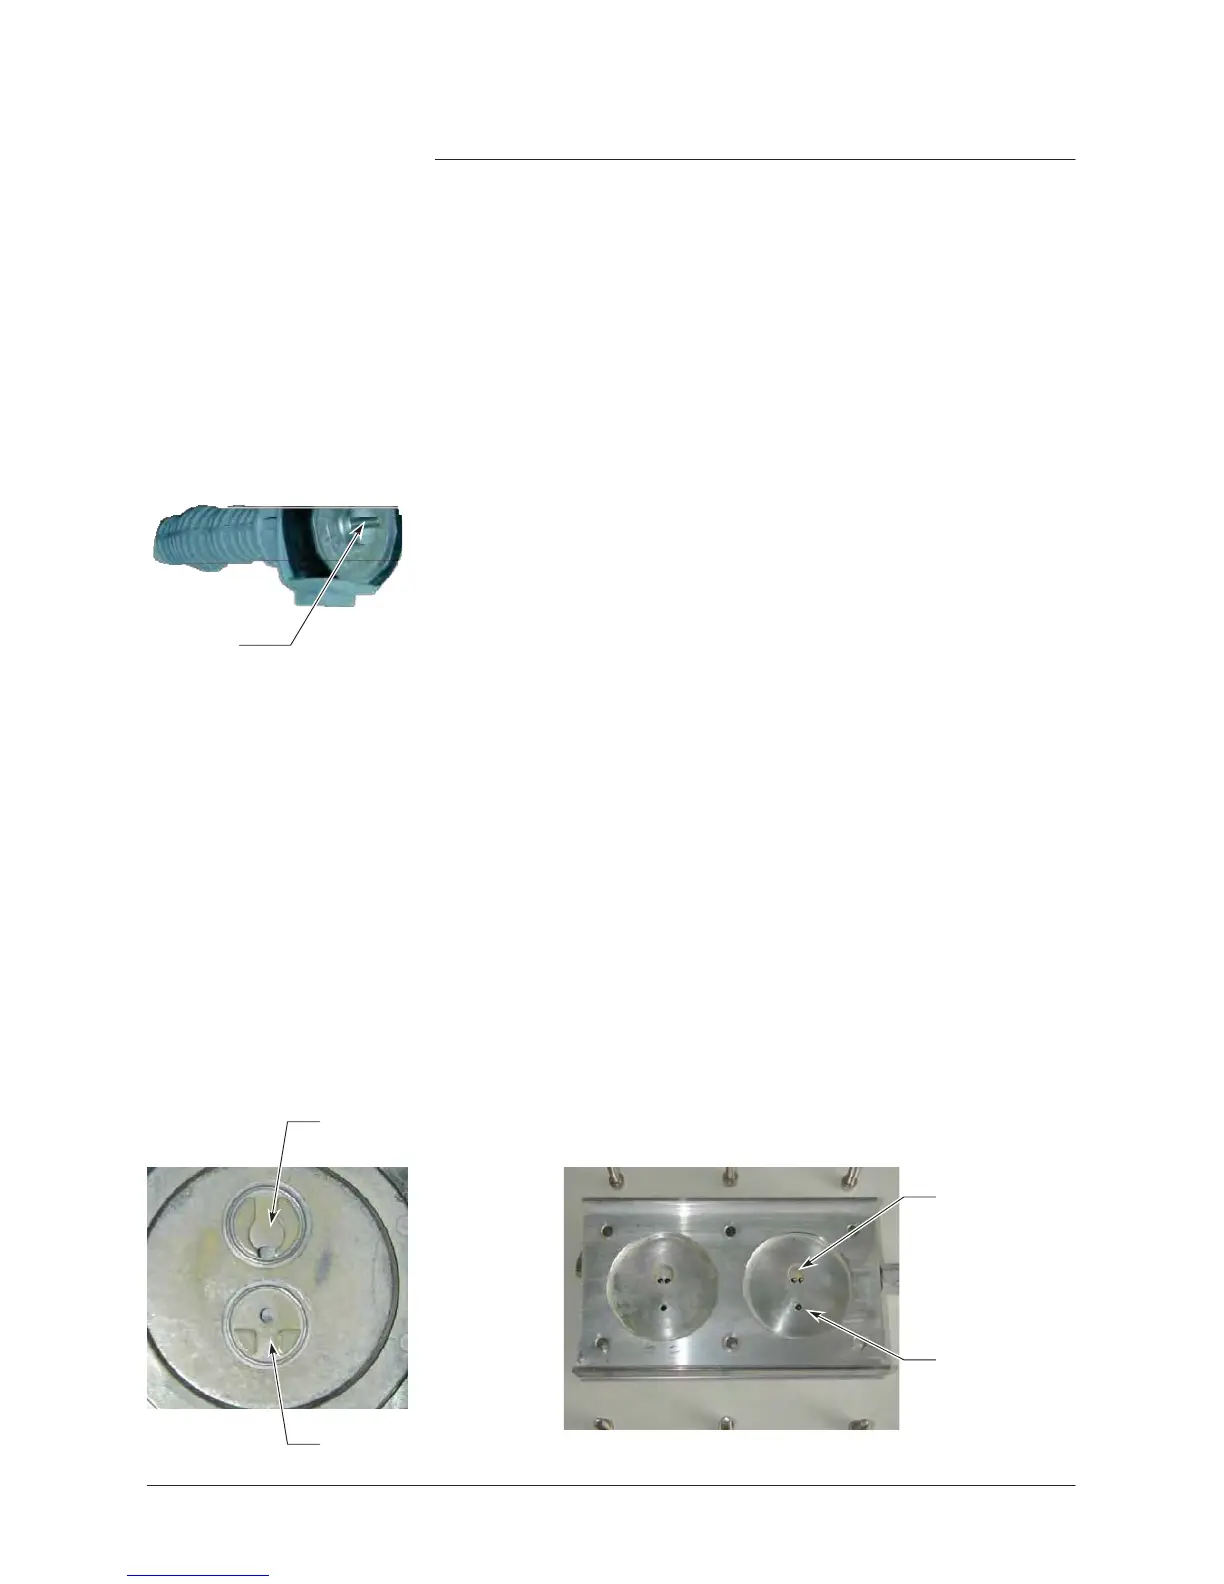
A drop of
adhesive
n Apply a drop of adhesive (Omnifit 50 M or
Loctite
243) to the
threads of the diaphragm clamping disc screw.
n If required, position the lock washer identified during the
disassembly
on the
connection
rod.
Fasten
the
attachment
disk/diaphragm/disk
support subassembly.
T
ake
care that the adjusting washer does not fall into the pump body
when the
subassembly
is performed.
n
Remove
the diaphragm wrench.
n
Flatten
the diaphragms.
Check
valve
reassembly
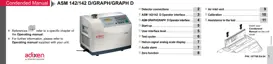
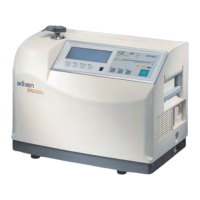
Locate
the position of head
covers
and casing cover.
Oblong hole
for inlet
Inlet
Exhaust
Circular hole
for exhaust
3/4