Chapter 3 Installing the Software and Connecting Components
Connecting the Laser
3-14 Getting Started Guide
3
Connecting the Laser
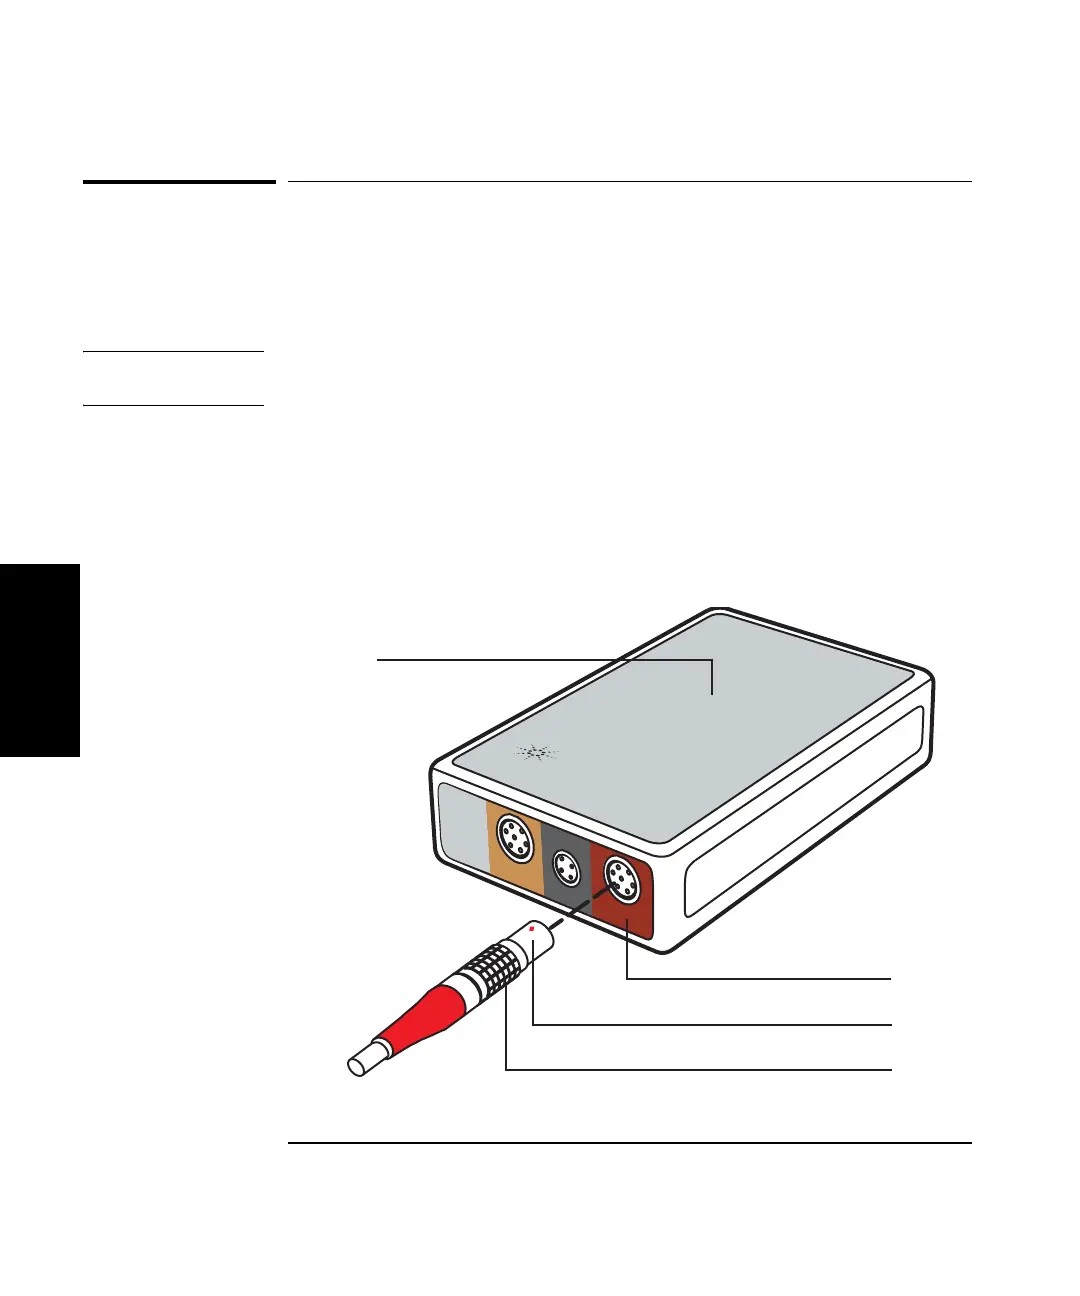
This section explains how to connect the laser head to the system. The
Agilent 10882A,B,C cable connects the laser head to the USB Axis
Module. The connectors on both ends of the cable are the same.
NOTE
Do not set up the laser on the tripod at this time. The procedure for
mounting the laser on the tripod will be given in Chapter 6.
1 To plug the connector into the laser head port on the USB axis module,
orient the red dot on the connector to the key on the port labeled “Laser
Head” (see Figure 3-11).
2 Insert the connector into the port. When the connector is properly aligned,
it will slide into the port and lock.
Figure 3-11. Connecting the Laser to the Axis Module
1 Agilent E1736A USB
Axis Hub
2 Laser Head Port
3 Red dot for cable
connector alignment
4 Agilent 10882A,B,C
cable
1
Agilent Technologies
E1735A
USB Axis Module
2
3
A quad B
Input
Remote
Laser
Head
4
 Loading...


