SAMPLE
S3200XL Operator’s Manual - Version 1.00 Page 123
THE MAIN RECORD PAGE
To actually make a recording, press F2. You will see something like this screen::
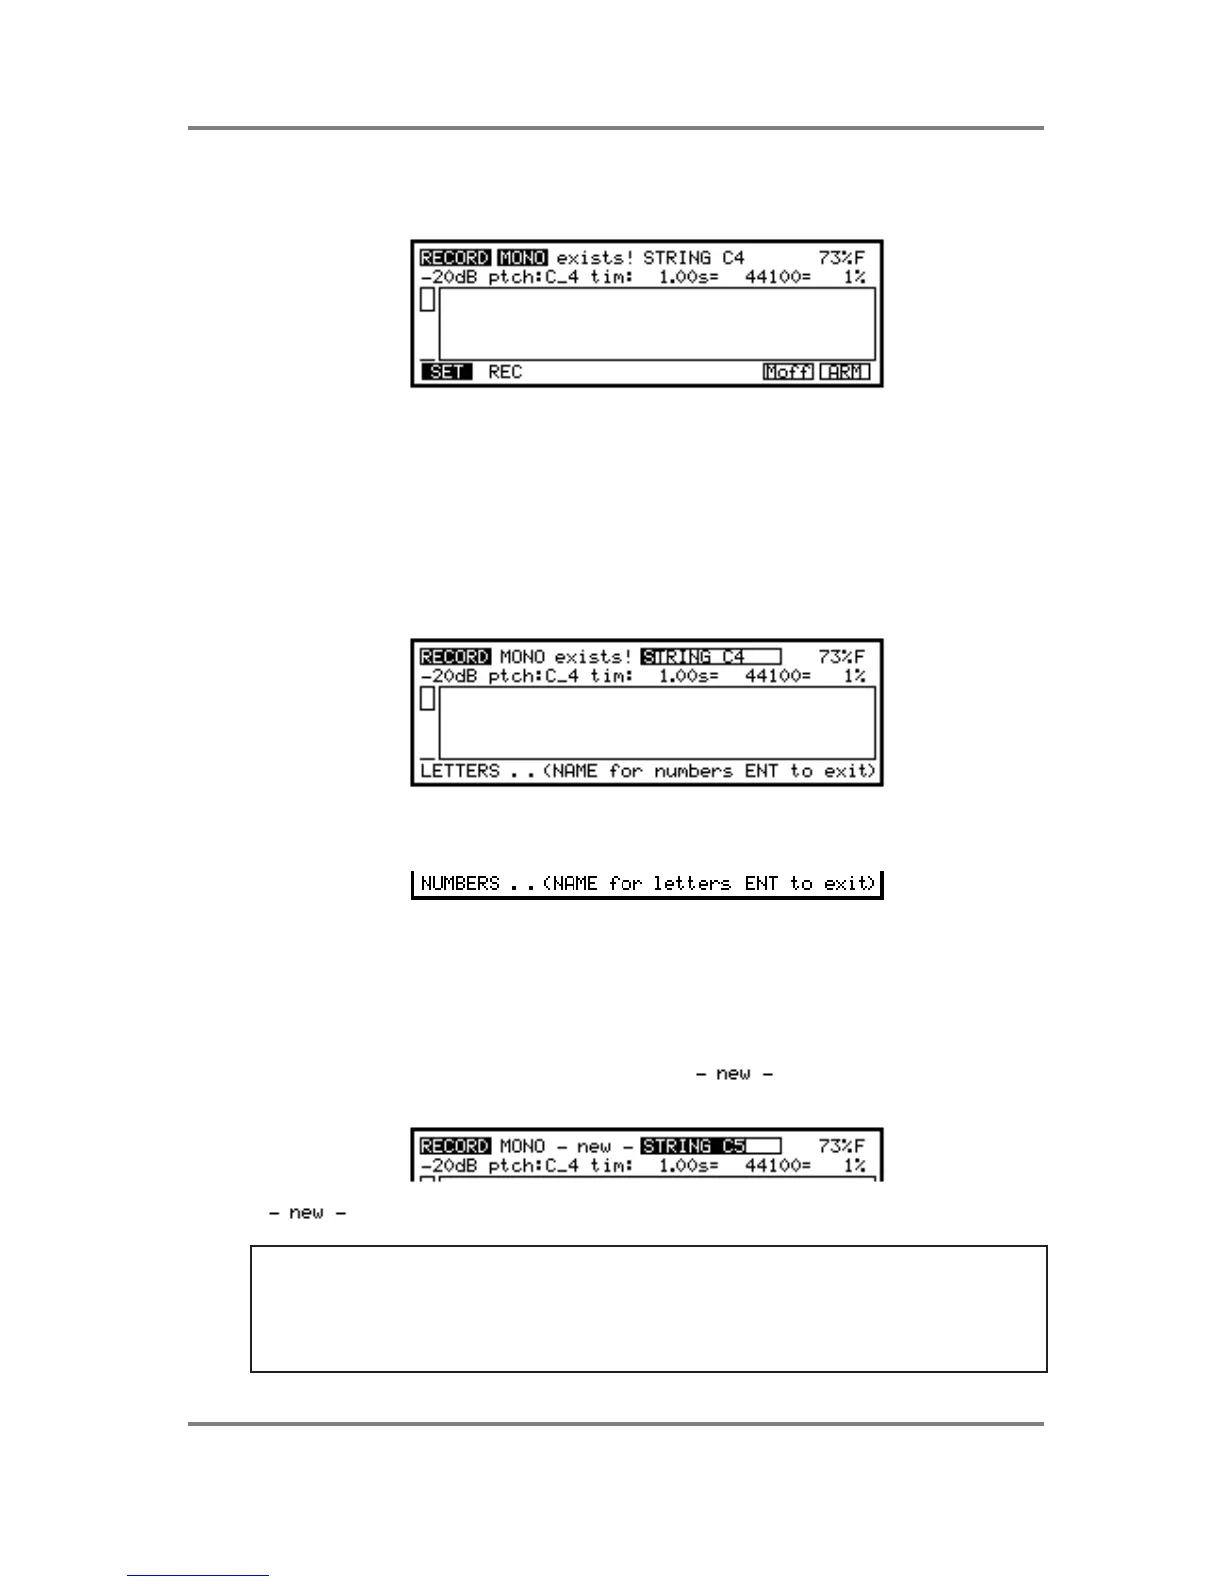
This is the main record screen. In this example, we can see that a sample called STRING C4 is
selected. Before you can do any recording, you must name the sample you are about to
record. If you have just switched the S3200XL on with no disk in it, you will have the four synth
waveforms in there. Use one of these as the basis of your new sample.
NAMING SAMPLES FOR RECORDING
To copy or rename a sample, press the NAME key - this turns the front panel keys into letter
entry keys and you may type in a name of up to 12 characters (upper case only). The +/< and
-/> keys input backspace and spaces accordingly and the MARK and JUMP keys input ‘#’ and
‘.’ respectively. You will see this screen:
Pressing the NAME key again switches the numeric keypad from letters to numbers and you
will receive this prompt:
You may press NAME again to access the numeric keypad’s letters. When in the ‘numbers’
mode, the +/< and -/> keys input ‘+’ and ‘-’ to a name. Pressing NAME again reverts you to
entering letters from the numeric keypad.
Alternatively, in conjunction with the CURSOR keys which can be used to move the cursor
around within the name, you can use the DATA control to scroll through characters.
When you have entered a unique name, you will see appear next to the sample name
indicating that the name you have entered is unique:
If does not appear, then a sample of the same name already exists in memory.
TIP 1: It is worth taking the time to name your samples sensibly. It may be quick to simply call
them SAMPLE 1, SAMPLE 2, 3, 4, etc., but, when you come to put them into a program,
these names may not mean much to you. If you return to them in a week they certainly won’t!
Names like PIANO C#3 are best - this tells you the instrument and the note it is sampled on so it
will be easier to set your program up later when you come to assign your samples to specific
keyranges.
 Loading...