IE340 Series Installation Guide
92
If you are ready to attach the fiber optic cable to the transceiver,
continue with the next step. Otherwise, repeat steps 1 to 3 to install
the remaining transceivers in the switch.
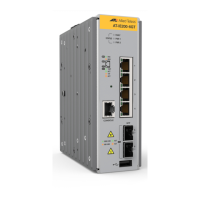
4. Remove the dust cover from the transceiver. Refer to Figure 31.
Figure 31. Removing the Dust Cover from an SFP Transceiver
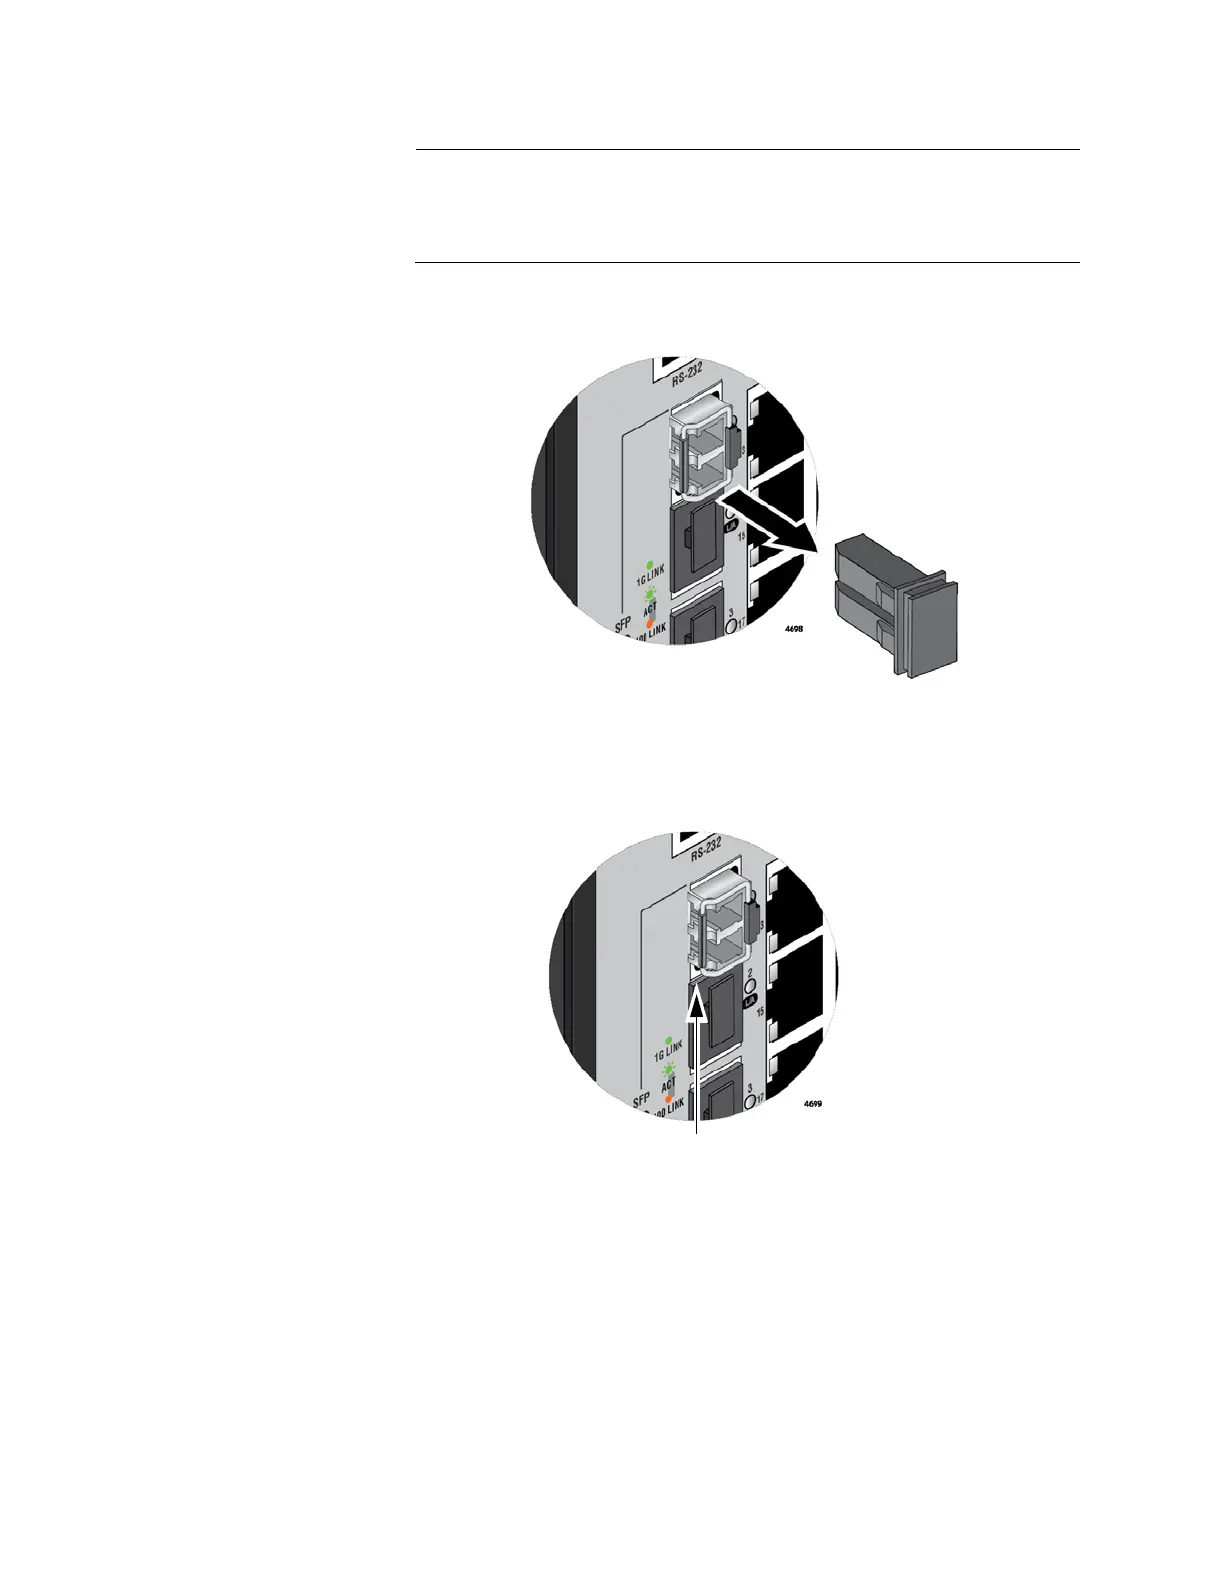
5. Verify the handle on the transceiver is turned to the right. Refer to
Figure 32.
Figure 32. Verifying the Position of the SFP Handle
6. Connect the fiber optic cable to the transceiver. The connector on the
cable should fit snugly into the port, and the tab should lock the
connector into place. Refer to Figure 33 on page 93.

 Loading...