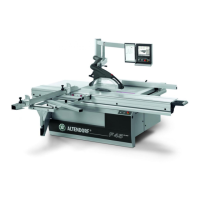
Operating
151
0000010038-003- GB
Operating
Basic setting / calibration of the display unit
The basic setting of the display unit is needed in order to adapt the measuring
system to the machine situation. Check and, if necessary, re-enter the basic
settings following each tool change.
How to proceed:
• Push throw-over stop 1 with the display unit to the right against the mecha-
nical stop.
• Fix throw-over stop 1 with a clamping screw.
• Cut a test piece, measure the workpiece width with a calliper and enter the
precise value as follows:
• Press key 2; after three seconds the following calibration menu will appear
(only the first throw-over stop can be calibrated).
Switching the display unit from mm to inches or inches to mm
• Press the Menu button
• Select inch (or mm) as the measuring unit.
Fig. 6-77 Calibration
[1] Press the adjacent function key to select the required decade. If the highest decade
has been selected and the function key is reactivated, the lowest decade is auto-
matically selected.
[2] Press the "+" key to increment the display value of the active decade.
[3] Press the "-" key to decrement the display value of the active decade.
[4] Press the adjacent function key to store the new throw-over stop value under para-
meter L-L1; this value is also automatically calculated with the throw-over stop
values displayed on the user interface.