Operating
112
Operating
0000010038-003- GB
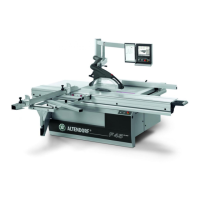
6.4.3 Tilt adjustment
• Press the axis selection button for the tilt adjustment; the symbol in the cut-
ting height display is shown in inverse format.
• Enter the required dimension via the numeric keypad; the new dimension is
shown in red.
• Press the START button to carry out positioning.
Fig. 6-34 Tilt adjustment
Warning!
Always observe the following points prior to tilting
the saw blade:
• Use the wide safety hood!
• Clear the main table of any workpieces in the tilting area.
• When cutting widths less than 180 mm, set the rip fence straight
edge to the flat position.
• When the tilt has been adjusted, the cutting height that has been set
is automatically set to its value. Collisions can occur if the above
points are not followed!
• In the case of large cutting heights, the selected cutting height may
be impossible to achieve with the entered tilt angle.