CHAPTER 5: MAINTENANCE
LW500A/LW600A PULSED Nd:YAG LASER
5-22 990-539
Replacing the Flashlamps
DANGER
When replacing the flashlamp, turn the laser power to the OFF position and wait for at least 5
minutes before starting procedure.
CAUTION
Place the removed flashlamp cover, reflector, and the other parts on a clean cloth to protect
them from oil and dust. Do not scratch the inside surface of the reflector (reflector panel) or a
reduced laser output may occur.
When replacing the flashlamp, do not reverse the polarity of the flashlamp. If you do, the
lifetime of the flashlamp will be significantly reduced.
Do not touch or scratch the glass portions of the flashlamp or flowtube with bare hands. If they
are scratched or oil from the hands is deposited on the flashlamp, it may break during operation.
Before turning the power ON, check that the eight mounting bolts on the top cover of the laser
chamber are tightened securely. Do not overtighten the bolts or damage will occur to the
sealing o-ring.
Check for leaks after replacing the flashlamp during the first power-up sequence.
Required Items
Ballpoint hexdriver: 2.5 mm, 5 mm
Phillips screwdriver
Alcohol
Flashlamp (new)
Powder-free latex gloves (Must be worn for the entire procedure.)
1. Turn the Laser power OFF. If high voltage
was on, wait for at least five minutes before
starting this procedure.
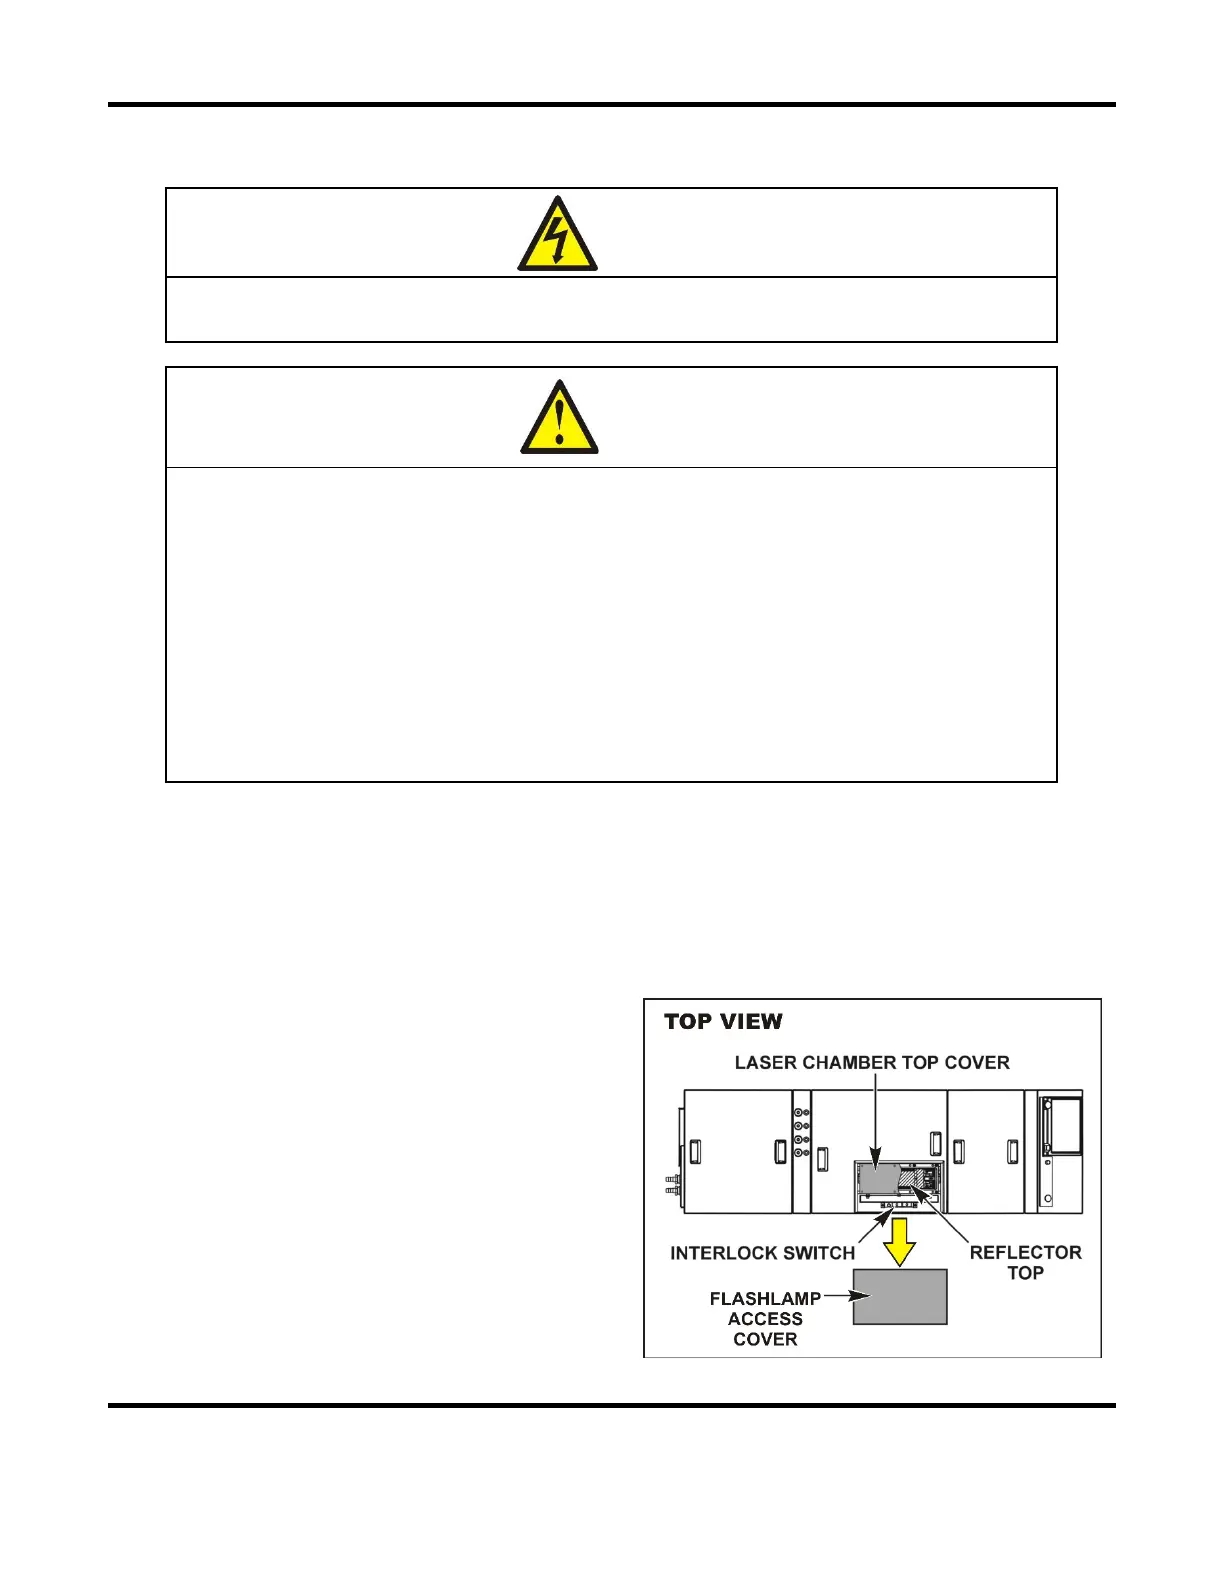
2. Remove the flashlamp access cover.
3. Loosen the bolts on the laser chamber and
remove the top cover, store in a clean area.
4. Remove the reflector by slowly lifting up on
the top portion of the reflector, store in a
clean area. Do not damage the inner surface
of the reflector.