MM-400A
6. Installation and Connections
6-6
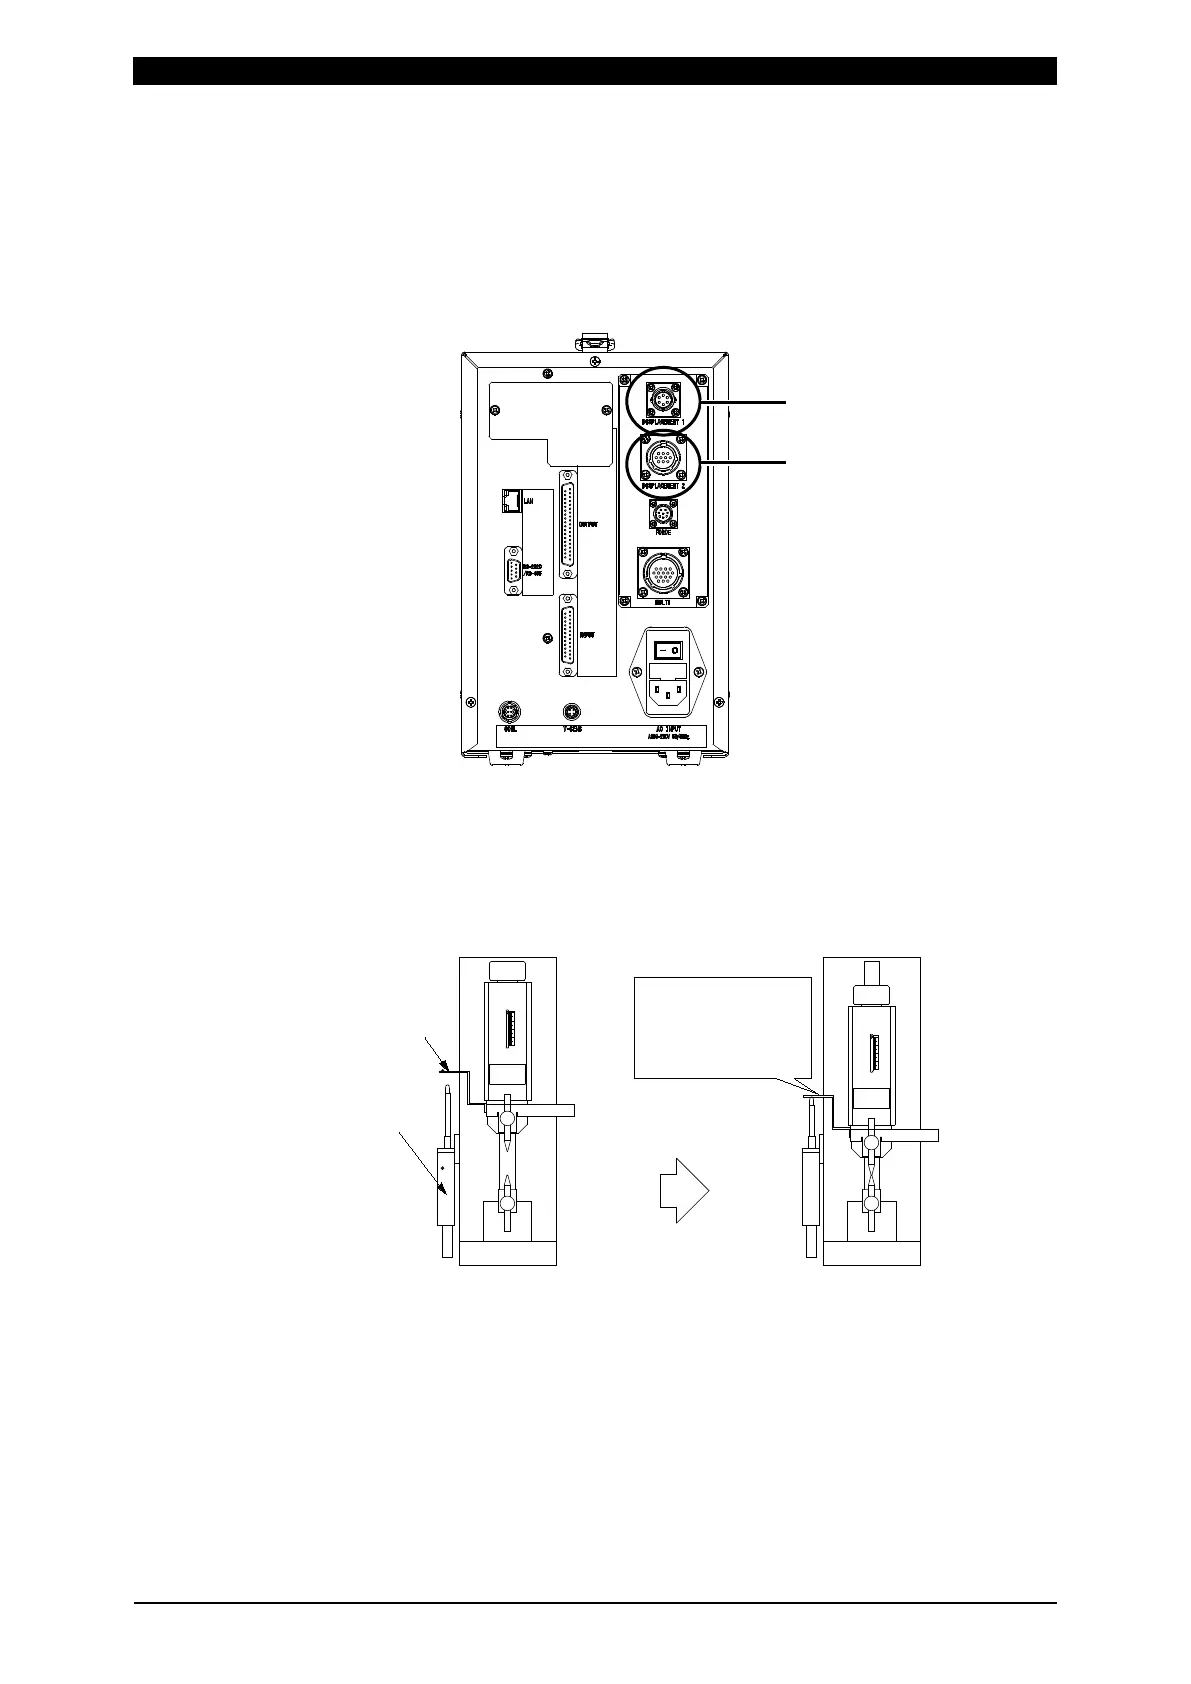
Follow the steps described below to connect the displacement sensor.
1) Plug the displacement sensor connector into the displacement sensor
connector [DISPLACEMENT1] or [DISPLACEMENT2] on the rear panel of the
MM-400A.
(Caution) Connect the displacement sensor either to [DISPLACEMENT1] or
[DISPLACEMENT2]. Do not connect to both at the same time.
2) Install firmly the displacement sensor not so as to rattle in reference to the
figure below.
When any of ABSOLUTE1 to ABSOLUTE4 is selected for MEASUREMENT
MODE in the EXTEND SETUP (3) screen, make the shaft of the displacement
sensor retract so as not to separate from the displacement detecting plate.
Displacement
Sensor
4
3
2
1
0
4
3
2
1
0
Adjust sensor so that
shaft of sensor
retracts halfway
when electrode is
at bottom.
(Before Forcing)
Displacement
Detecting
Plate
(After Forcing)