MM-400A
6. Installation and Connections
6-9
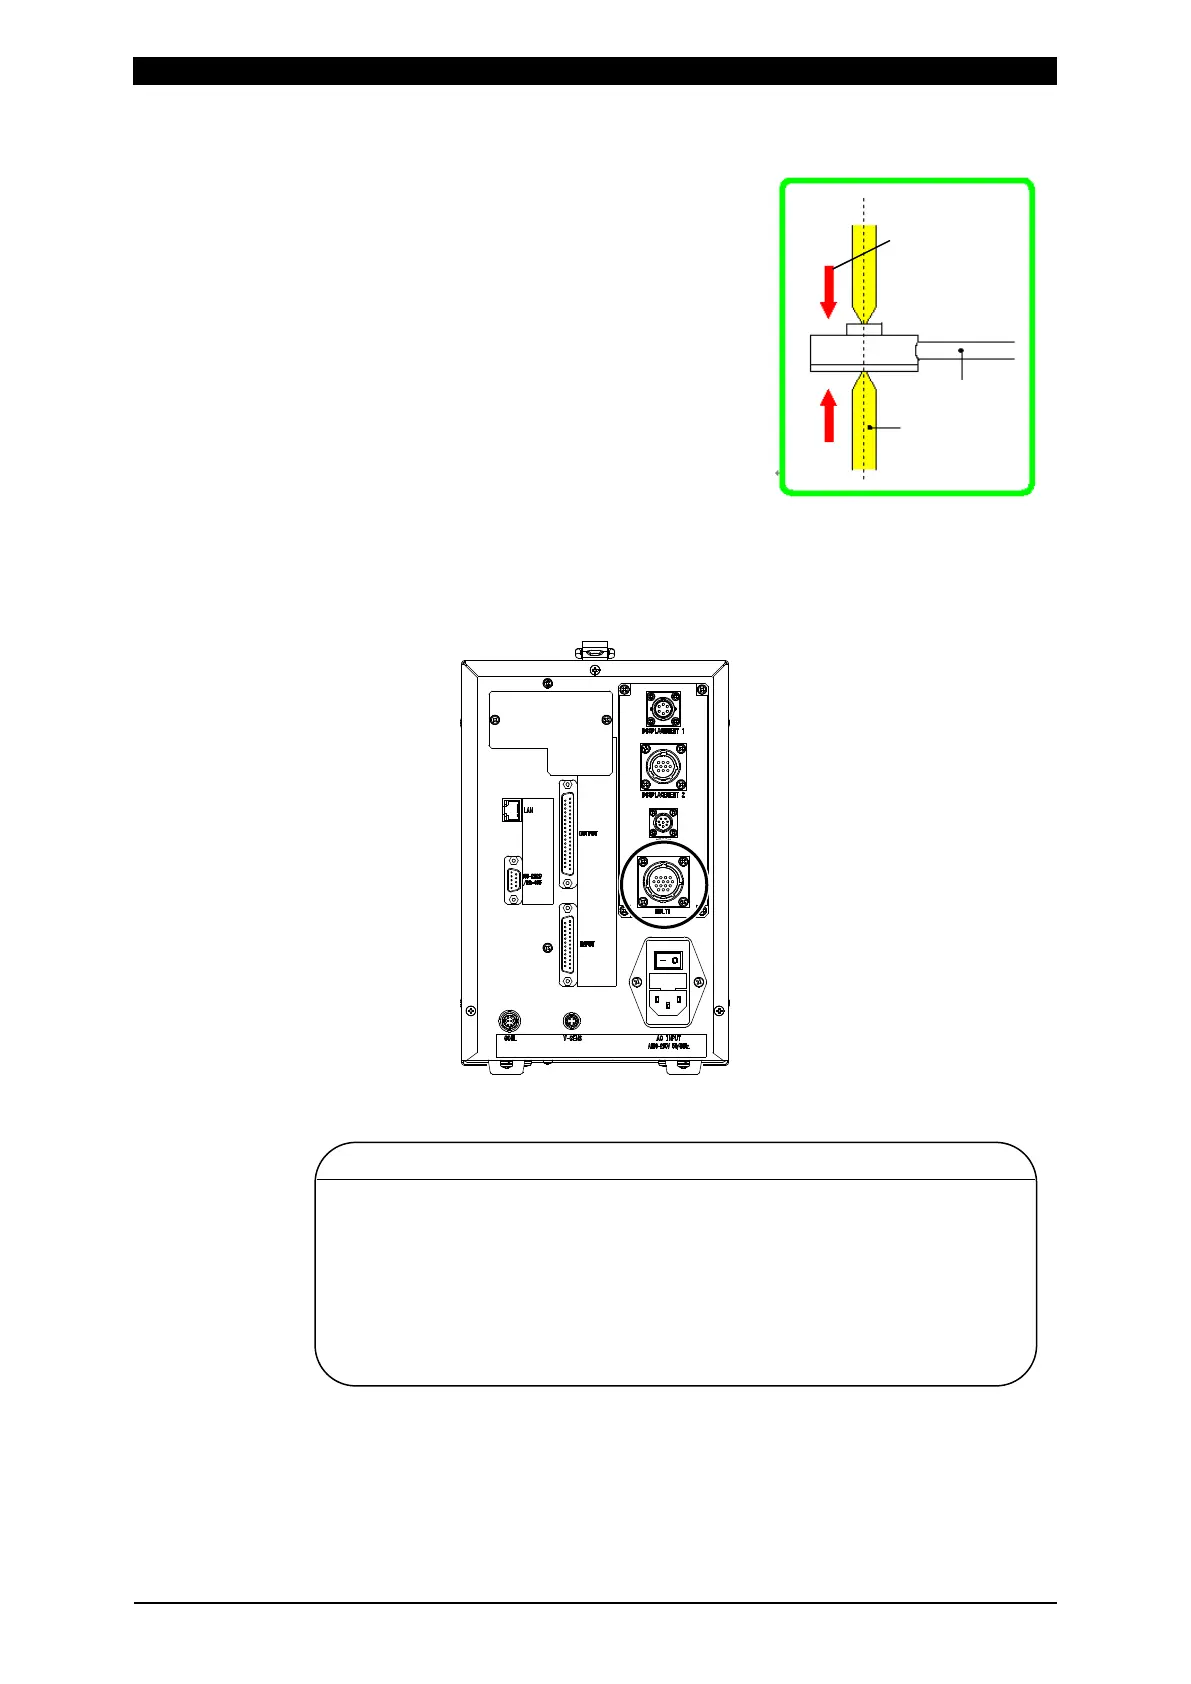
3) Attach the force sensor to the welding machine’s electrodes.
When attaching the sensor, be careful with
the following:
• Be sure that the center of the sensor’s
detection area is aligned with the centers of
the welding machine’s electrodes.
• Be sure that the force is applied
perpendicularly to the force sensor.
For current/force sensor MA-770A/771A
1) Plug the current/force sensor connector into the multiconnector [MULTI] on the
rear panel of the MM-400A.
2) Perform a reset (ON setting) without applying loads to the current/force sensor.
CAUTION
• When using a force sensor, do not connect to the multiconnector
[MULTI]. Also, when using a current/force sensor, do not connect to the
toroidal coil connector [COIL] and the force sensor connector [FORCE].
• When using a force sensor, be sure to set the force sensor’s offset to “0”
before measuring force. You can set the offset to “0” by touching the
FORCE 0 key on the SYSTEM SETUP (2) screen. At this time make
sure that no force is applied to the sensor. For resetting a force, refer to
Chapter 8, “n-2. SYSTEM SETUP (2) Screen.”
perpendicularly.