6-9 System Options Menu System Operations
6-8 PN: 10580-00305 Rev. L MS20xxC UG
6-9 System Options Menu
Key Sequence: Shift, System (8)>System Options
Date & Time: Press this submenu key to display a dialog box for setting the
current date and time. Use the submenu keys or the Left/Right arrow keys to
select the field to be modified. Use the keypad, the Up/Down arrow keys, or
the rotary knob to select the date and time. Press Enter to accept the
changes, or press the Esc key to return to normal operation without making
changes.
Ethernet Config: Press this submenu key to display the Ethernet submenu
and to open the Ethernet Editor dialog box, where you can set the instrument
IP address. For details, refer to “Ethernet Configuration” on page G-1.
Language: Press this submenu key to open a list box and select a built-in
language for the instrument display. Press Enter to apply the change, or
press Esc to cancel.
The languages that are currently available are: English, French, German,
Spanish, Japanese, Chinese, Korean, Italian, Russian, and Portuguese. You
can edit non-English language captions using Master Software Tools (MST). If
a mode does not have language translations available, then English is the
default language.
Caution: A firmware update or any instrument reset will overwrite
modifications you may have made in any of the language files.
Display: The Display submenu key opens the “Display Settings Menu”
on page 6-9, allowing brightness control and the selection of different display
attributes.
Name: Press this submenu key to open the Unit Name dialog, where you can
enter a name for the instrument. The VNA Master can be named by using the
text entry controls as described in “Text Entry” on page 2-15. Press Enter to
save the name.
The assigned instrument name appears in measurement files, setup files,
limit line files, and MST reports. It is displayed on the browser title bar when
the instrument is connected to a remote PC or mobile device.
Volume: Press this submenu key to view or adjust the speaker volume. The
current volume setting is displayed in the Volume input box. Use the numeric
keypad, the Up/Down arrow keys, or the rotary knob to change the value, and
press Enter to apply the change.
Reset: Press this submenu key to open the “Reset Menu” on page 6-11.
More: Press this submenu key to open the “System Options 2/2 Menu”
on page 6-12.
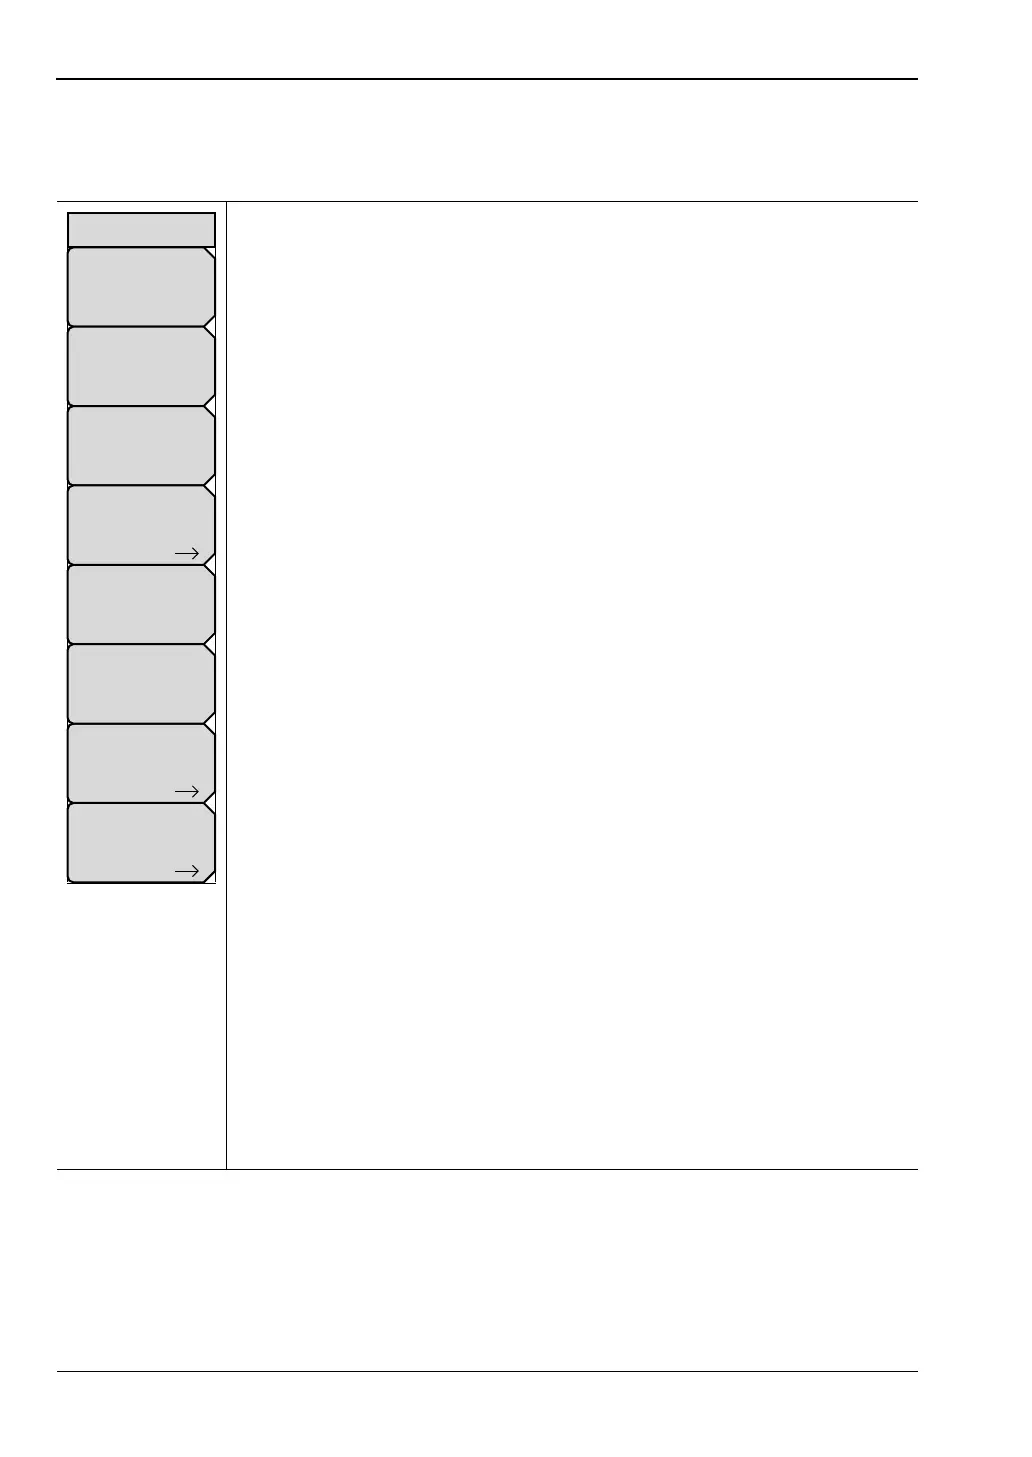
Figure 6-8. System Options Menu (1 of 2)
More
Reset
System Options
Date
&
Time
Ethernet
Config
Language
Name
Volume
Display