The ‘FPS’ indicator lets you change your camera’s sensor and project frame rates via a menu
at the bottom of the HDMI display. To open the menu, select the ‘FPS’ indicator and press your
camera’s ‘set’ button.
Project Frame Rate
The project frame rate is the camera’s recording standard frame rate and provides a selection
of common frame rates used in the film and television industry. This frame rate is normally set to
match your post production workflow.
Eight project frame rates are available including 23.98, 24, 25, 29.97, 30, 50, 59.94 and
60 frames per second.
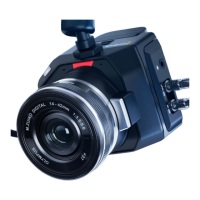
To adjust your camera’s project frame rate while in the ‘FPS’ menu, use the arrow buttons to
navigate to the current frame rate at the bottom of the screen and press ‘set’. Use the arrow
buttons to choose a different frame rate.
Use your Camera’s arrow buttons to choose a project frame rate
TIP Your Blackmagic Micro Studio Camera 4k G2’s project frame rate also sets the
frame rate of the HDMI and SDI outputs.
Off Speed Frame Rate
The off speed frame rate sets how many actual frames from the sensor are recorded every
second. This frame rate will affect how fast or slow your video will play back at your set project
frame rate.
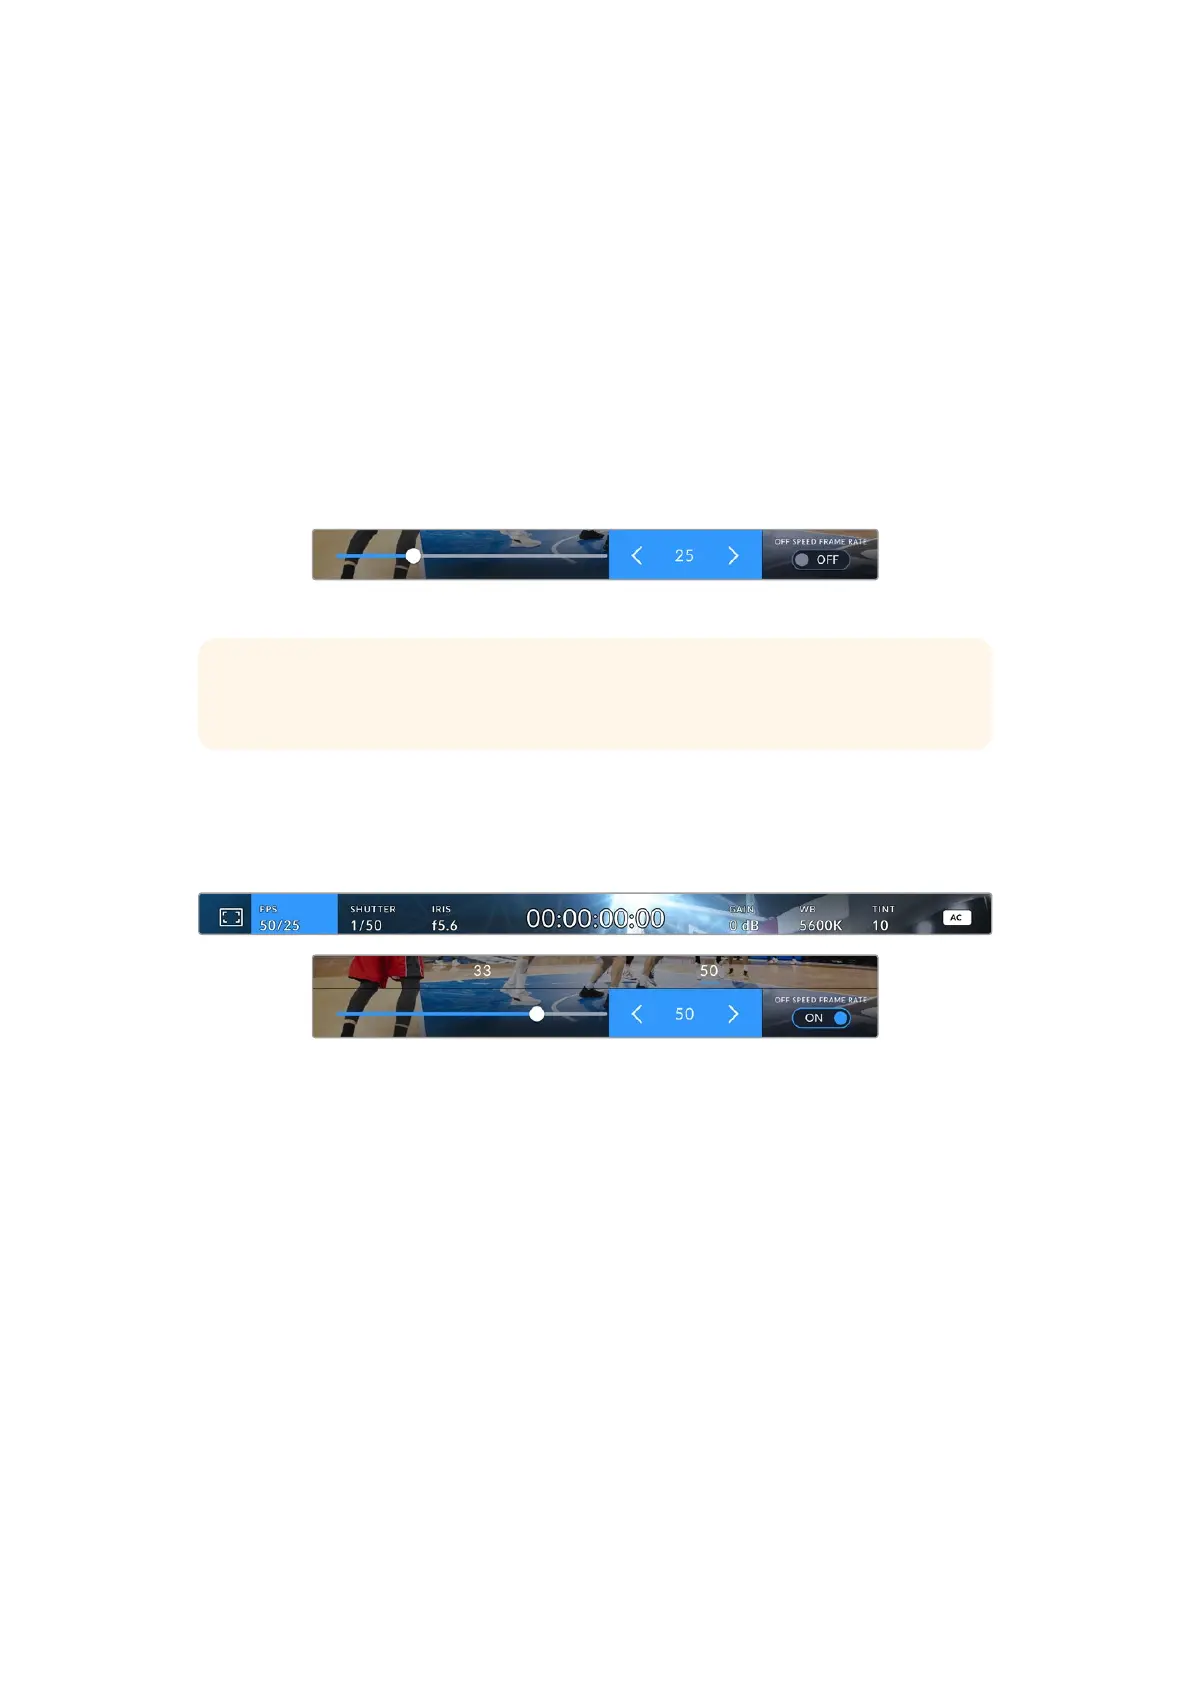
Use your camera’s arrow buttons to choose an off speed frame rate
By default, the project and off speed frame rates are matched for a natural playback speed.
However, by setting the ‘off speed frame rate’ switch to ‘on’, you can independently set the
sensor frame rate.
To change the off speed frame rate, select the frame indicator at the bottom of the
screen and press ‘set’. Use the arrow buttons to increase or decrease the frame rate.
You can also choose a common off speed frame rate from the row above the slider,
these are based on your current project frame rate.
You can create dynamic and interesting speed effects in DaVinci Resolve by varying the off
speed frame rate for your recorded video. Setting the off speed frame rate higher than your
project frame rate will create slow motion during playback.
Shutter
The ‘shutter’ indicator displays your shutter speed or shutter angle. By selecting this indicator,
you can manually change your camera’s shutter values or configure shutter priority auto
exposure modes. The shutter measurement setting can be used to select whether to display
17Using the HUD Controls
 Loading...