M710 User Manual 46
Editing Labels on the Printer
Formatting Labels and Areas
aligns data between the top and bottom boundaries of a label or area. Justification is applied to an
area or a label. It cannot be applied line-by-line.
To apply justification:
1. Navigate to the label or area where justification is to be applied. See “Go to Label or Area” on
page 44.
2. Open the label or area menu: press LABEL, or FN + AREA.
3. Choose H. Justify or V. Justify.
4. Choose the horizontal or vertical justification desired.
Every line of data on the label or in an area is justified according to the option selected. When adding a
new label, the justification maintains the current justification settings until it is changed. Different
justification can be applied to individual labels in a multi-label file or different areas on one label.
Rotation
Rotation flips the data on a label or in an area, counter-clockwise, at 90° increments. Rotation affects
all data on a label or in an area.
If rotation is applied individually to areas, you cannot apply rotation to the entire label.
Data cannot be rotated on a line-by-line basis. When adding a new area or label, the rotation is the
same as the previous area or label.
To rotate data:
1. Navigate to the label or area where rotation will take affect. See “Go to Label or Area” on
page 44.
2. Open the label or area menu: press LABEL, or FN + AREA.
3. Choose Rotate and select the degree of rotation.
If the font size is set to Auto, rotated data is automatically sized to accommodate the new label
orientation. However, if using a fixed font size, the rotated data may not fit on the label. If this occurs,
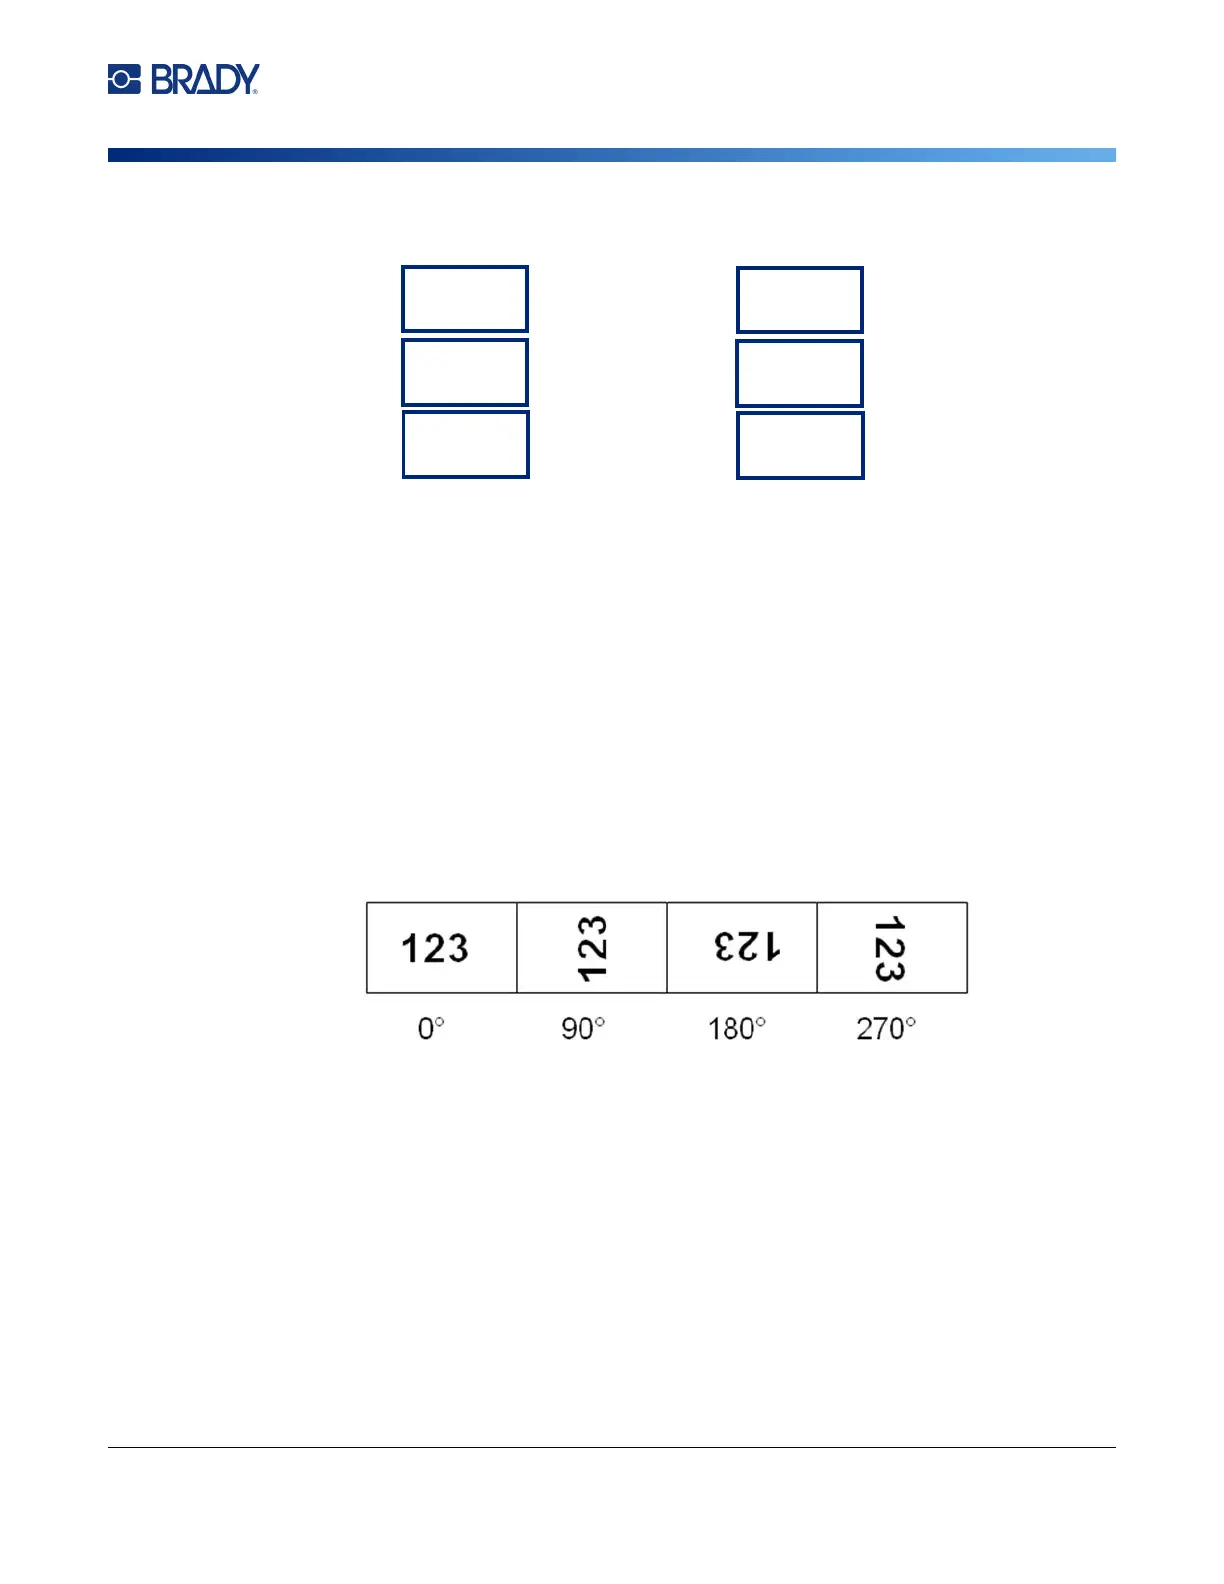
Horizontal Justification Vertical Justification
Left
Center
Right
Top
Middle
Bottom