M710 User Manual 47
Editing Labels on the Printer
Formatting Labels and Areas
an error message displays indicating rotated text will not fit. The Rotate function is canceled and data
is not rotated.
Rotation is not reflected on the editing screen, although the degree of rotation is displayed in the upper
left corner of the screen. To view the actual rotation use “Preview” on page 35.
Note: The printer automatically sets the rotation based on the label supply. If you reinstall the label
supply, the rotation setting will revert to the default for the label supply.
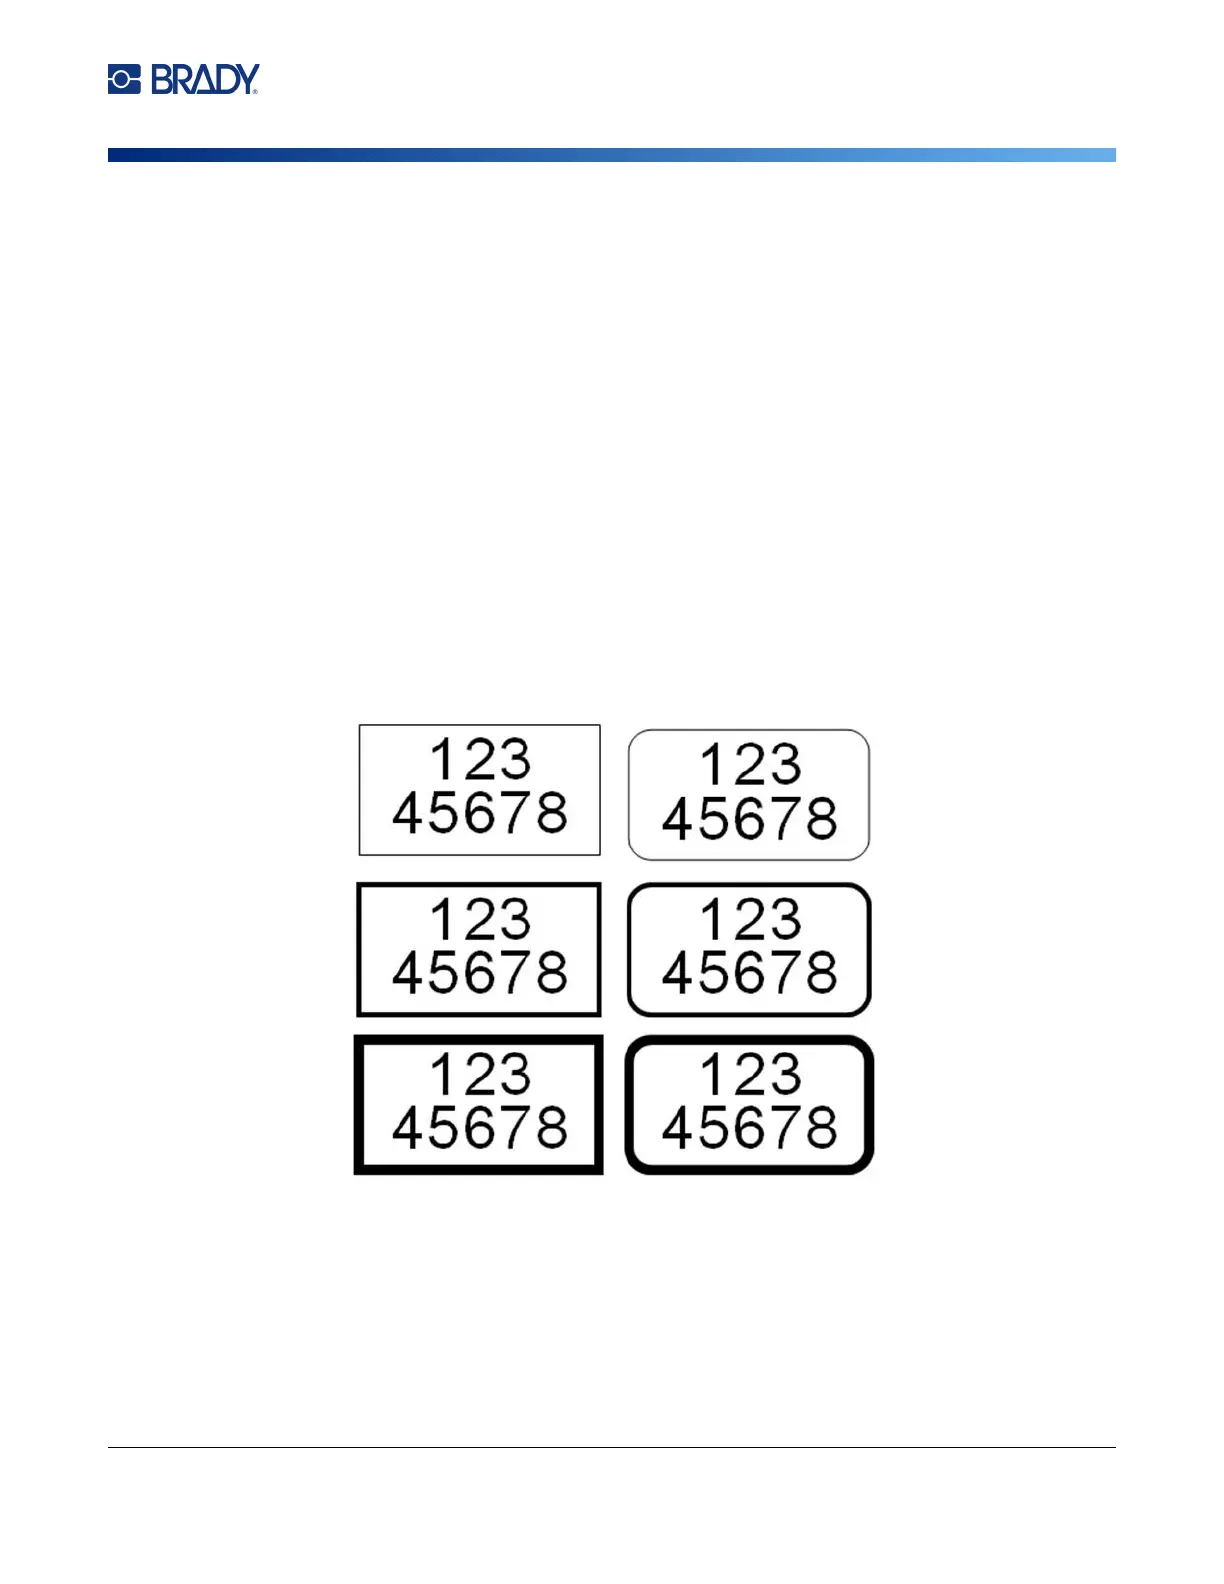
Frame
A frame (border) can be added to an area or a label, but not to a line of text. You can have a different
frame, or no frame, on individual labels in a multi-label file. You can also place a frame on a label that
contains area frames.
Note: Frames can only be placed on continuous labels, not pre-sized labels.
To add a frame:
1. Navigate to the label or area where you want to place a frame. See “Go to Label or Area” on
page 44.
2. Open the label or area menu: press LABEL, or FN + AREA.
3. Choose Frame and select the frame type.
Frames do not display on the editing screen. Use print preview to view the label or area frames. See
“Preview” on page 35.
Note: Frames do not display edge to edge, but may appear slightly offset from the very edge of the
label.
To remove the Frame:
1. Navigate to the label or area that contains the frame.
Rectangle
Narrow
Rounded
Narrow
Rectangle
Medium
Rectangle
Wide
Rounded
Medium
Rounded
Wide