M710 User Manual 58
Editing Labels on the Printer
List (Importing Data)
When the merge is run, the system creates an output label for each record (row) in the data source.
The data in each column is placed in a different area on the label.
Setting up the Data Source
The data source must be a .csv file created in a spreadsheet or database program on a computer and
imported to the M710 printer using a USB drive. You can also create the .csv file directly on the printer.
If you have created the .csv file on a computer, you must import the file to the printer before you can
use the List function. See “Using Files from a USB Drive” on page 83 for information on importing files
using a USB drive.
To create the data source directly on the printer:
1. Press LIST.
2. Select Create.
3. Enter the number of fields (columns) the data source will contain.
In our asset tag example, you would have four fields: part number, barcode value, division,
and company name.
4. Select Continue.
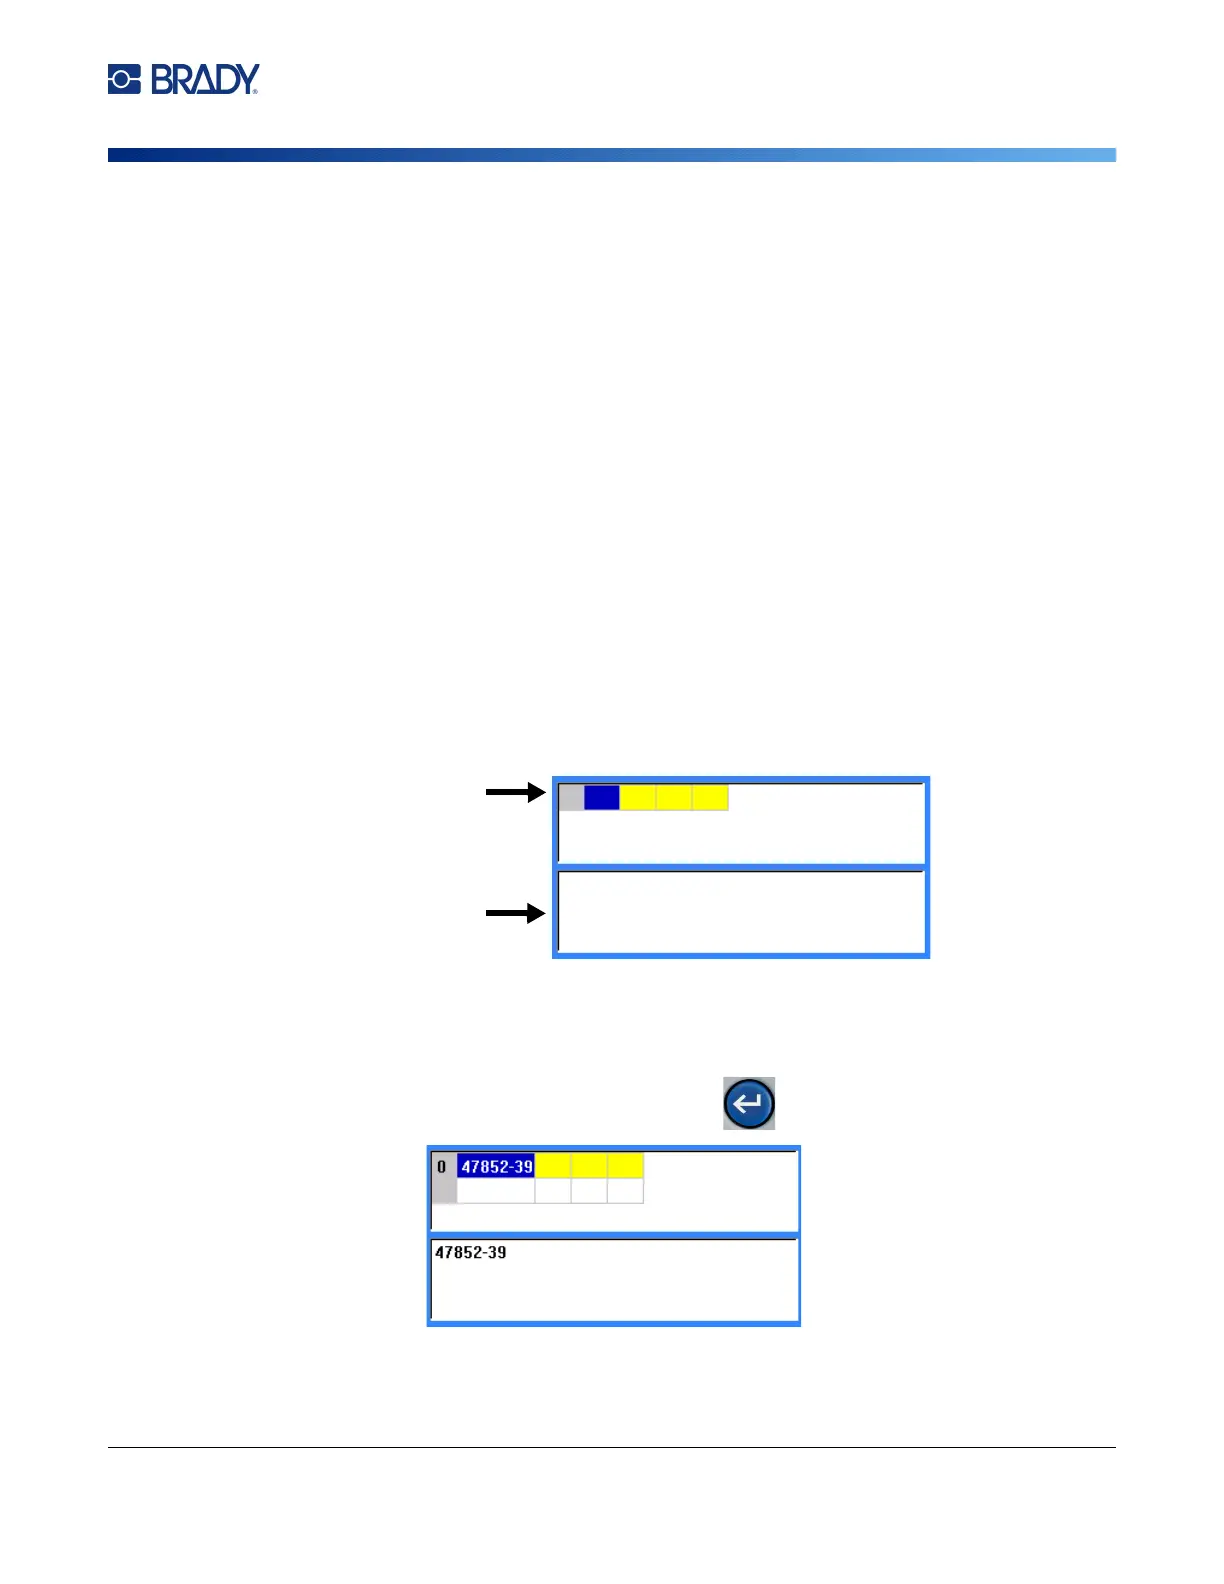
The number of defined fields displays as blue and yellow squares at the top of the screen. The
blue field is the current field. The gray square displays the record number as data is entered
into the data source.
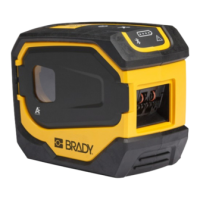
5. Use the navigation keys or double tap to select a field where you want to enter data.
The selected field will turn blue, indicating it is the active field in which the data is being
entered.
6. Enter the data for that particular field, then press .
7. Once all the data for the row is entered, select Next to move to the next row.
Number of
defined fields
(columns)
Field data
entry area