M710 User Manual 48
Editing Labels on the Printer
Formatting Labels and Areas
2. Open the label or area menu: press LABEL, or FN + AREA.
3. Choose Frame, and then None.
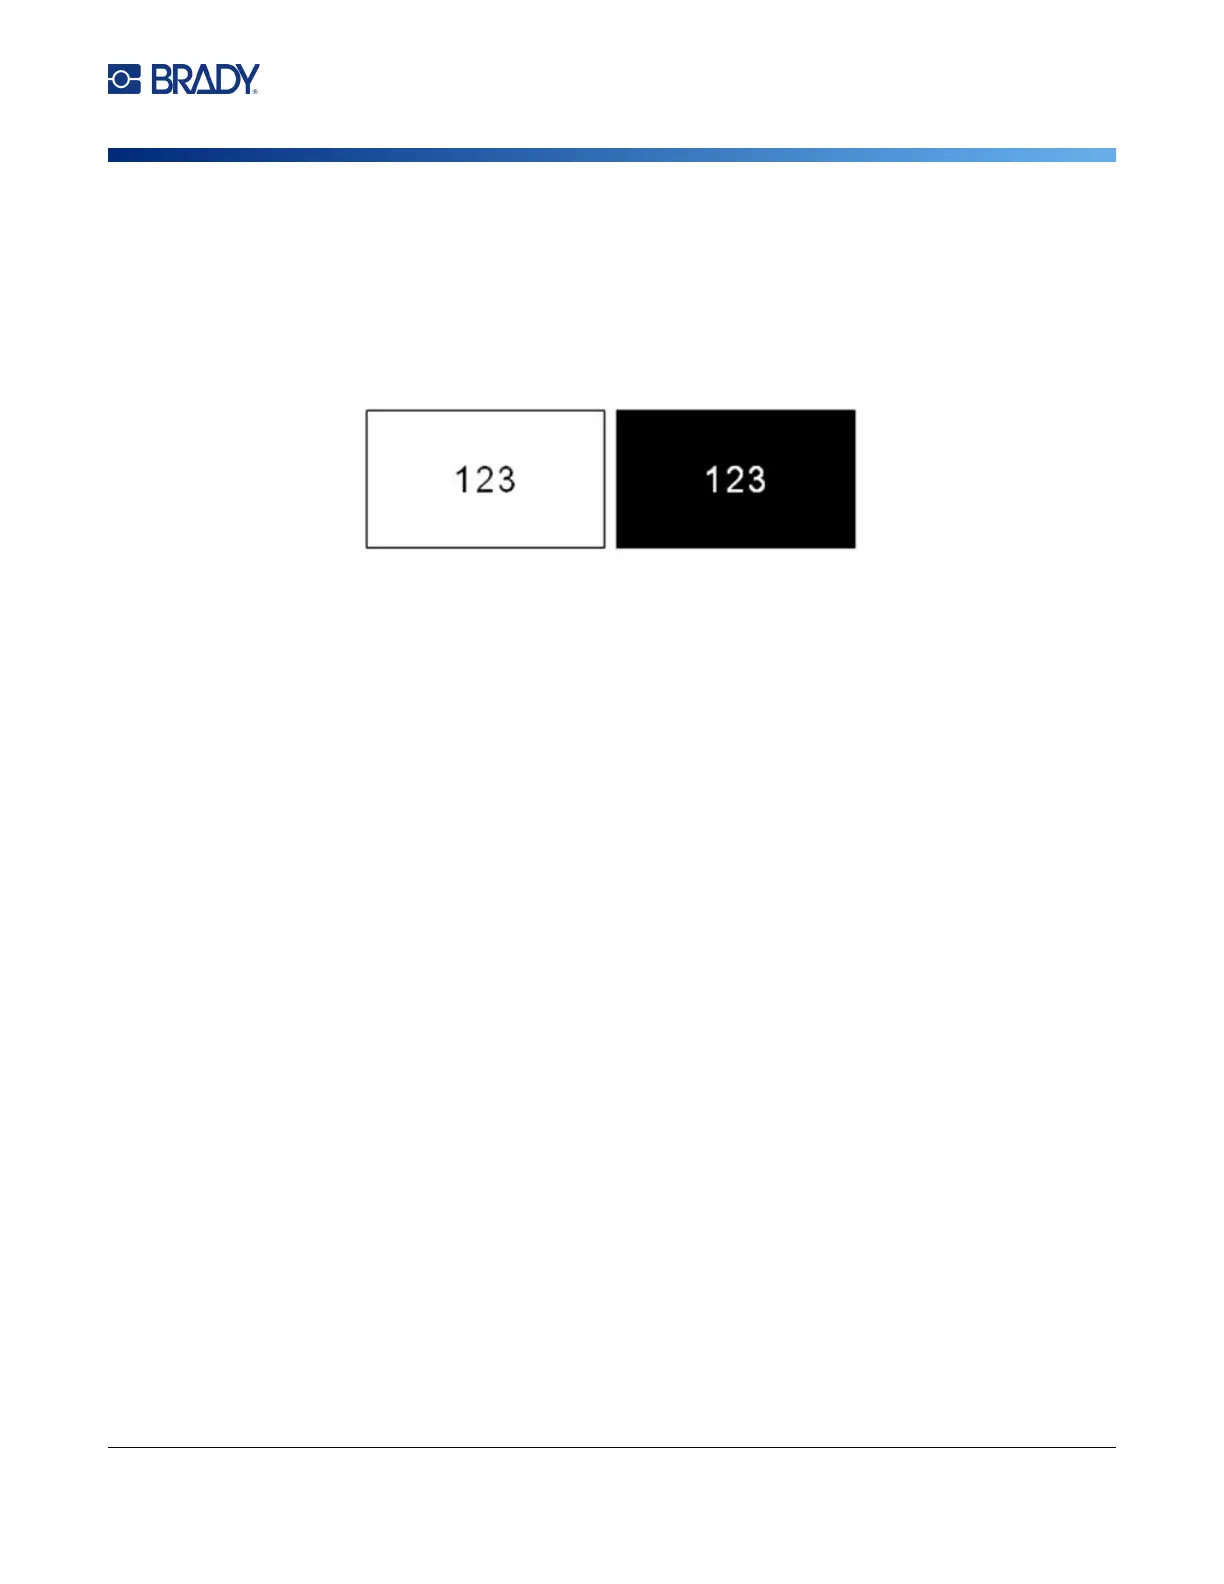
Reverse
The Reverse function switches the foreground and background colors of data on a label, based on the
color of ribbon and label supply installed. For instance, black lettering on a yellow background, if
reversed, would print yellow lettering on a black background.
You can apply reverse formatting to areas or labels. When adding another area or label, the reverse
function status carries over.
Note: This feature is only available when continuous supply is installed in the printer. Reverse
cannot be applied to a barcode or to an individual line of text.
To apply or remove Reverse formatting to a label or area:
1. Open the label or area menu: press LABEL, or FN + AREA.
2. Navigate to Reverse, and then choose either On or Off.
Vertical Text
In vertical text, each character drops down a line below the preceding character.
Example: The word “WIRE” as vertical text displays as such:
W
I
R
E
Vertical text can only be applied to an area or a label. It cannot be applied line-by-line.
To format text vertically:
1. Navigate to the label or area where you want to display text vertically. See “Go to Label or
Area” on page 44.
2. Open the label or area menu: press LABEL, or FN + AREA.
3. Navigate to Vertical, and then choose On. The text displays vertically.
To remove the vertical text option, placing text in normal, horizontal format:
1. Navigate to the label or area displaying data as vertical text.
2. Open the label or area menu: press LABEL, or FN + AREA.
3. Navigate to Vertical, and then choose Off. The text realigns according to predefined formats.