M
Mary SmithSep 9, 2025
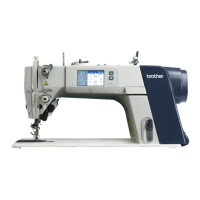
What to do if my Brother S-710A's stitch number display is flashing?
- TTimothy ClaySep 10, 2025
If the stitch number display on the operation panel is flashing, it indicates a problem with the control box. Replace the control box.