3-45
2. Insert a standard 11/16 in. diameter reamer through the
previously reamed cam gear bushing (13) in right crank-
case half, which is in line with one of the bushings to be
reamed in gearcase cover.
3. Turn reamer clockwise through bushing in cover until
reamer bottoms. Then give reamer one complete clock-
wise turn to size the bushing. Continue turning reamer
clockwise while extracting reamer from bushing.
4. Repeat Steps 2 and 3 for remaining two cam gear bush-
ings (except rear intake bushing) in gearcase cover, if
required.
5. Separate gearcase cover from right crankcase half.
Inspect bushings for proper cam gear shaft fit. Repeat
line reaming operation if necessary.
6. Thoroughly clean gearcase cover, removing all metal
chips/shavings. Blow out all oil passages using com-
pressed air.
REAR INTAKE CAM GEAR BUSHING IN
GEARCASE COVER
NOTE
A newly installed rear intake cam gear bushing in the gear-
case cover must be line reamed, using the right crankcase
half as a pilot for the reamer, to establish correct clearance
and to ensure perfect alignment. If crankcase halves are not
separated on your motorcycle, use a spare right crankcase
half to perform the following line reaming procedures.
1. See Figure 3-51. Rear intake cam gear bushing (15)
must be installed in gearcase cover (17) as described in
BUSHING INSTALLATION on page 3-43.
2. Identify the previously reamed rear intake cam gear
bushing (13) in right crankcase half (10), which has been
disassembled from left crankcase half. Insert the shank
end of REAR INTAKE CAMSHAFT BUSHING REAMER
(Part No. HD-94803-67) through gearcase side of this
bushing.
3. With reamer inserted into bushing in right crankcase half,
attach gearcase cover to right crankcase half, securing
with a minimum of three mounting screws.
4. Turn reamer clockwise through bushing in gearcase
cover until reamer bottoms. Then give reamer one com-
plete clockwise turn to size the bushing. Continue turning
reamer clockwise while extracting reamer from bushing.
5. Separate gearcase cover from right crankcase half.
Inspect bushing for proper cam gear shaft fit. Repeat line
reaming operation if necessary.
6. Thoroughly clean gearcase cover, removing all metal
chips/shavings. Blow out all oil passages using com-
pressed air.
PINION SHAFT BUSHING IN GEARCASE COVER
NOTE
A
newly
installed pinion shaft bushing in the gearcase cover
must be line reamed, using both the right crankcase half and
Part No. HD-94812-87 as pilots for the reamer, to establish
correct clearance and to ensure proper alignment. If crank-
case halves are not separated on your motorcycle, use a
spare right crankcase half to perform the following line ream-
ing procedures.
1. See Figure 3-51. Pinion shaft bushing (16) must be
installed in gearcase cover (17) as described in BUSH-
ING INSTALLATION on page 3-43. Attach gearcase
cover to right crankcase half (10), which has been disas-
sembled from left crankcase half, securing with a mini-
mum of three mounting screws.
2. See Figure 3-60. Install PINION SHAFT BUSHING
REAMER PILOT (Part No. HD-94812-87) into right
crankcase roller race. Insert PINION SHAFT BUSHING
REAMER (Part No. HD-94812-1) through the pilot.
3. Turn reamer clockwise through bushing in gearcase
cover until reamer bottoms. Then give reamer one com-
plete clockwise turn to size the bushing. Continue turning
reamer clockwise while extracting reamer from bushing.
4. Separate gearcase cover from right crankcase half.
Inspect bushing for proper pinion shaft fit. Repeat line
reaming operation if necessary.
5. Remove pilot from right crankcase roller race. Thor-
oughly clean gearcase cover, removing all metal chips/
shavings. Blow out all oil passages using compressed
air.
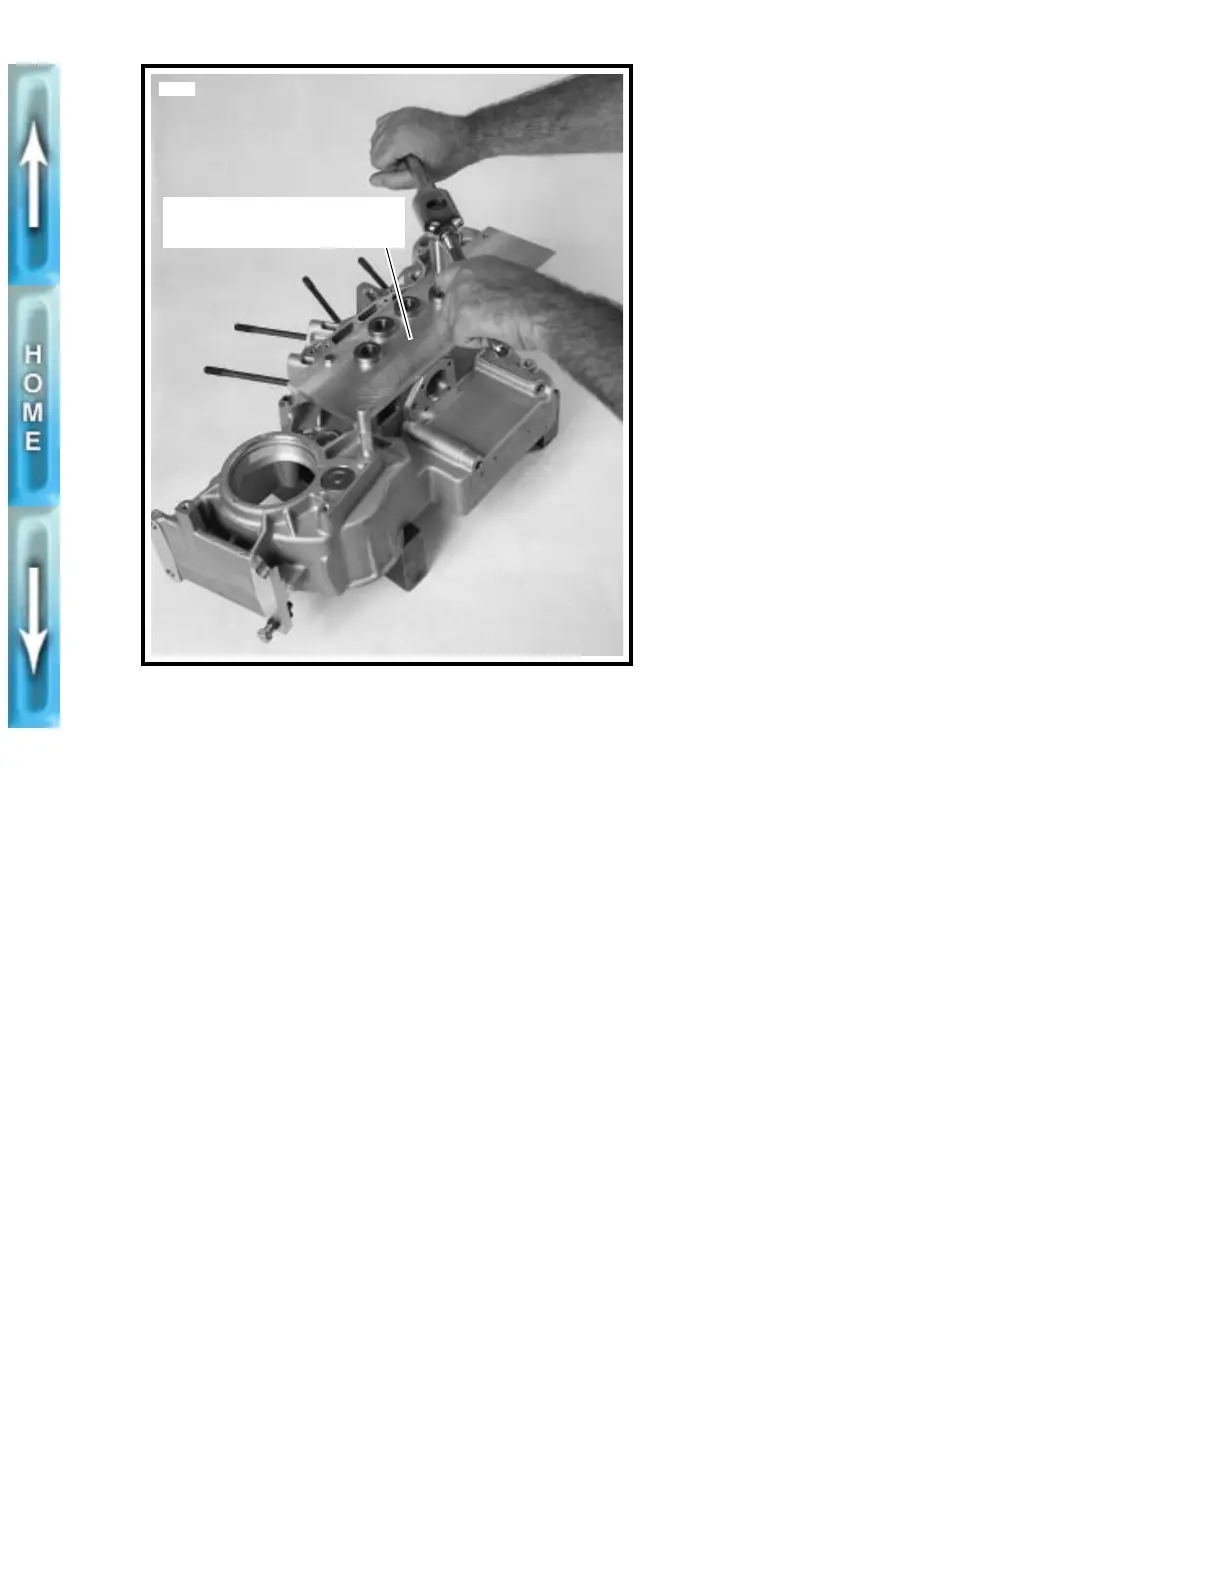
Figure 3-59. Reaming Cam Gear Bushing in Right
Crankcase Half
Camshaft Bushing Reamer
Pilot (Part No. HD-38871)
3534a