7-36
Tail Lamp
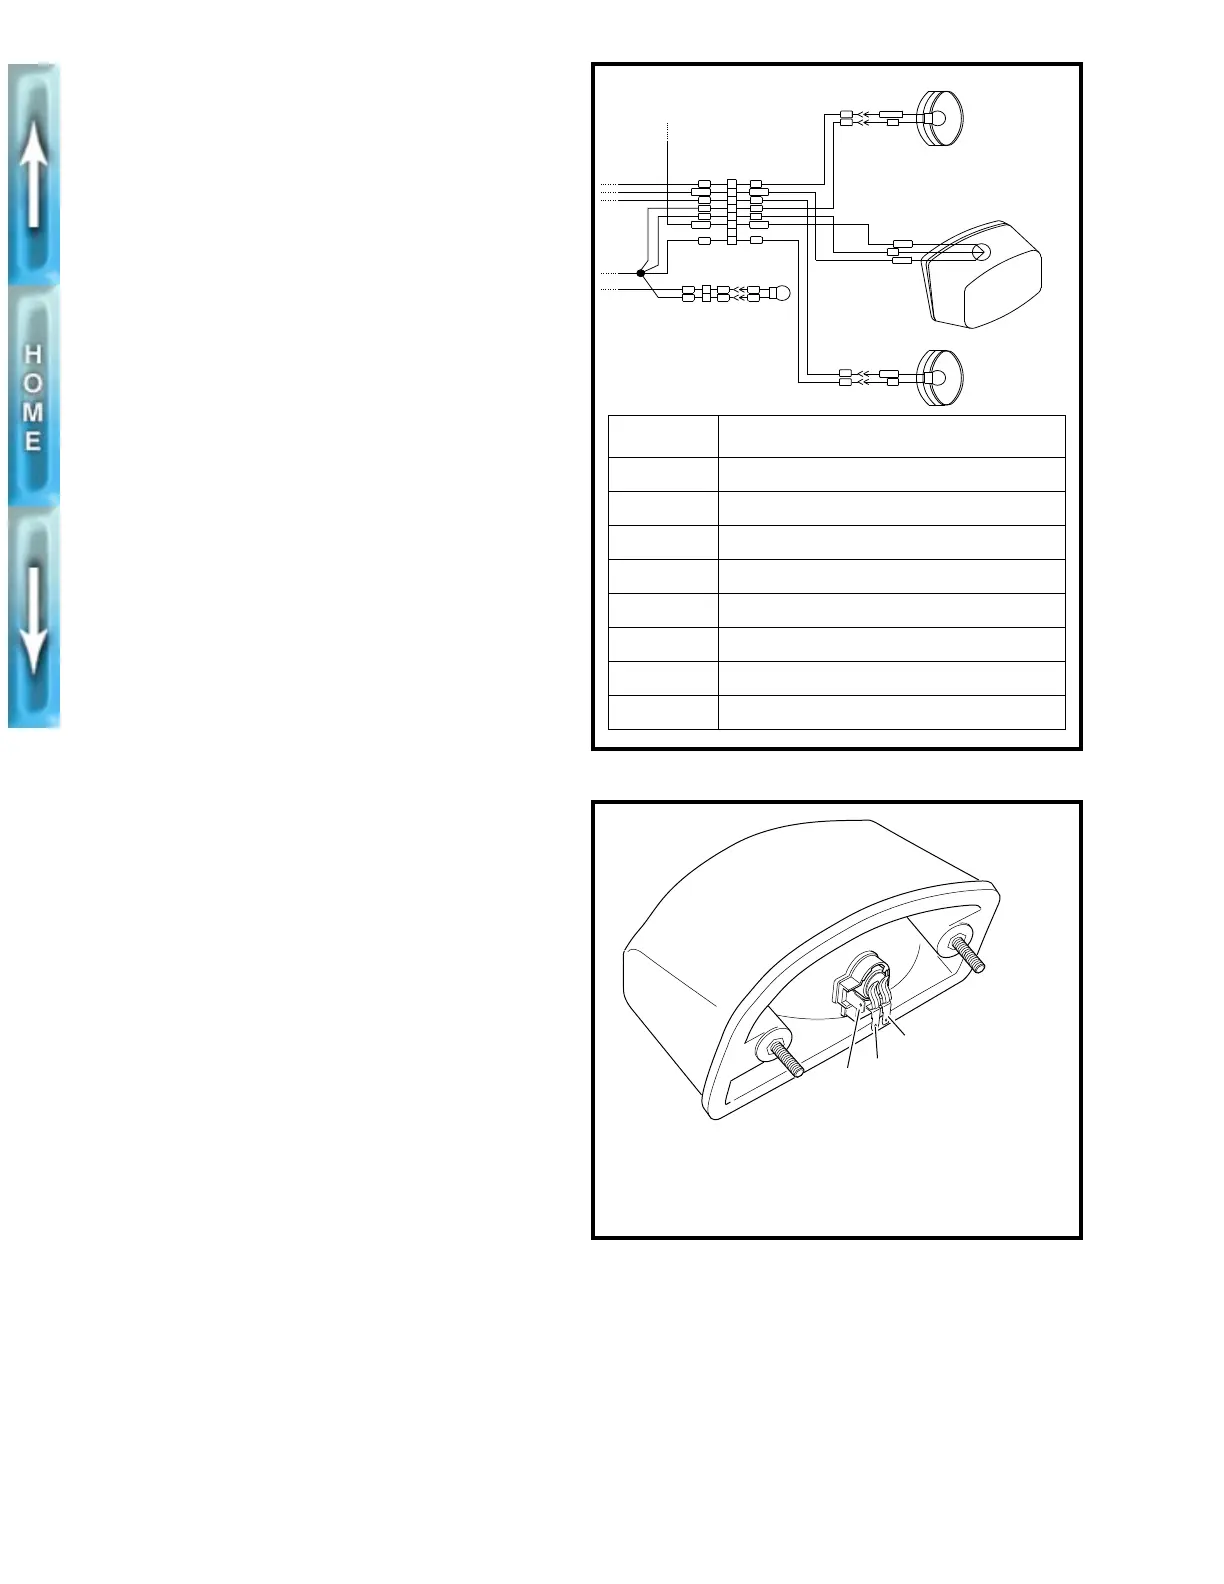
1. See Figure 7-37. Install the three tail lamp wires.
NOTE
Early 1996 models may have a blue wire in slot 7 of connector
[P11]. This wire does not have a terminating connection.
Cable strap this wire to the other harness wires.
2. See Figure 7-35. Attach tail lamp to bracket with two
locknuts (7) (metric) and washers (6).
3. If removed, install tail lamp bulb.
a. Turn bulb clockwise to install.
b. Install tail lamp lens with two screws (1).
1WARNING
Check for proper tail lamp and turn signal operation
before riding motorcycle. Visibility is a major concern for
motorcyclists. Failure to have proper lamp operation
could lead to personal injury.
4. Check tail lamp and turn signals for proper operation.
5. Use new cable straps to bundle the tail lamp wiring har-
ness under the tail section.
Figure 7-36. Tail Lamp Connector [P11]
Figure 7-37. Tail Lamp Bulb Wires
RIGHT REAR
TURN SIGNAL
1
2
3
4
5
6
7
8
P11
BK
BK
BK
V
R/Y
BN
V
O/W
BK
BK
R/Y
V
BK
BK
1
2
P15
BE BE Y
BK BK BK
LICENSE PLATE
LIGHT
TAIL LAMP AND
REAR TURN SIGNALS
R/Y
BK
O/W
BE
R/BK
TAIL LAMP
LEFT REAR
TURN SIGNAL
BEBK
LT.BE
BN
O/W
BN
S2
[P11] WIRE TERMINATION
1 Splice number four
2 Accessory fuse in fuse block [P9]
3 Splice number five
4 Splice number two
5 Splice number two
6 Rear stoplight switch
7 Unused
8 Splice number two
b0230x7x
1. Black
2. Orange with white tracer
3. Red with yellow tracer
1
2
3
b0246x7x
 Loading...
