7-10
VACUUM-OPERATED ELECTRIC SWITCH (V.O.E.S)
ADJUSTMENT/TESTING
See VACUUM-OPERATED ELECTRIC SWITCH (V.O.E.S) in
Section 1.
REMOVAL
1. Remove seat and fuel tank. See FUEL TANK, REMOVAL
in Section 4.
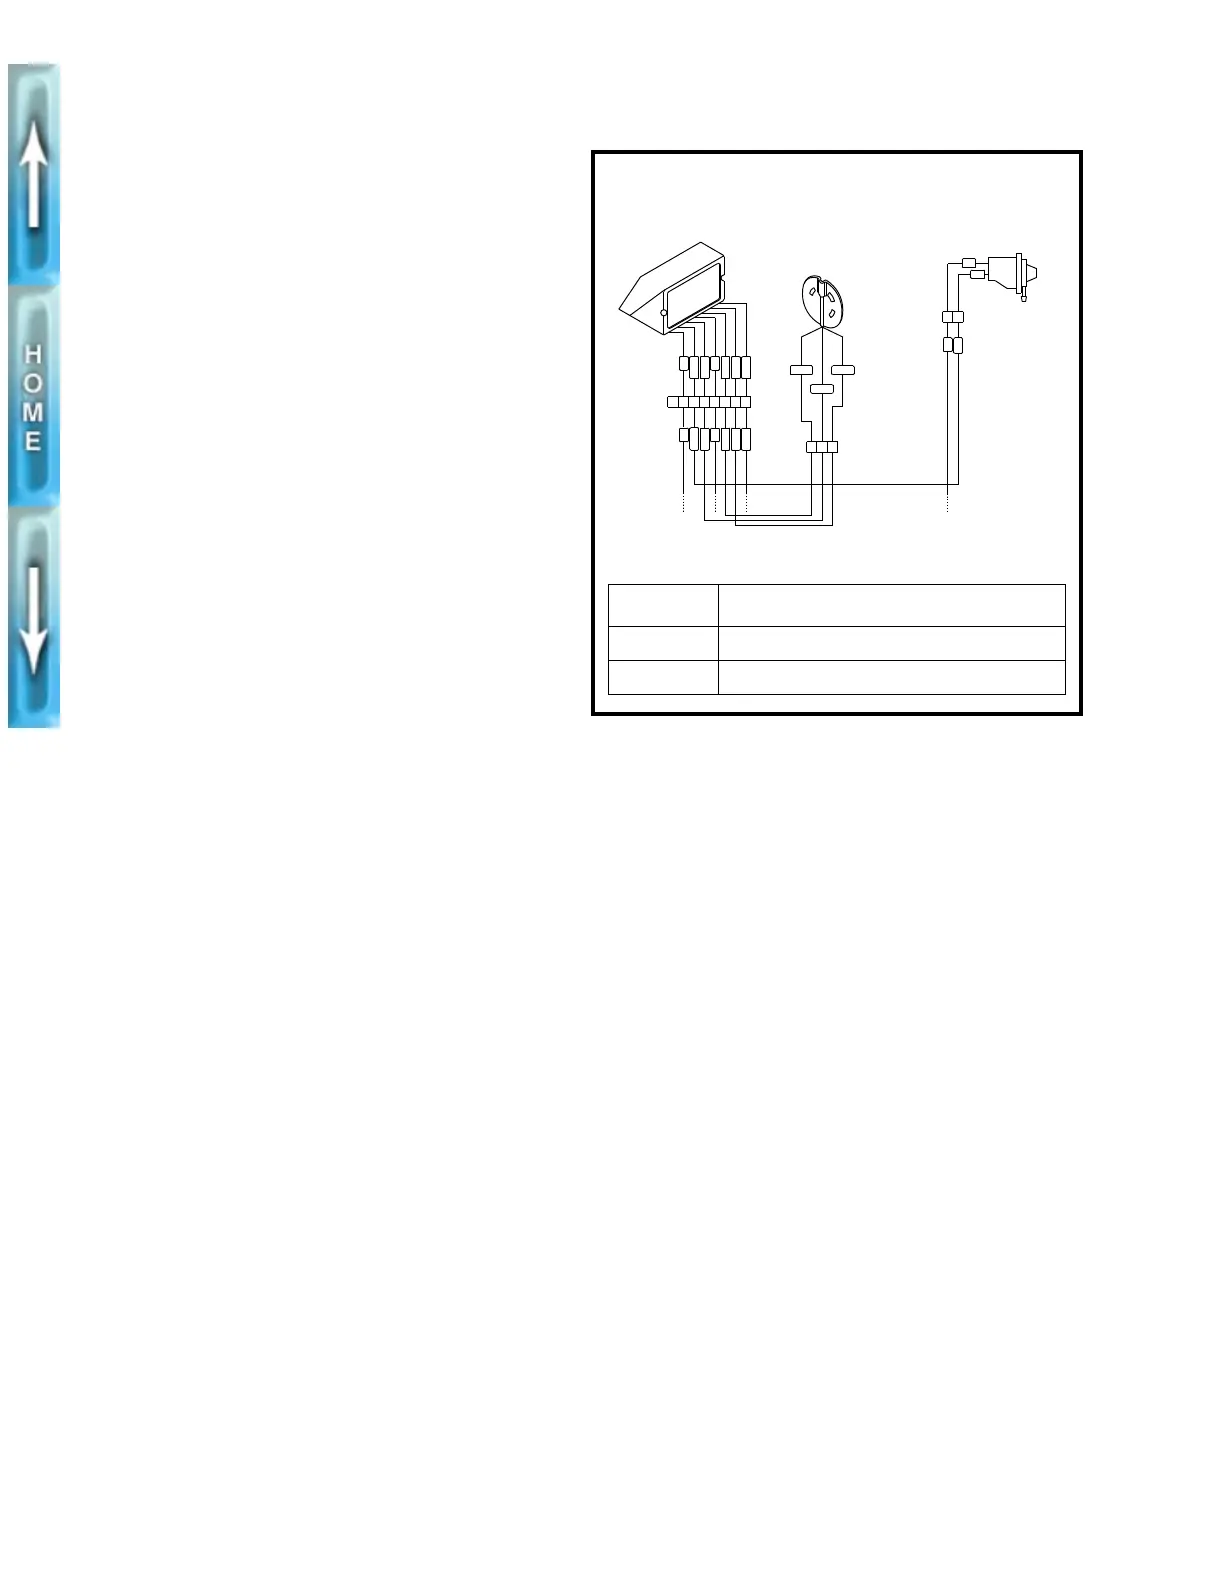
2. See Figure 7-4. Disconnect V.O.E.S. connector [P7] from
main wiring harness.
3. Remove V.O.E.S. from carburetor.
INSTALLATION
1. See Figure 7-4. Place a
new
V.O.E.S. on carburetor.
2. Attach V.O.E.S. connector [P7] to main wiring harness.
1
WARNING
After installing seat, pull upward on front of seat to be
sure it is locked in position. If seat is loose, it could shift
during vehicle operation and startle the rider, causing
loss of control and personal injury.
3. Install fuel tank and seat. See FUEL TANK, INSTALLA-
TION in Section 4.
Figure 7-4. V.O.E.S. Connector [P7]
b0225x7x
[P7] WIRE TERMINATION
1 Ignition module
2 Splice number one
P10
ELECTRONIC
IGNITION MODULE
TIMER
AND PICKUP
BK
PK
BK/W
GN/W
W/BK
R/W
V/W
12345678
BK
PK
BK/W
GN/W
W/BK
R/W
V/W
P16
/WGN
/WBK
CB
A
R/W
P7
BK
BK
21
KB
/WV
VACUUM
SWITCH