4
Press ▲ or ▼ to select Roll Length, and then press the OK button.
5
Press ▲ or ▼ to select the length of paper loaded in the printer, and then press the OK button.
Specify the roll length as follows.
1.
Press the ◀ or ▶ button to move to the next field for input.
2.
Press the ▲ or ▼ button to enter the value.
3.
Repeat steps 1 and 2 to finish entering the value, and then press the OK button.
Removing the Roll from the Printer
Removing the Roll from the Printer
Remove rolls from the printer as follows.
Note
• If you need to cut the roll, see "Specifying the Cutting Method for Rolls." ➔ P.523
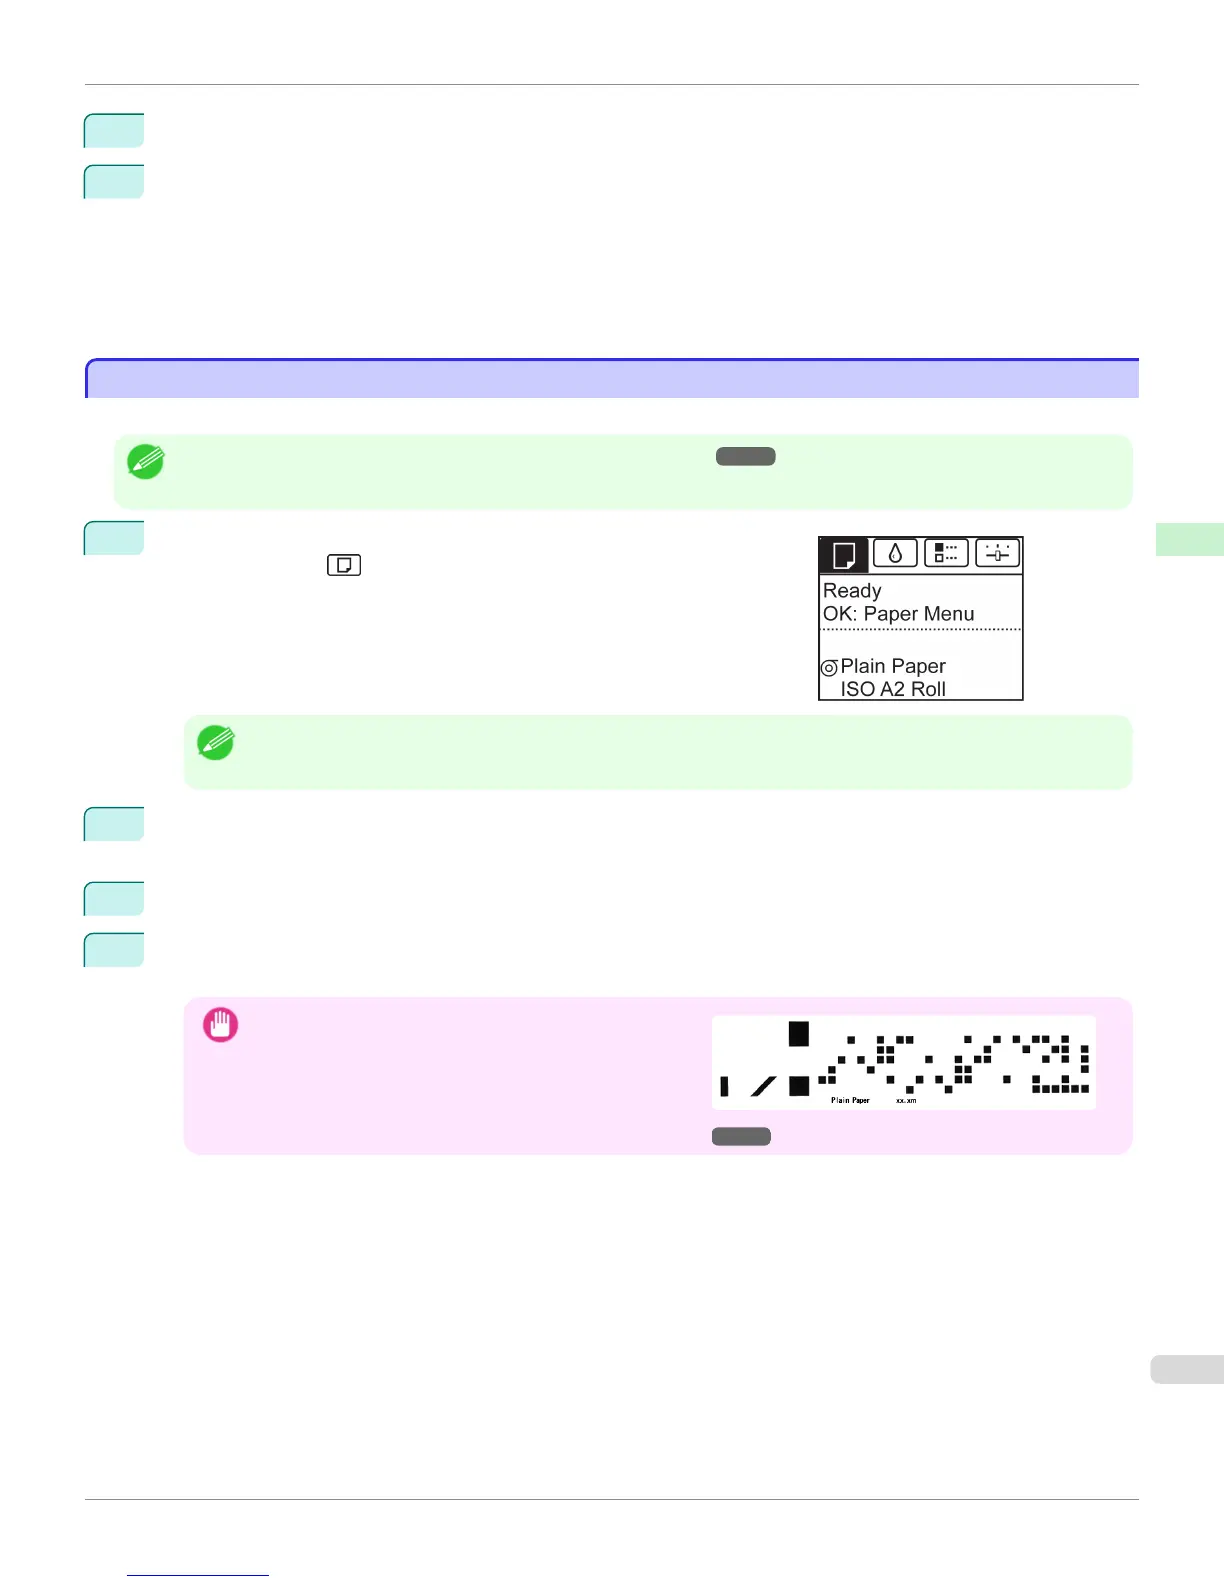
1
On the Tab Selection screen of the Control Panel, press ◀ or ▶ to se-
lect the Paper tab ( ).
Note
• If the Tab Selection screen is not displayed, press the Menu button.
2
Press the OK button.
The Paper Menu is displayed.
3
Press ▲ or ▼ to select Eject Paper, and then press the OK button.
4
Press ▲ or ▼ to select Yes, and then press the OK button.
The roll is rewound.
Important
•
If you have selected ManageRemainRoll > On in the
Control Panel menu, a barcode is printed on the leading
edge of the roll.
Do not remove the roll before the barcode is printed. You
will be unable to keep track of the amount of roll paper
left. (See "Keeping Track of the Amount of Roll Paper Left.") ➔ P.521
iPF8400S
Removing the Roll from the Printer
User's Guide
Handling and Use of Paper Handling rolls
517

 Loading...