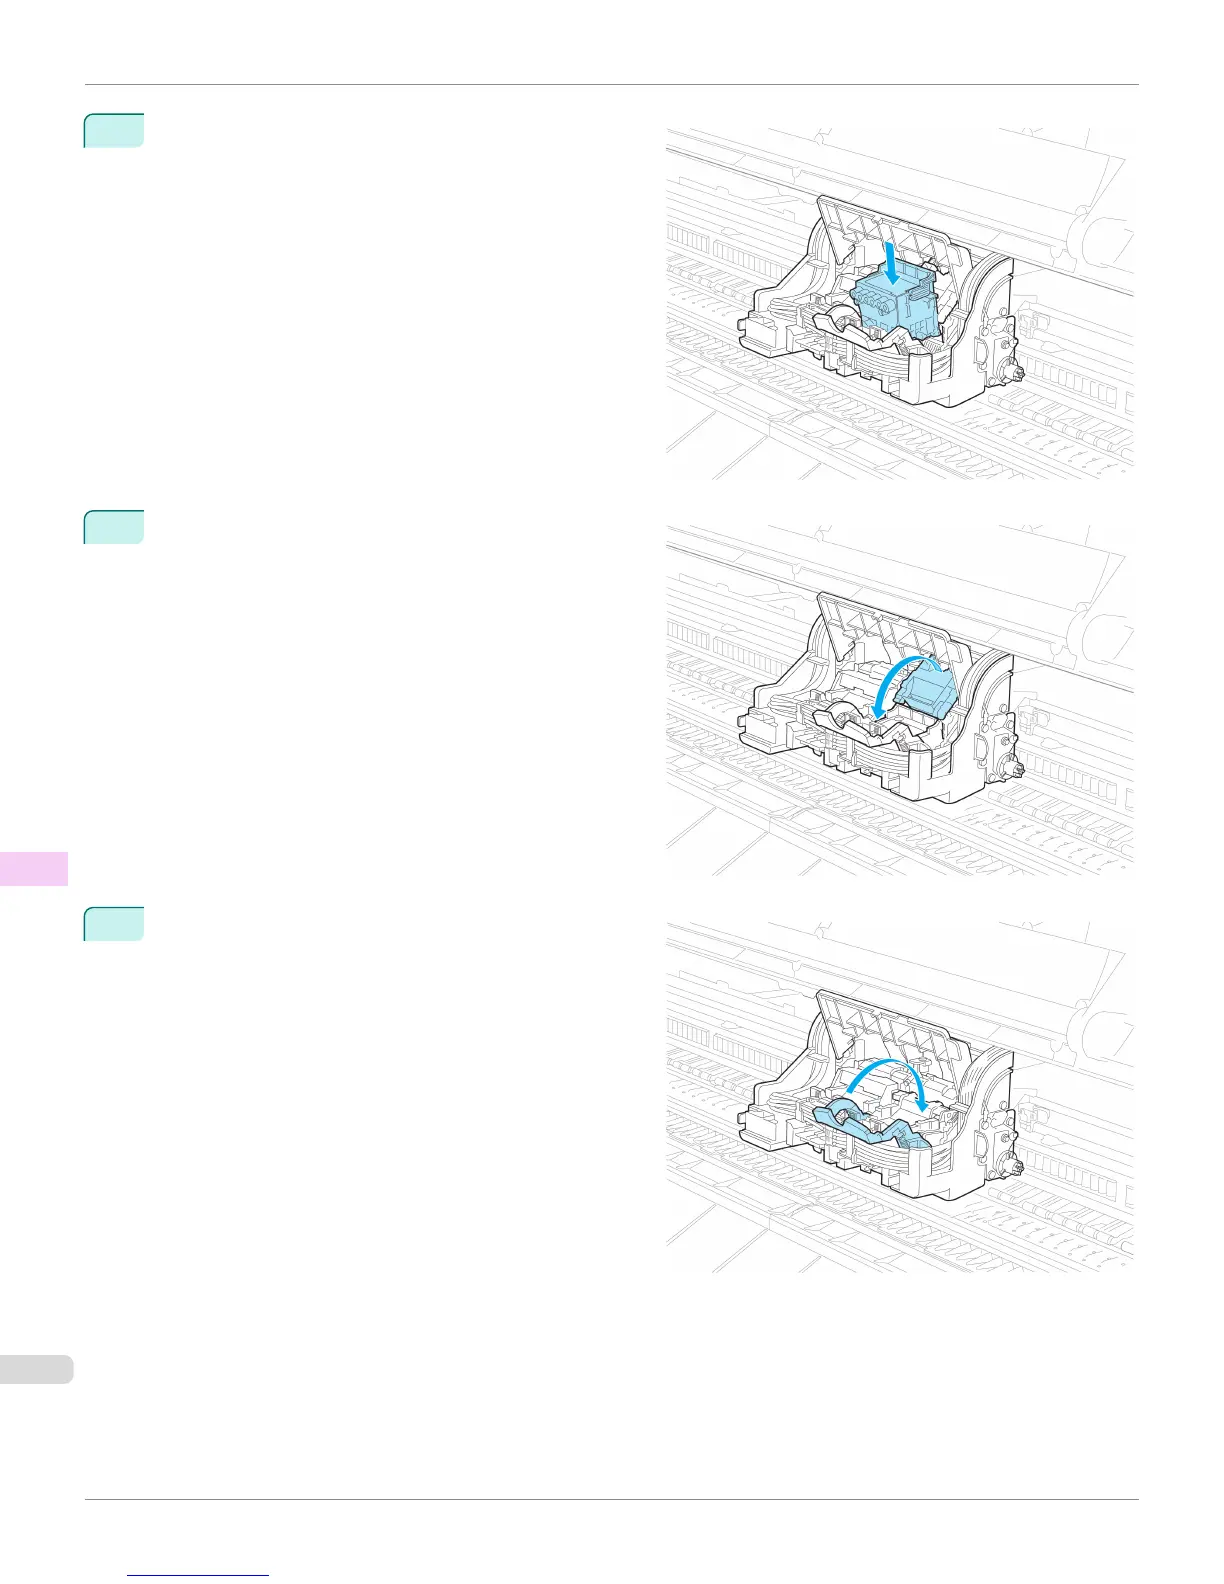
10
With the nozzles facing down and the metal contacts
toward the back, tilt the Printhead slightly forward and
insert it into the Carriage. Carefully push the printhead
firmly into the Carriage, ensuring that the nozzles and
metal contacts do not touch the carriage.
11
Pull the Printhead Fixer Cover down toward the front to
lock the Printhead in place.
12
Push the Printhead Fixer Lever toward the back of the
printer until it clicks.
Replacing the Printhead
iPF8400S
User's Guide
Maintenance and Consumables Printheads
892

 Loading...