6-46
Cisco Wireless LAN Controller Configuration Guide
OL-17037-01
Chapter 6 Configuring WLANsWireless Device Access
Configuring WLANs
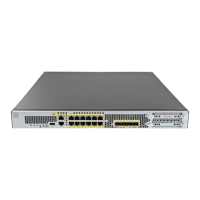
Figure 6-21 AP Groups > Edit (WLANs) Page
Step 10
From the WLAN SSID drop-down box, choose the SSID of the WLAN.
Step 11 From the Interface Name drop-down box, choose the interface to which you want to map the access point
group. Choose the quarantine VLAN if you plan to enable network admission control (NAC) out-of-band
support.
Note The interface name in the default-group access point group matches the WLAN interface.
Step 12 To enable NAC out-of-band support for this access point group, check the NAC State check box. To
disable NAC out-of-band support, leave the check box unchecked, which is the default value. Refer to
the “Configuring NAC Out-of-Band Integration” section on page 6-55 for more information on NAC.
Step 13 Click Add to add this WLAN to the access point group. This WLAN appears in the list of WLANs that
are assigned to this access point group.
Note If you ever want to remove this WLAN from the access point group, hover your cursor over the
blue drop-down arrow for the WLAN and choose Remove.
Step 14 Repeat Step 9 through Step 13 to add any additional WLANs to this access point group.
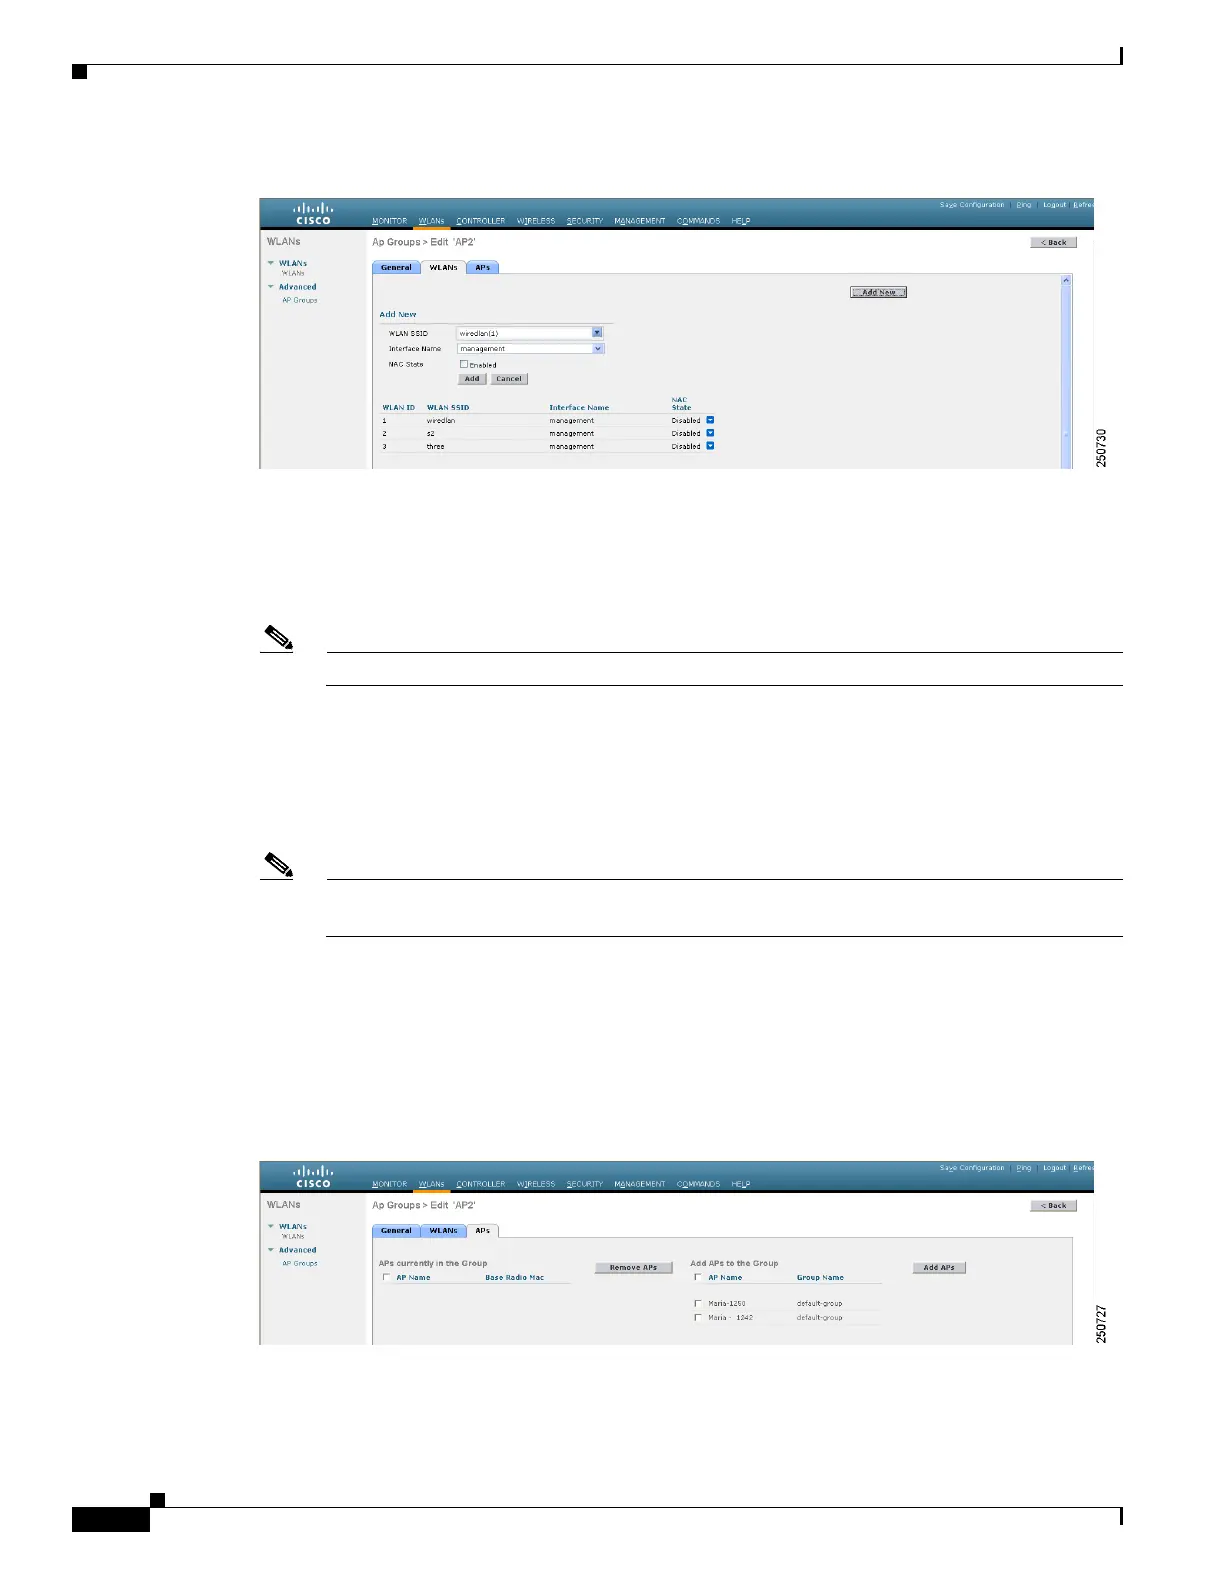
Step 15 Click the APs tab to assign access points to this access point group. The AP Groups > Edit (APs) page
lists the access points that are currently assigned to this group as well as any access points that are
available to be added to the group. If an access point is not currently assigned to a group, its group name
appears as “default-group” (see Figure 6-22).
Figure 6-22 AP Groups > Edit (APs) Page

 Loading...