10-8
Cisco Wireless LAN Controller Configuration Guide
OL-17037-01
Chapter 10 Managing User Accounts
Web Authentication Process
Step 6 Expand the Trusted Root Certification Authorities folder and choose Local Computer.
Step 7 Click OK.
Step 8 Click Next > Finish.
Step 9 When the “The import was successful” message appears, click OK.
Step 10 Because the issuer field is blank on the controller self-signed certificate, open Internet Explorer, click
Tool s > Internet Options > Advanced, uncheck the Warn about Invalid Site Certificates check box
under Security, and click OK.
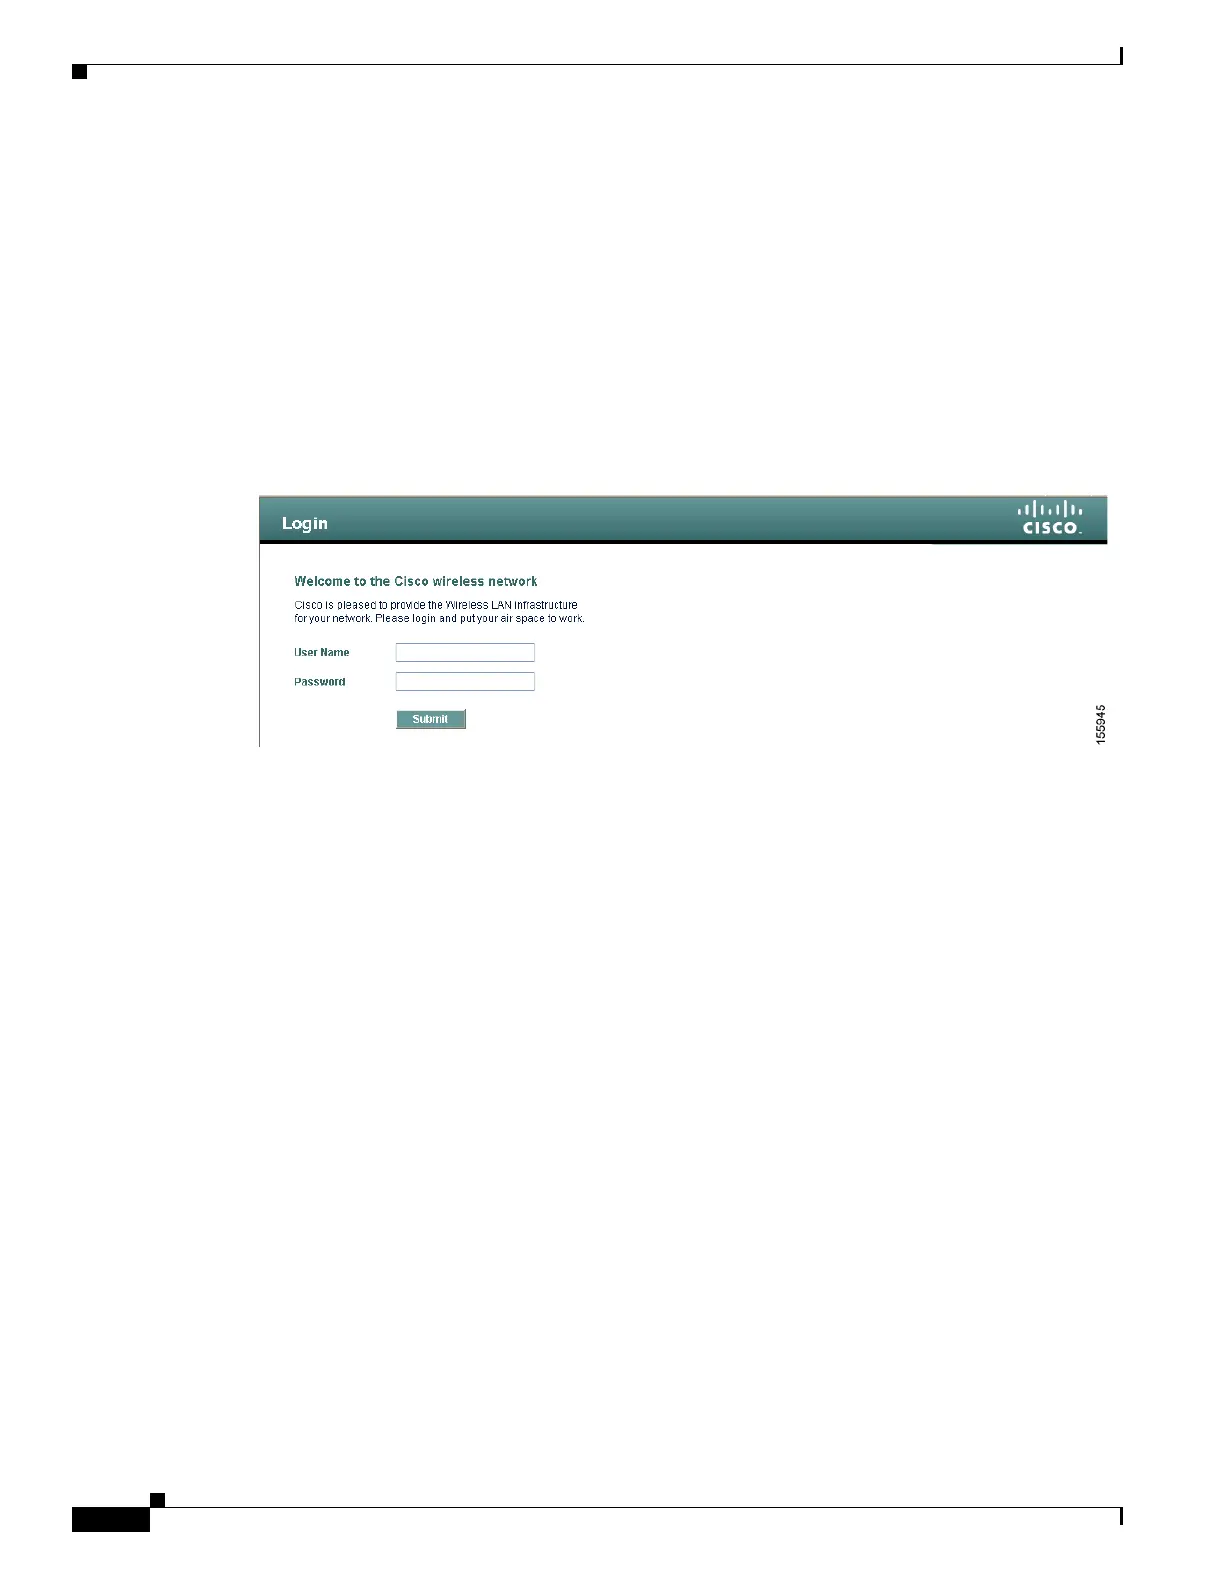
Step 11 Reboot the PC. On the next web authentication attempt, the login page appears (see
Figure 10-8).Figure 10-8 shows the default web authentication login window.
Figure 10-8 Default Web Authentication Login Page
The default login page contains a Cisco logo and Cisco-specific text. You can choose to have the web
authentication system display one of the following:
• The default login page
• A modified version of the default login page
• A customized login page that you configure on an external web server
• A customized login page that you download to the controller
The “Choosing the Web Authentication Login Page” section on page 10-9 provides instructions for
choosing how the web authentication login page appears.
When the user enters a valid username and password on the web authentication login page and clicks
Submit, the web authentication system displays a successful login page and redirects the authenticated
client to the requested URL. Figure 10-9 shows a typical successful login page.

 Loading...