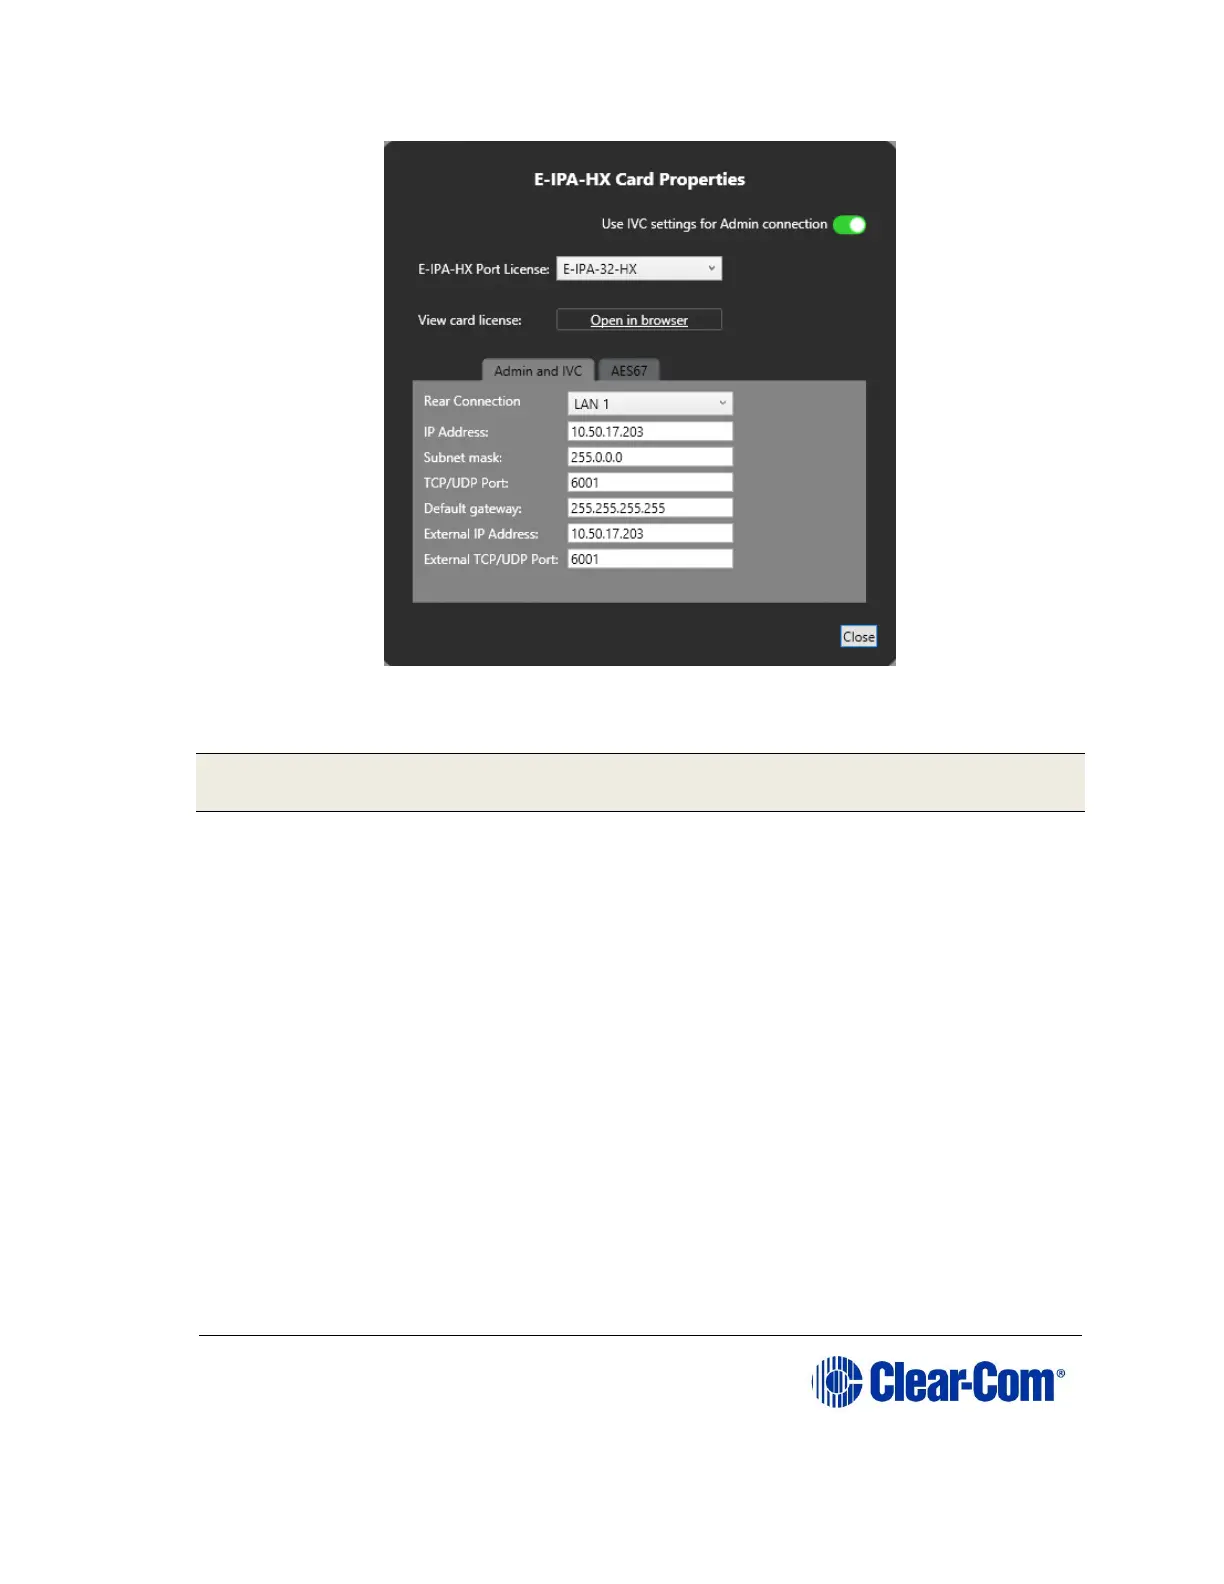
Figure 12-3 E-IPA-HX Card Properties
Change the edit fields as required, and then click Close.
Note: To view and edit the E-IPA-HX card properties at any time, double click
on the E-IPA-HX Card Slot or right-click and select Card Properties.
After you have added a card, you can move it to another card slot as follows:
12) Right-click the card slot to be moved, and select Move Card.
13) Right-click the required empty card slot, and select Paste Card
(Move).
The card moves to its new position, and it maintains its configuration.
12.2 Network setup for the E-IPA-HX card
An E-IPA-HX card offers up to three available IP addresses. How these IP
addresses are configured depends on how you intend to use the card.
The card properties dialog box indicates three different functions that can be
spread over the 6 ports that are available on the back of the card.
14) Admin: Used, for example, for firmware upgrade or diagnostic data
extraction.