Installing modules in a rack
Modules are easy to install in racks that are compliant to the EIA 310A Standard, when at least 1 meter
deep. You need a #2 Phillips screwdriver for this process.
Note: Install modules from the bottom to the top. Refer to “Structure and supported library
configurations” on page 2 for the correct configuration of Base and Expansion Modules.
To locate the rail locations when multiple modules are installed.
1. Locate the bottom of the lowest full U where the lowest module is installed.
2. Continue identifying the locations for any additional module 3U higher.
To install the rails into the rack, starting from the lowest rack location.
a. Locate the four universal rack connectors, four Philips screws, and two rackmount rails (LH and
RH).
Note: The universal rack connectors have two sides, for round hole and square hole racks. The
square-hole side might be painted.
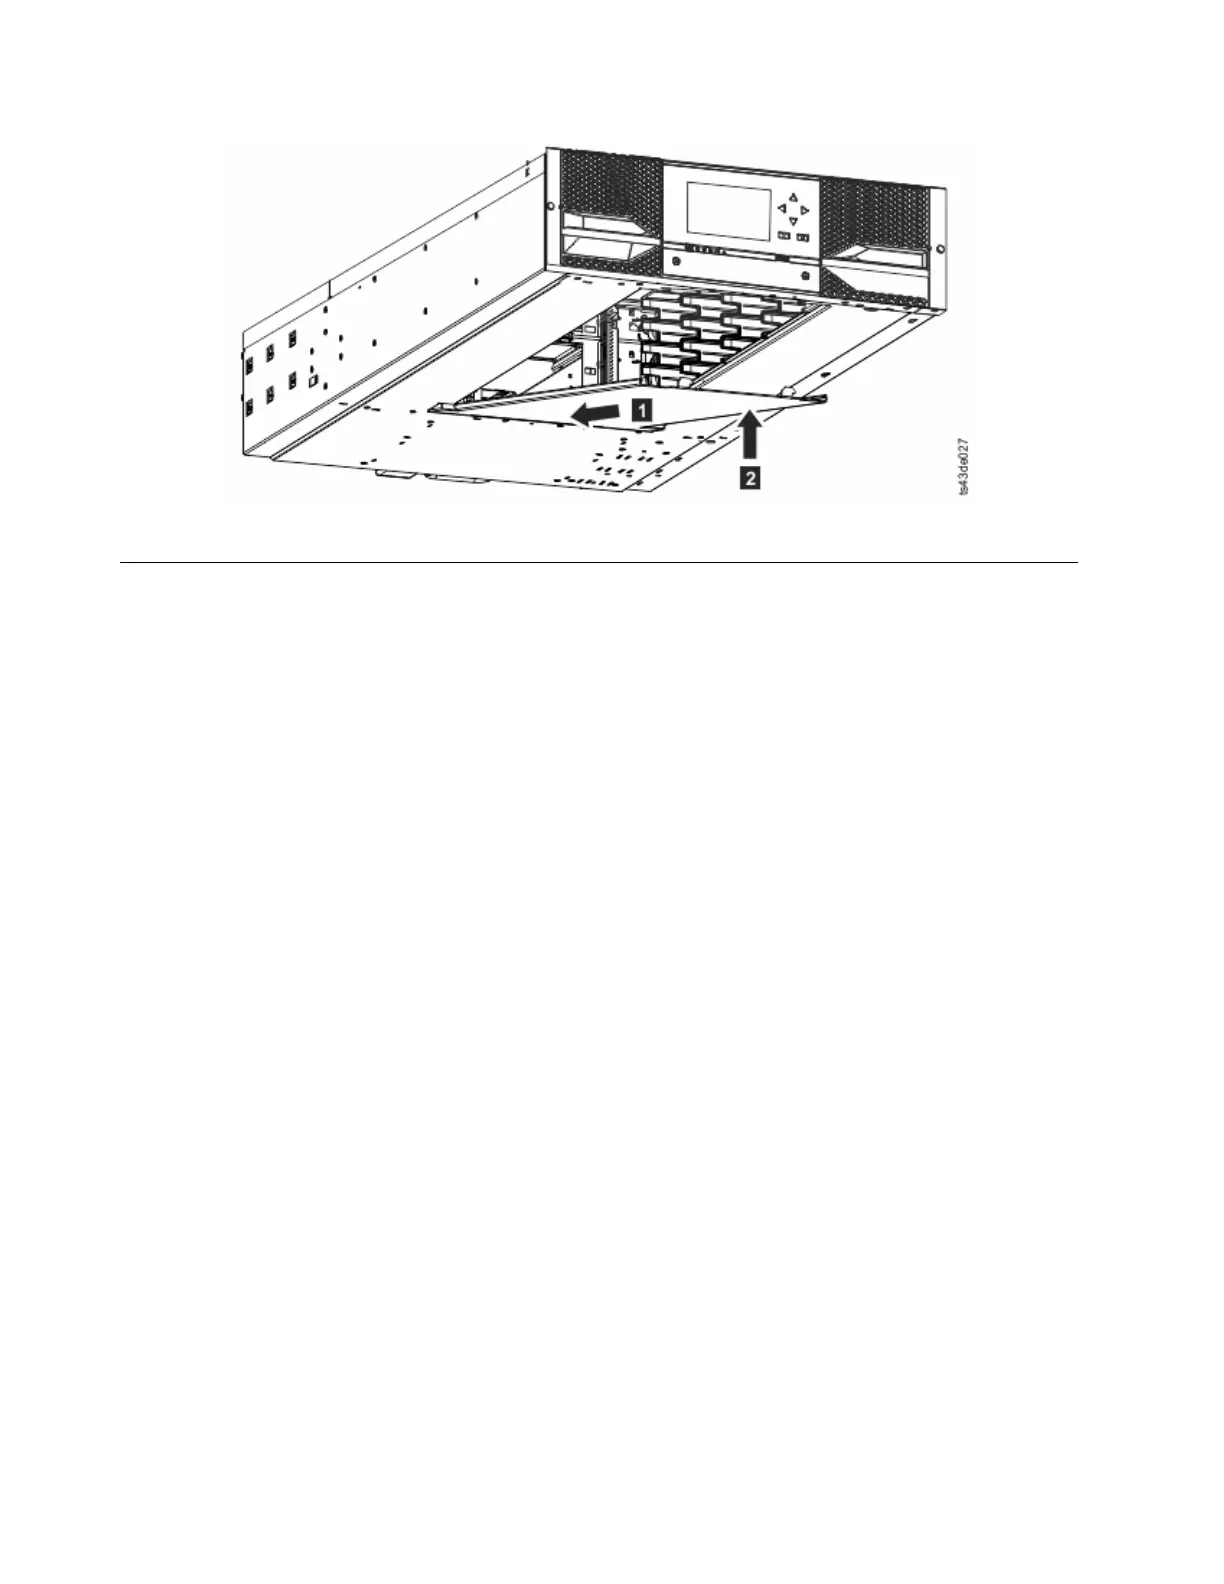
Figure 36. Lifting the cover and locking it
42 Dell EMC ML3 Tape Library: User's Guide