1. From the front of the library, loosen the screws on each of the modules where they are attached to the
rails two full turns.
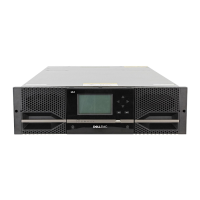
2. From the back of the library, starting with the bottom pair of modules, align each module with the
module below it. Repeat for each pair of modules. Refer to Figure 45.
a. Move the alignment lever of the upper of the pair of modules to the locked or engaged position. If
you encounter resistance, adjust the position of the upper module so the pin in the alignment
mechanism moves into the mating hole in the lower module.
Note: If a blue alignment lever lock is attached to the rear of the module, slide it to the left, then
move the alignment lever. The lever lock has an internal spring, so hold it while the alignment
lever is moved, and it automatically springs back into place after the lever is moved. See
Figure 44.
Figure 44. Alignment lever lock
Figure 45. Alignment lever locked or engaged to lower module
Installing 47