Working basis
24 Service Instructions 1767 - 00.0 - 12/2016
Order
Then check the following setting:
• Feed dog ( p. 42)
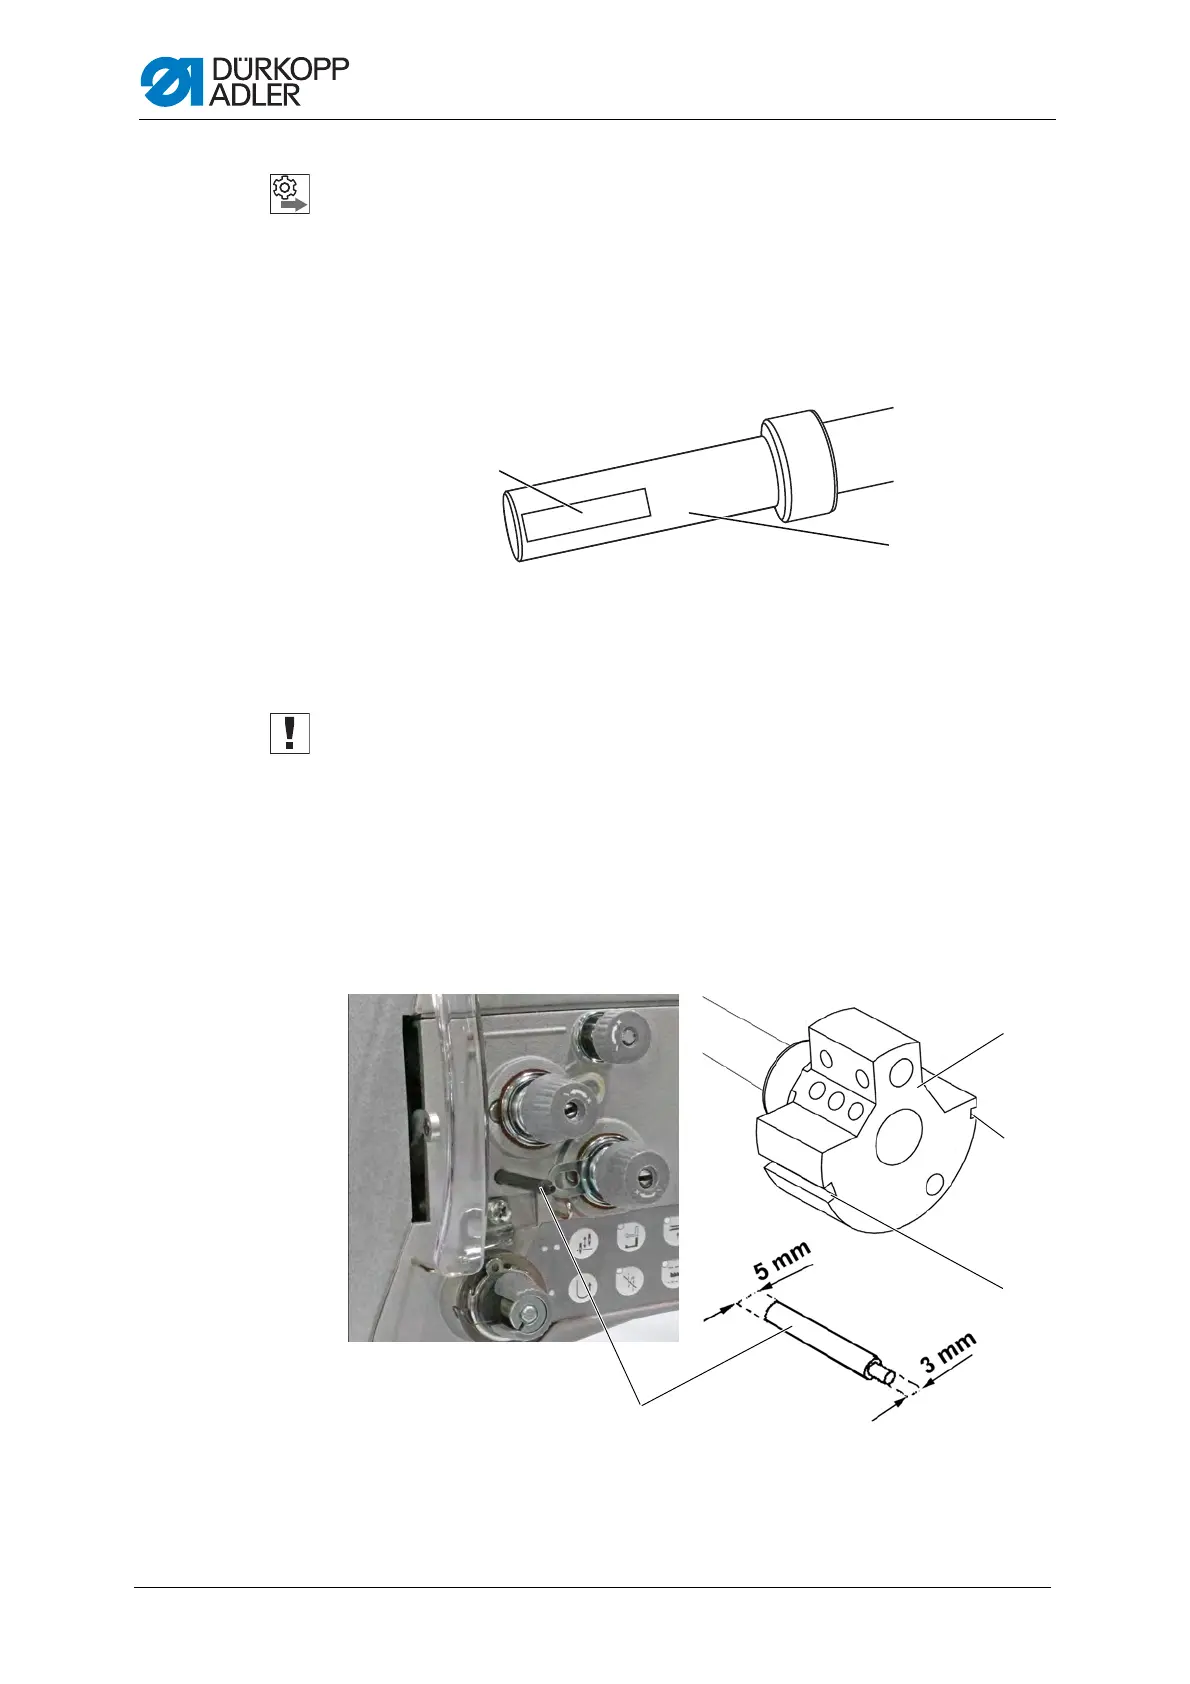
3.4 Flats on shafts
Fig. 11: Flats on shafts
Some shafts have flat surfaces at the points where the components are
screwed on. This stabilizes the connection and makes setting easier.
Important
Ensure that the screws are completely flush with the surface.
3.5 Locking the machine in place
For some settings, the machine must be locked in place. To do this, the
locking peg from the accessory pack is inserted into a slot on the arm shaft
crank, blocking the arm shaft.
Fig. 12: Locking the machine in place (1)
(1) - Flat (2) - Shaft
(1) - Locking peg
(2) - Large arresting groove
(3) - Small arresting groove
(4) - Arm shaft crank

 Loading...