Programming
52 Operating Instructions 513/533 - 01.0 - 09/2023
6. Press the button.
The symbol is displayed, and you can insert new seam
patterns (P).
7. Change the desired seam pattern (P) by pressing the
buttons.
The registered seam pattern number is displayed for editing.
8. Repeat the described steps as necessary.
9. To delete the seam pattern data, press the button.
10. Cancel the input of the seam pattern data and return to input
mode by pressing the button .
The changes you made are now saved.
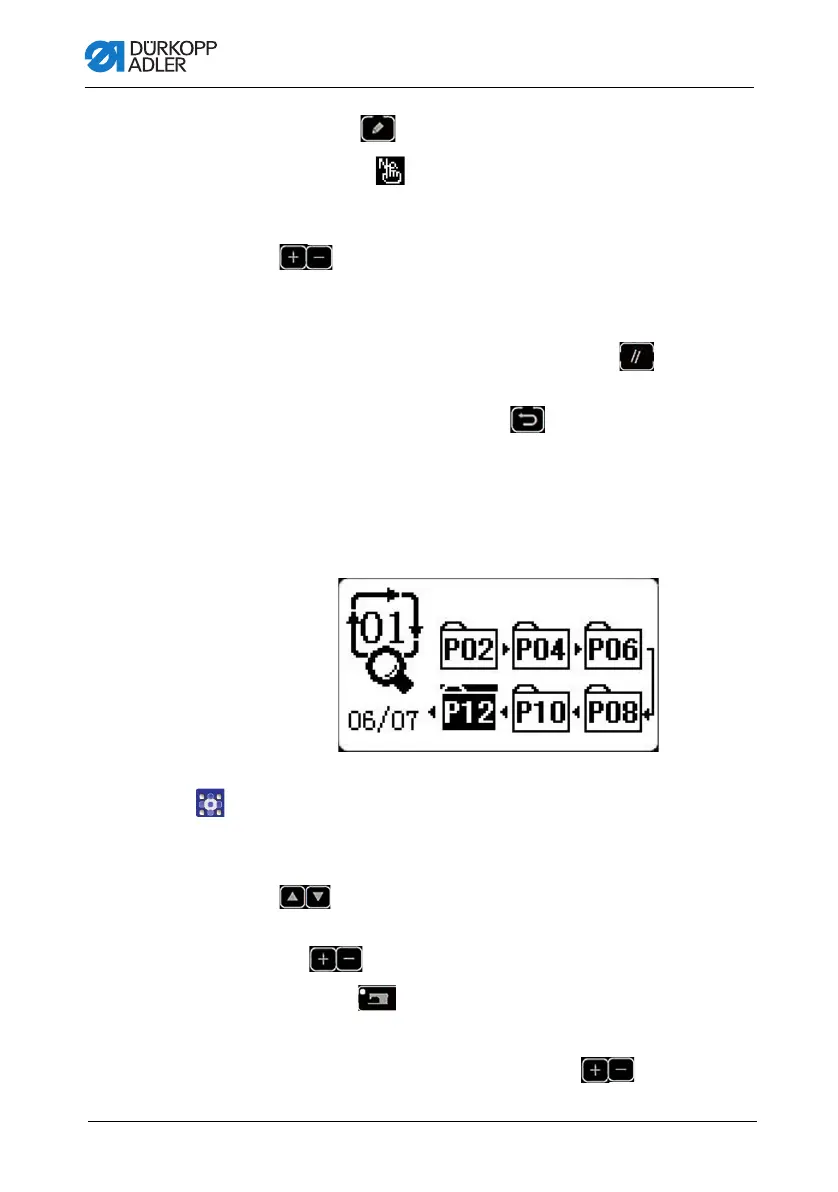
4.5.3 Sewing a seam pattern sequence (C)
Fig. 38: Sewing a seam pattern sequence (C)
To sew a seam pattern sequence (C):
1. Switch on the machine.
2. Select the seam pattern sequence (C) mode using the
buttons.
3. Select the number of the seam pattern sequence (C) using
the buttons.
4. Press the button.
The LED illuminates. The sewing foot moves and is raised.
5. Select the seam pattern (P) using the buttons.
 Loading...


