Long thread cutter
86 Service Instructions 867-M PREMIUM - 03.0 - 05/2017
8. Turn the control cam (4) such that its widest extent (6) is at the top,
next to the roller (1).
9. Move the control cam (4) such that the distance between its widest
extent (6) and the roller (1) is 0.1 mm at most.
10. Tighten the threaded pins (5).
11. Loosen the clamping screw (8) on the actuating lever (7).
12. Turn the thread-pulling knife so that the tip of the thread-pulling knife
is right next to the tip of the counter blade.
13. Tighten the clamping screw (8) on the actuating lever (7) such that the
actuating lever (7) has no axial play.
14. Loosen all 4 threaded pins (3) on the clamping ring (2).
15. Push the clamping ring (2) to the right as far as it will go and against
the control cam (4).
16. Check the loop stroke position ( p. 48).
17. Tighten the threaded pins (3) on the clamping ring (2).
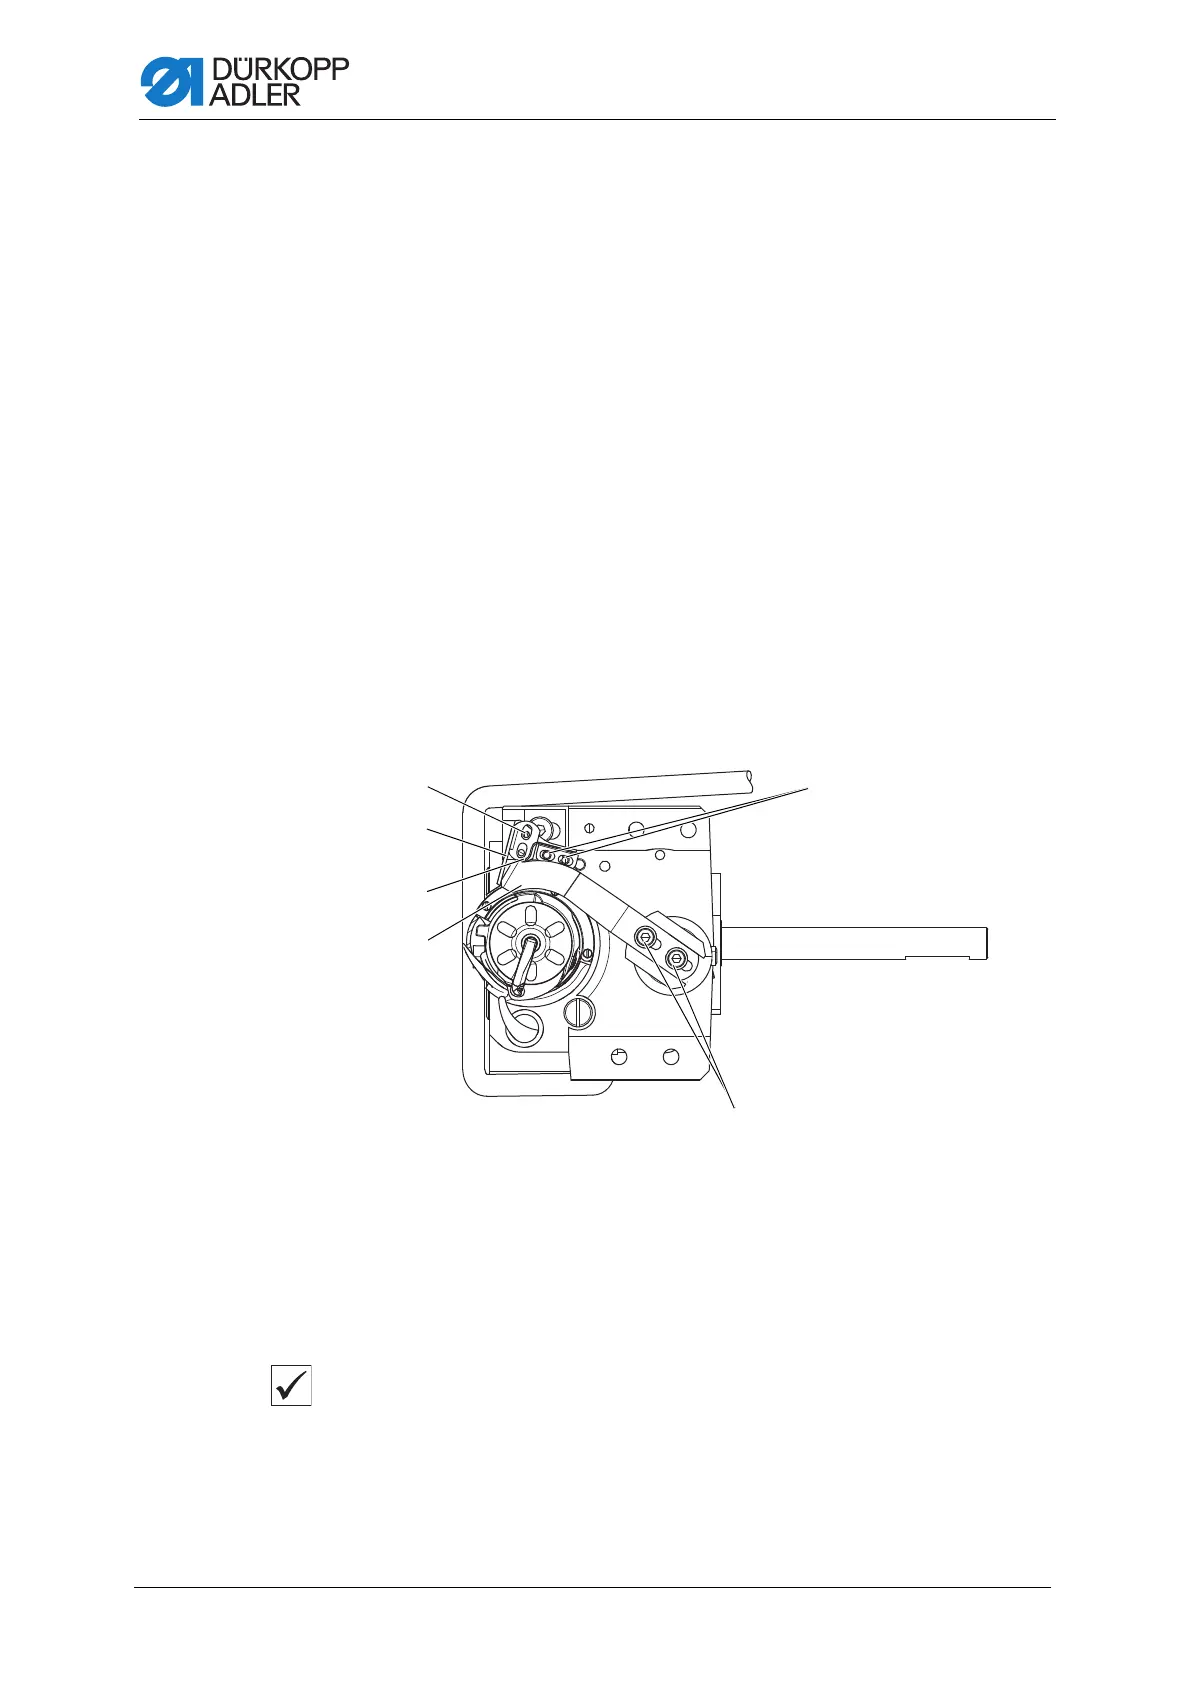
17.3 Setting the cutting pressure
Fig. 72: Setting the cutting pressure
The shape of the thread-pulling knife (4) automatically creates the required
cutting pressure as soon as the thread-pulling knife (4) and counter blade (2)
make contact.
Proper setting
In resting position, the hook thread clamp (3) makes contact with the thread-
pulling knife (4) without any pressure being applied. Any 2 threads with the
greatest strength used for sewing can be neatly cut simultaneously.
(1) - Screw
(2) - Counter blade
(3) - Hook thread clamp
(4) - Thread-pulling knife
(5) - Screw
(6) - Screws

 Loading...


