Unpacking and Initial Setup
3-4
Connecting the Patient
Cables
Refer to the directions for proper attachment of the Pressure
Controller, Heart Reference Sensor and ClearSight Finger
Cuffs provided in Chapter 7: Methodology and Monitoring.
These directions contain specific guidelines for a successful
measurement and for relevant WARNINGS, CAUTIONS
and NOTES.
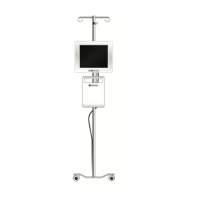
Location of cable connections and appearance of
Monitor shown in Figure 3-1 are for example only. Actual
cable connection locations and appearance may vary
depending on Monitor model. See “EV1000 Monitor
Types” on page 13-2.
Initial Startup
Upon initial EV1000 startup, the system displays language
options affecting the displayed language, time and date
formats, and units of measurement. After turning on the
system, the Edwards screen is displayed followed by the
Power-On Self Test (POST). The POST verifies the monitor
meets basic operating requirements by exercising critical
hardware components and is performed each time the system
is turned on. POST status message is displayed on the Startup
Screen along with system information such as serial numbers
and software version numbers.
To turn on the Monitor:
1 Ensure that the Pump-Unit is connected to AC mains and
to the Monitor. See Connecting the Monitor and Pump-
Unit on page 3-2.
2 Wait for the light on the Pump-Unit to indicate that the AC
mains is plugged in.
3 Press the power button on the Monitor and wait
for the Ethernet light to turn green on the Pump-
Unit.
The power button can be located on the front or back of
the Monitor. See “EV1000 Monitor Types” on page 13-2.
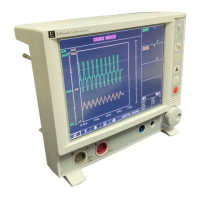
Figure 3-2 Startup Screen