Operation options Proline t-mass I 300 HART
60 Endress+Hauser
Measuring device: Via CDI-RJ45 service interface
Device CDI-RJ45 service interface
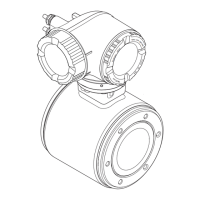
Measuring device The measuring device has an RJ45 interface.
Web server Web server must be enabled; factory setting: ON
For information on enabling the Web server → 64
Measuring device: via WLAN interface
Device WLAN interface
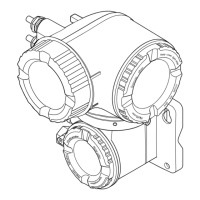
Measuring device The measuring device has a WLAN antenna:
• Transmitter with integrated WLAN antenna
• Transmitter with external WLAN antenna
Web server Web server and WLAN must be enabled; factory setting: ON
For information on enabling the Web server → 64
7.4.3 Establishing a connection
Via service interface (CDI-RJ45)
Preparing the measuring device
1. Depending on the housing version:
Release the securing clamp or securing screw of the housing cover.
2. Depending on the housing version:
Unscrew or open the housing cover.
3. The location of the connection socket depends on the measuring device and the
communication protocol:
Connect the computer to the RJ45 connector via the standard Ethernet connecting
cable .
Configuring the Internet protocol of the computer
The following information refers to the default Ethernet settings of the device.
IP address of the device: 192.168.1.212 (factory setting)
1. Switch on the measuring device.
2. Connect to the computer using a cable → 66.
3. If a 2nd network card is not used, close all the applications on the notebook.
Applications requiring Internet or a network, such as e-mail, SAP applications,
Internet or Windows Explorer.
4. Close any open Internet browsers.
5. Configure the properties of the Internet protocol (TCP/IP) as defined in the table:
IP address 192.168.1.XXX; for XXX all numerical sequences except: 0, 212 and 255 → e.g.
192.168.1.213
Subnet mask 255.255.255.0
Default gateway 192.168.1.212 or leave cells empty

 Loading...

