SC-F2000 Revision C
ADJUSTMENT Overview 197
Confidential
[Blue]: Button or menu name on the program screen / [Black]: Button or menu name on the operation panel of the printer
Tube Assy
Before
replacement
1 Turn the power on in Serviceman mode.
---
√√
2 Counter Reset
√√--- p. 221
3 Remove the Ink Cartridges.
---
√√
4Discharge
√√√p. 248
Replacement 5 Replace with a new one.
---
√√p. 132
After
replacement
6 Clamp position adjustment
---
√√p. 233
7 Insert the Ink Cartridges. => Close the cover.
---
√√
8 Turn the power on in normal mode.
---
√√
9 Initial ink charge
√√√p. 250
10 Nozzle Check & Cleaning
√
PGPP
√√p. 237
Head FFC
Replacement 1 Replace with a new one.
---
√√p. 127
After
replacement
2 Clamp position adjustment
---
√√p. 233
CR Motor Assy
Before
replacement
1 Turn the power on in Serviceman mode.
---
√ ---
2 Counter reset.
√
√ --- p. 221
3 Turn the power off.
---
√ ---
4 Move the CR UNIT to the center. (manually)
---
√√
p. 69
Replacement 5 Replace with a new one.
---
√√
p. 125
After
replacement
6 Turn the power on in normal mode.
---
√√
7 CR Belt tension adjustment
√
Tensimeter U-507
√√
p. 224
8 CR Motor measurement
√√√
p. 282
9 CR scale check
√√√
p. 226
CR Scale
Before
replacement
1 Turn the power on in Serviceman mode.
---
√ ---
2 Counter reset.
√√---
p. 221
3 Turn the power off.
---
√ ---
Replacement 4 Replace with a new one.
---
√√
p. 123
After
replacement
5 Turn the power on in normal mode.
---
√√
6 CR scale check
√√√
p. 226
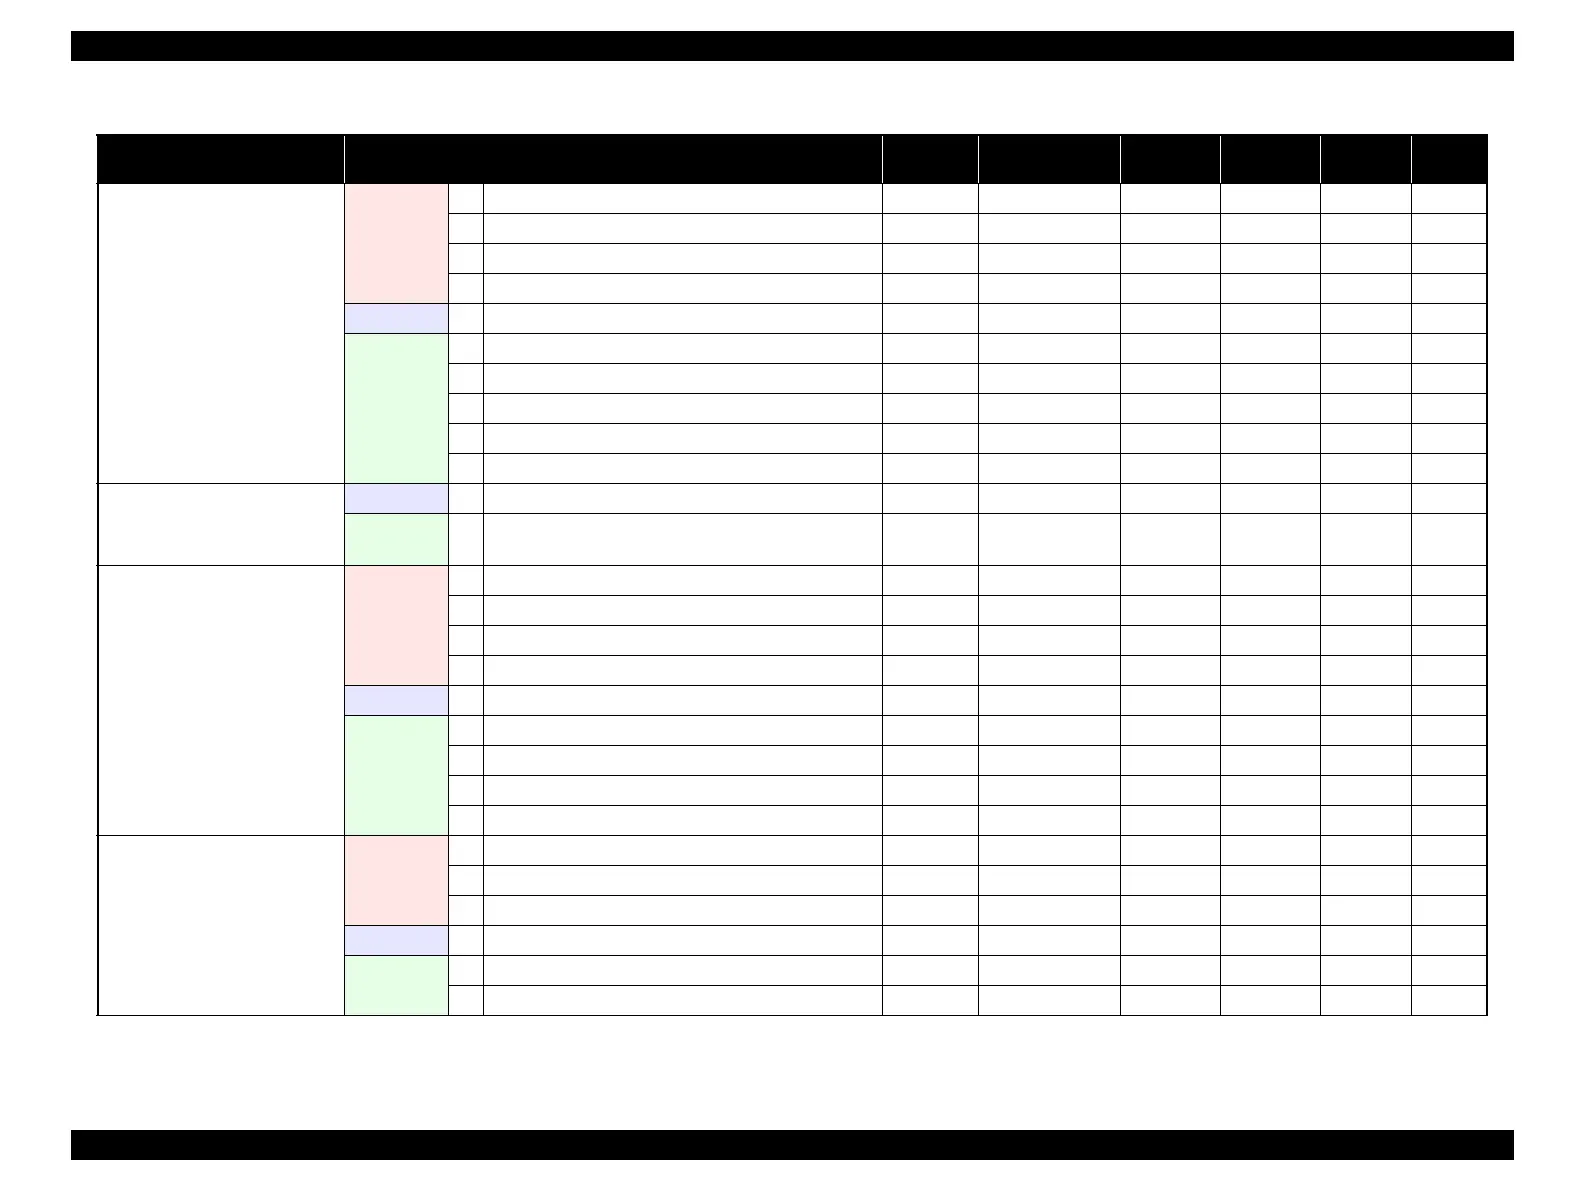
Table 4-1. Adjustment Items and the Order by Repaired Part
Replaced or Repaired
(Reattached) Part/Unit
Required Operations
Service
Program
Jig Media Replaced Reattached Page

 Loading...


