SC-F2000 Revision C
DISASSEMBLY & ASSEMBLY Disassembly and Assembly Procedure 81
Confidential
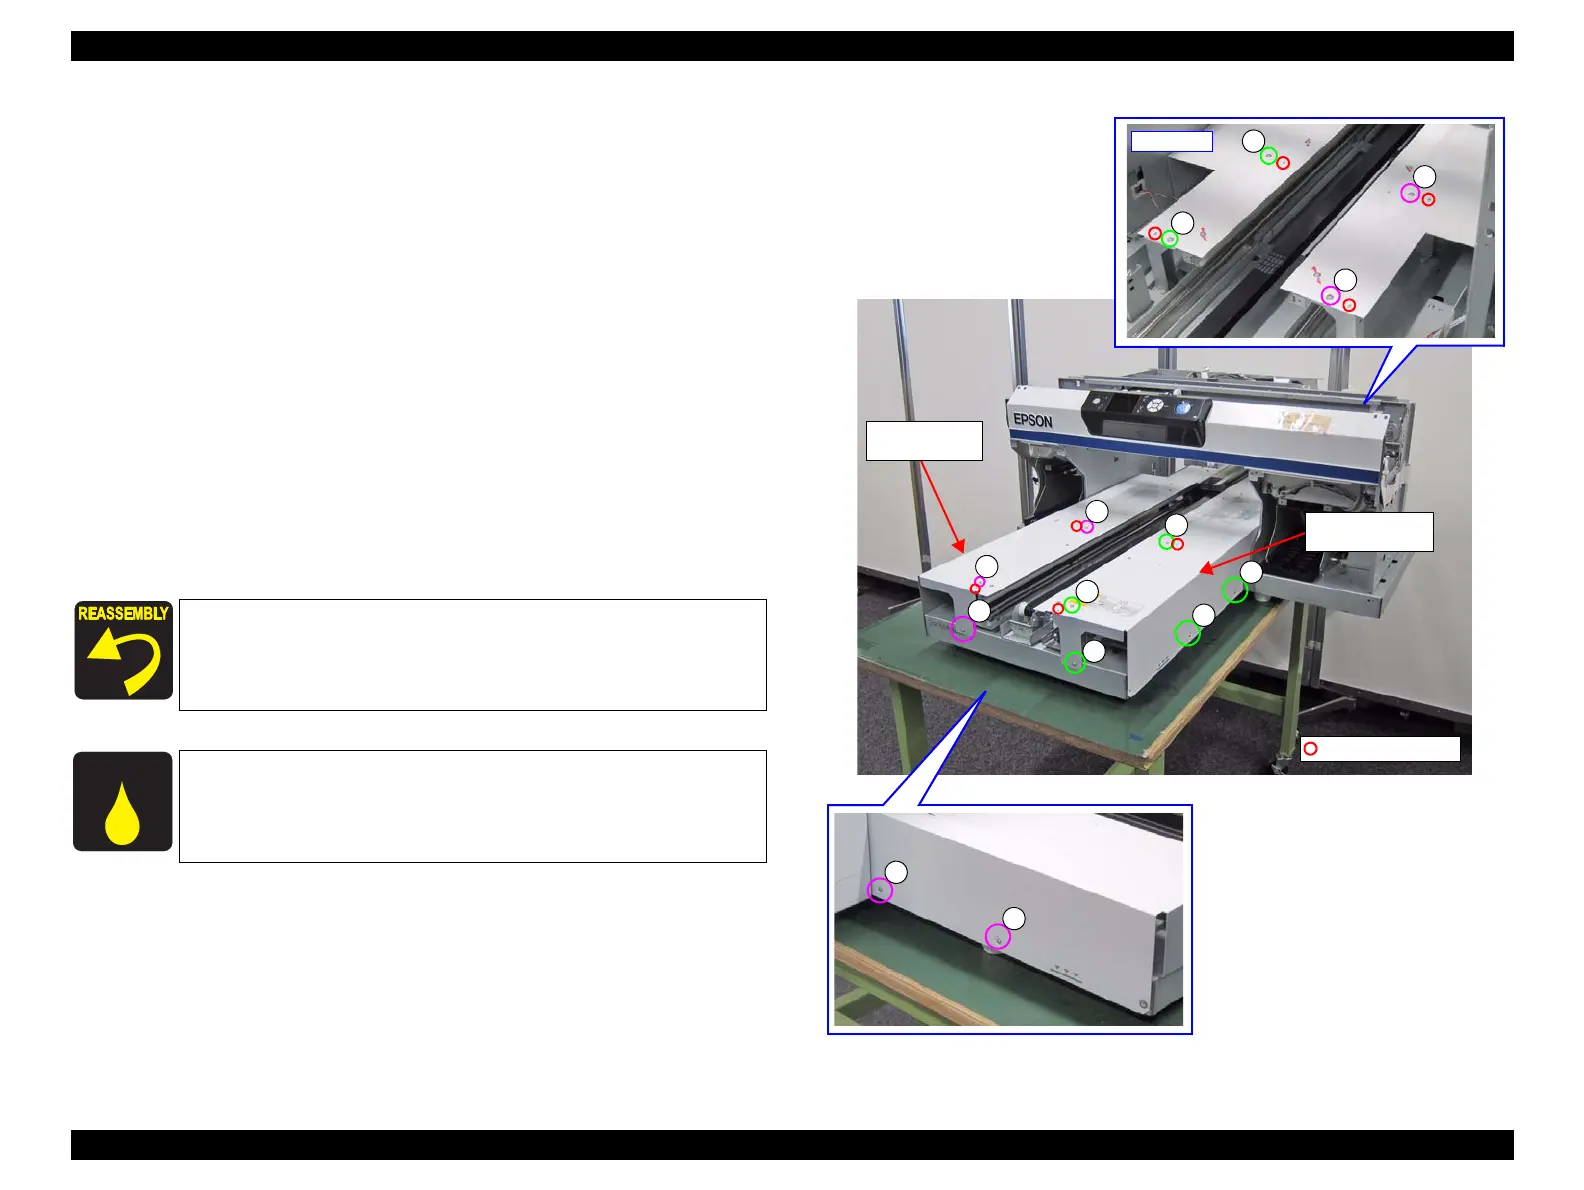
3.4.3.9 LEFT FRONT COVER / RIGHT FRONT COVER
1. Remove the FRONT SUB COVER. (p80)
2. Remove the REAR COVER SUB ASSY. (p77)
3. Remove the PLATEN. (p71)
4. Remove the BELLOWS ASSY. (p173)
5. Remove the seven screws.
A) Silver M3x8 Cup S-tite screw: 7 pcs
6. Move the Table Feed Mechanism to the rear, and remove the LEFT FRONT
COVER.
7. Move the Table Feed Mechanism to the front.
8. Remove the seven screws.
B) Silver M3x8 Cup S-tite screw: 7 pcs
9. Move the Table Feed Mechanism to the rear, and remove the RIGHT FRONT
COVER.
Figure 3-24. Removing the LEFT FRONT COVER / RIGHT FRONT COVER
Pay attention to the positioning points (See Figure 3-24).
When replaced with a new part, make sure to lubricate the new one
referring to “5.6 Lubrication” (p293).
B
A
B
A
A
B
B
B
Positioning points
RIGHT FRONT
COVER
LEFT FRONT
COVER
 Loading...


