EPSON Stylus Photo R1900/R2880/R2000/R2000s/SC-P400 Series Revision I
Adjustment Adjustment 158
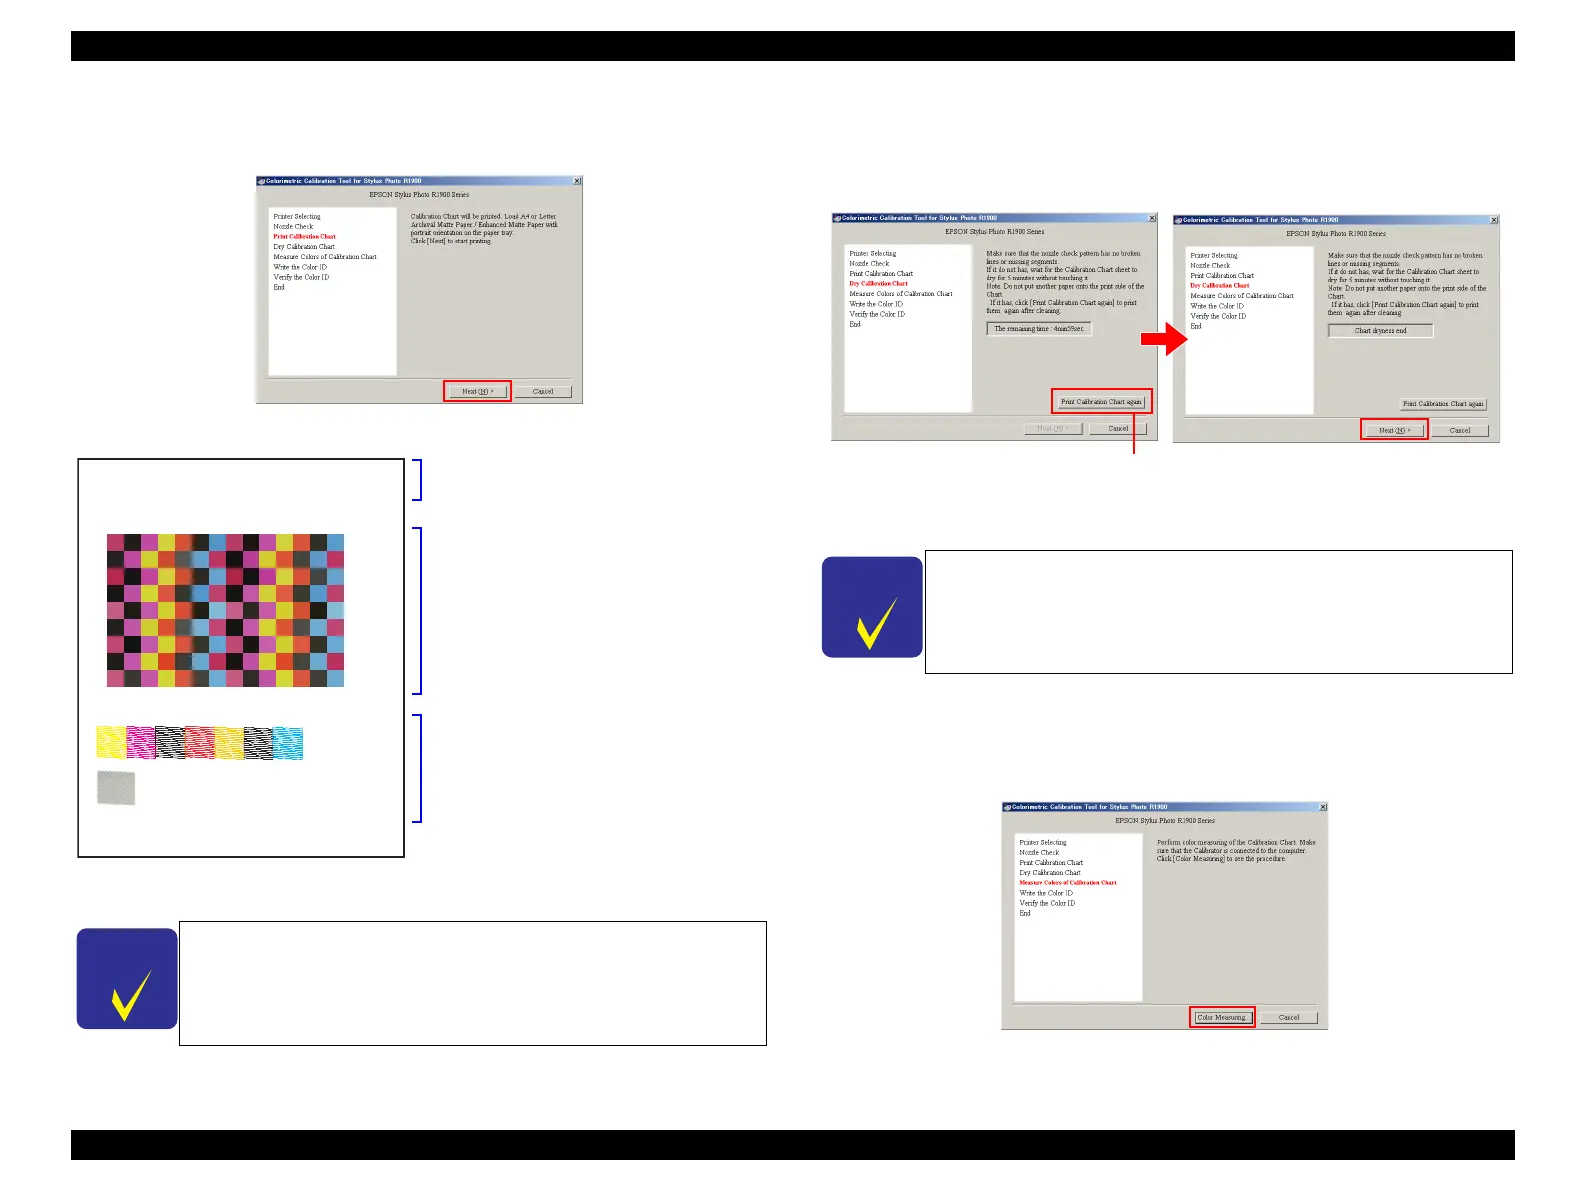
5. Load one sheet of A4 or letter-size Archival Matte Paper/Enhanced Matte paper to
print the Calibration Chart.
Figure 5-23. Printing a Calibration Chart
Figure 5-24. Illustration of Calibration Chart
6. After the Calibration Chart is printed, allow it to dry for five minutes. During this
time, check the nozzle check pattern on the chart. If there are broken lines or
missing segments, click [Print Calibration Chart again], and return to Step 5. If
there are no broken lines or missing segments, click [Next].
Figure 5-25. Drying the Chart
7. Connect the Calibrator to the PC and click [Color Measuring]. The color
measurement procedure screen operated by the Calibrator control plug-in (DLL) is
displayed on screen overlapping the Colorimetric Calibration Tool.
Figure 5-26. Color Measurement
The recommended air temperature range for printing a Calibration
Chart is 15°C to 28°C.
2007-09-21 16:07 ( GMT 2007-09-21 07:07)
USBID:3030334852469D2F58 OS:Win BlackInk:Photo/Matte
Printer:EPSON PX-G5300
2007-09-28 16:02 ( GMT 2007-09-28 07:02)
126 calibration patches
Nozzle check pattern
Print Time
USB ID (18 alphanumeric digits) + OS + Black ink type
Color measurement limit time
(7 days after the print time) Product name (R1900/R2880)
If there are broken lines or missing segments observed in the nozzle
check pattern for the Gross Optimizer, there’s no need to reprint
the check pattern.
When there are broken lines or
missing segments

 Loading...


