The test is finished:
• The check is successful: press to go back to the work screen.
• The test has failed: run a calibration cycle.
Calibrating the tracing table
This procedure must be followed if the above calibration check has failed.
Select to start the cycle.
The image of the pattern holder is displayed:
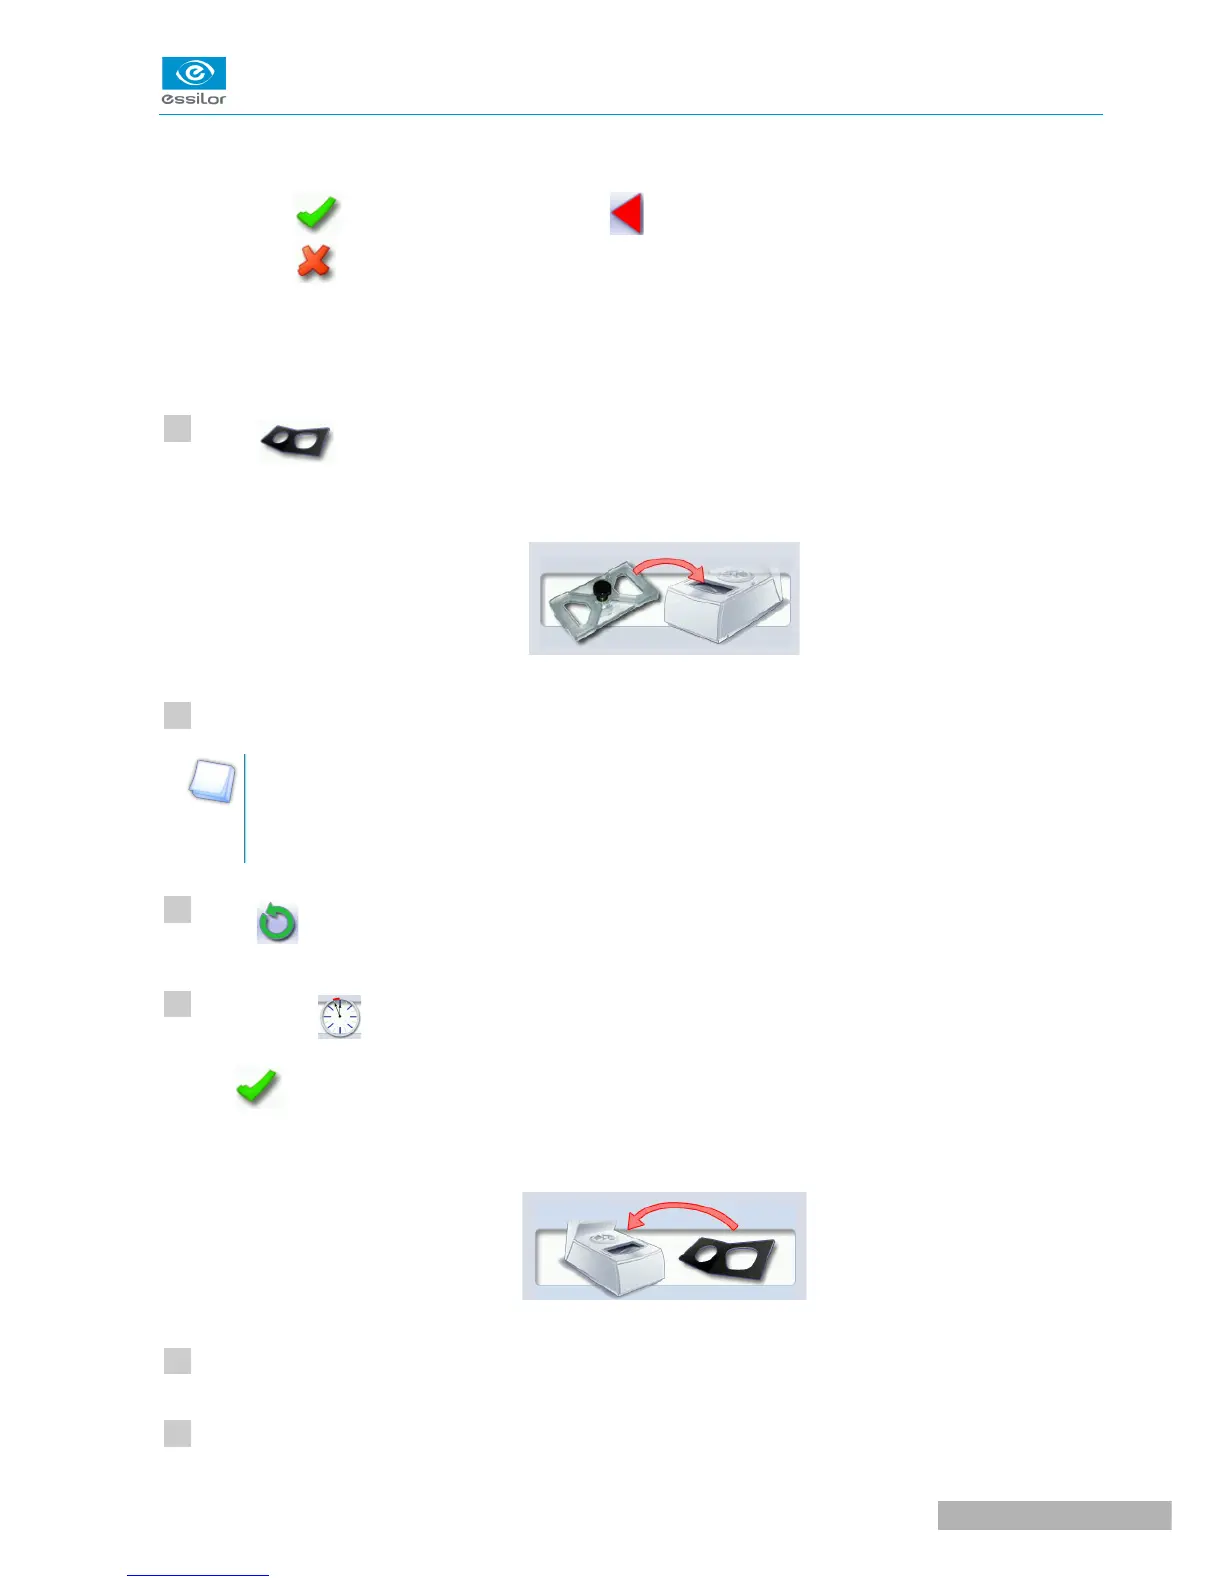
Attach the pattern gauge to the pattern holder then insert it into the tracing table.
The pattern gauge is considered as a left lens. For more information on fixing the gauge on the
pattern holder, refer to the section Tracing > Tracing a pattern, a demo or recut lens > Mechanical
tracing (F p.32).
Select to start the cycle.
Wait: a timer is displayed for a few minutes.
: The first calibration phase is finished.
The image of the frame gauge is displayed:
Insert the frame gauge in the tracing table.
Close the jaws.

 Loading...
