2. Knurled knob to screw
3. “Right nose” inscription
4. Back tab
5. Posiblock clamp
6. 18x14 mm posiblock
7. Pattern-holder tip
8. Holding screw
Attaching a recut lens or demo lens to the pattern holder
Block the lens in the boxing center, making sure it is properly centered.
Insert the blocked lens in the posiblock clamp, holding it in position with your index finger.
Press on the knurled button, screwing, until the blocked lens is immobilized.
The lens is clamped.
As the feeling pressure on the lens is low, it is unnecessary to screw down the knurled button
excessively.
Attaching a pattern to the pattern holder
Unscrew the screw holding the pattern-holder tip.
Fix the pattern on the pattern-holder tip:
• nose to the right for a right lens, and to the left for a left lens
• pattern-holder tip positioner towards the bottom of the pattern.
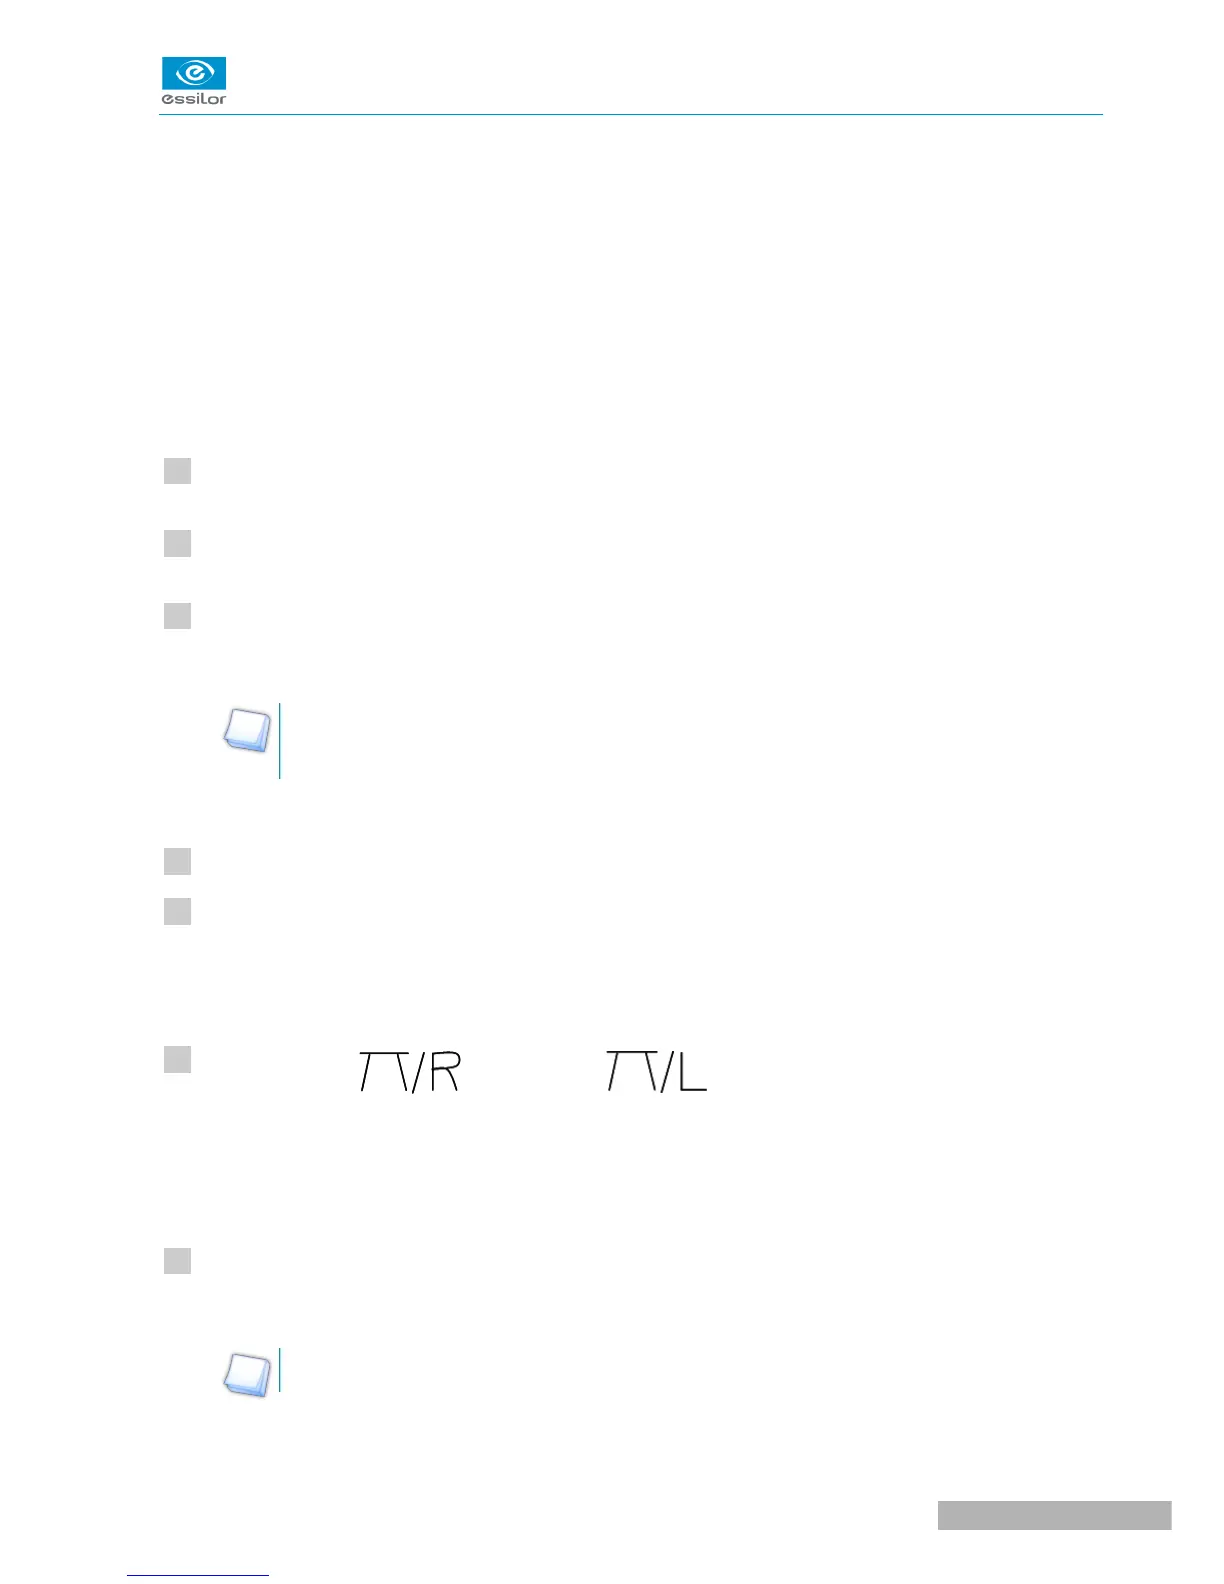
Align the marking (right nose) or (left nose) of the pattern holder with that of
the pattern:
• nose to the right for a right lens, and to the left for a left lens
• pattern-holder posiblock positioner towards the bottom of the pattern
Press on the knurled knob, screwing it, until the pattern is immobilized (as for fixing a lens).
The pattern is clamped.
Screwing of the knurled knob inside the tip posiblock has no functional impact on the latter.

 Loading...
