• Press .
> is displayed. All future modifications will be applied to all drilling points in the same way:
◦ only the reference drilling point is modifiable,
◦ the coordinates of the other drilling points are greyed out.
• To un-group the drilling points, press again.
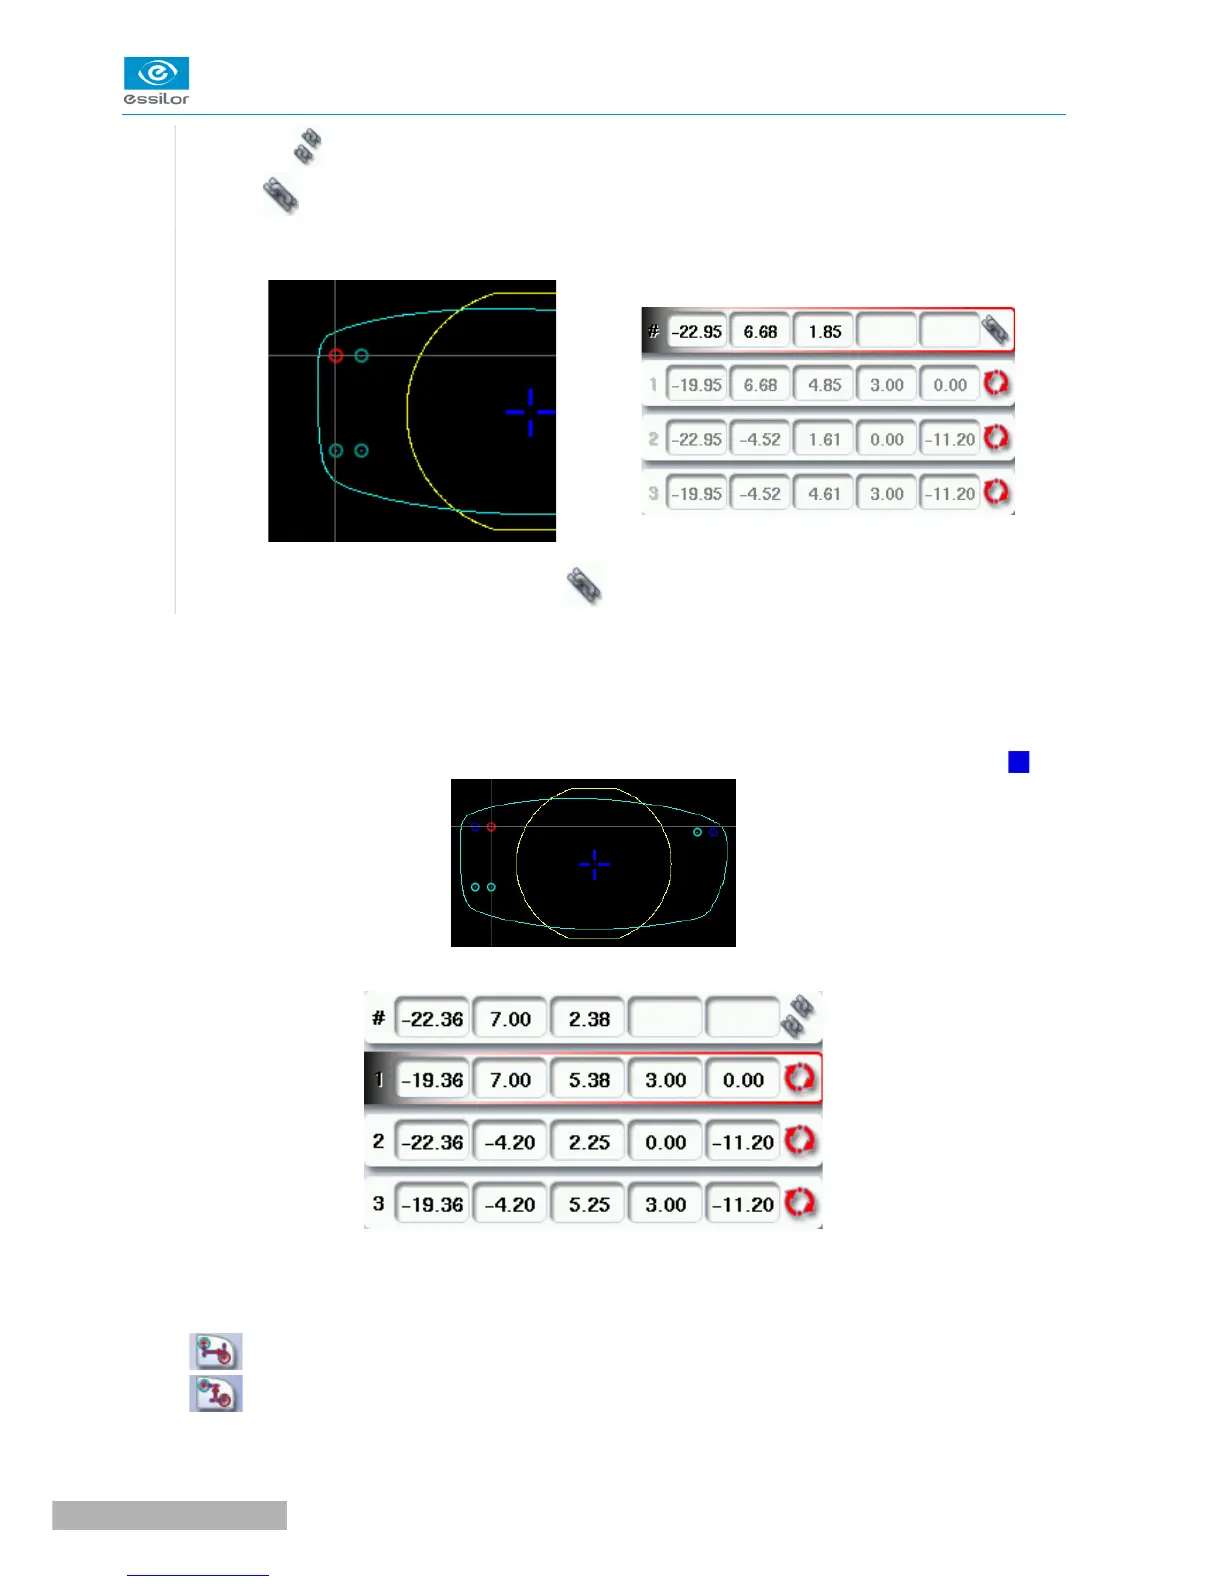
Reference drilling point
The first drilling point you create on a shape automatically becomes the 'reference drilling point' in relation to
which the others are positioned:
• Each side (nasal and temporal) has its reference drilling point, identified by its dark blue colour .
• It is identified by the symbol # on the left of its coordinates.
You can position each drilling point in relation to the reference drilling point by modifying the values in the
columns:
• X coordinates in relation to the reference drilling point
• Y coordinates in relation to the reference drilling point

 Loading...
