2640A/2645A NetDAQ
Users Manual
2-52
Installing NetDAQ Logger 2-45.
The NetDAQ Logger setup program automatically determines whether to install
the 32-bit (for Windows 95 and Windows NT) or 16-bit version of the software.
The setup program will ask you to select isolated or general network operation.
See “Operating a NetDAQ Data Acquisition System” in Chapter 1 of this manual
for information on network type. On Windows 3.1, the setup program will offer
you a third option: Isolated Network with Trumpet TCP/IP Stack and Winsock. If
you need to install Trumpet, refer to the section “Installing NetDAQ Logger with
Trumpet” later in this chapter.
To install NetDAQ Logger, complete the following procedure:
1. Insert Disk 1 and run the setup application (setup.exe). Click Next in the first
dialog box.
2. Select Isolated or General Network Type. Click Next.
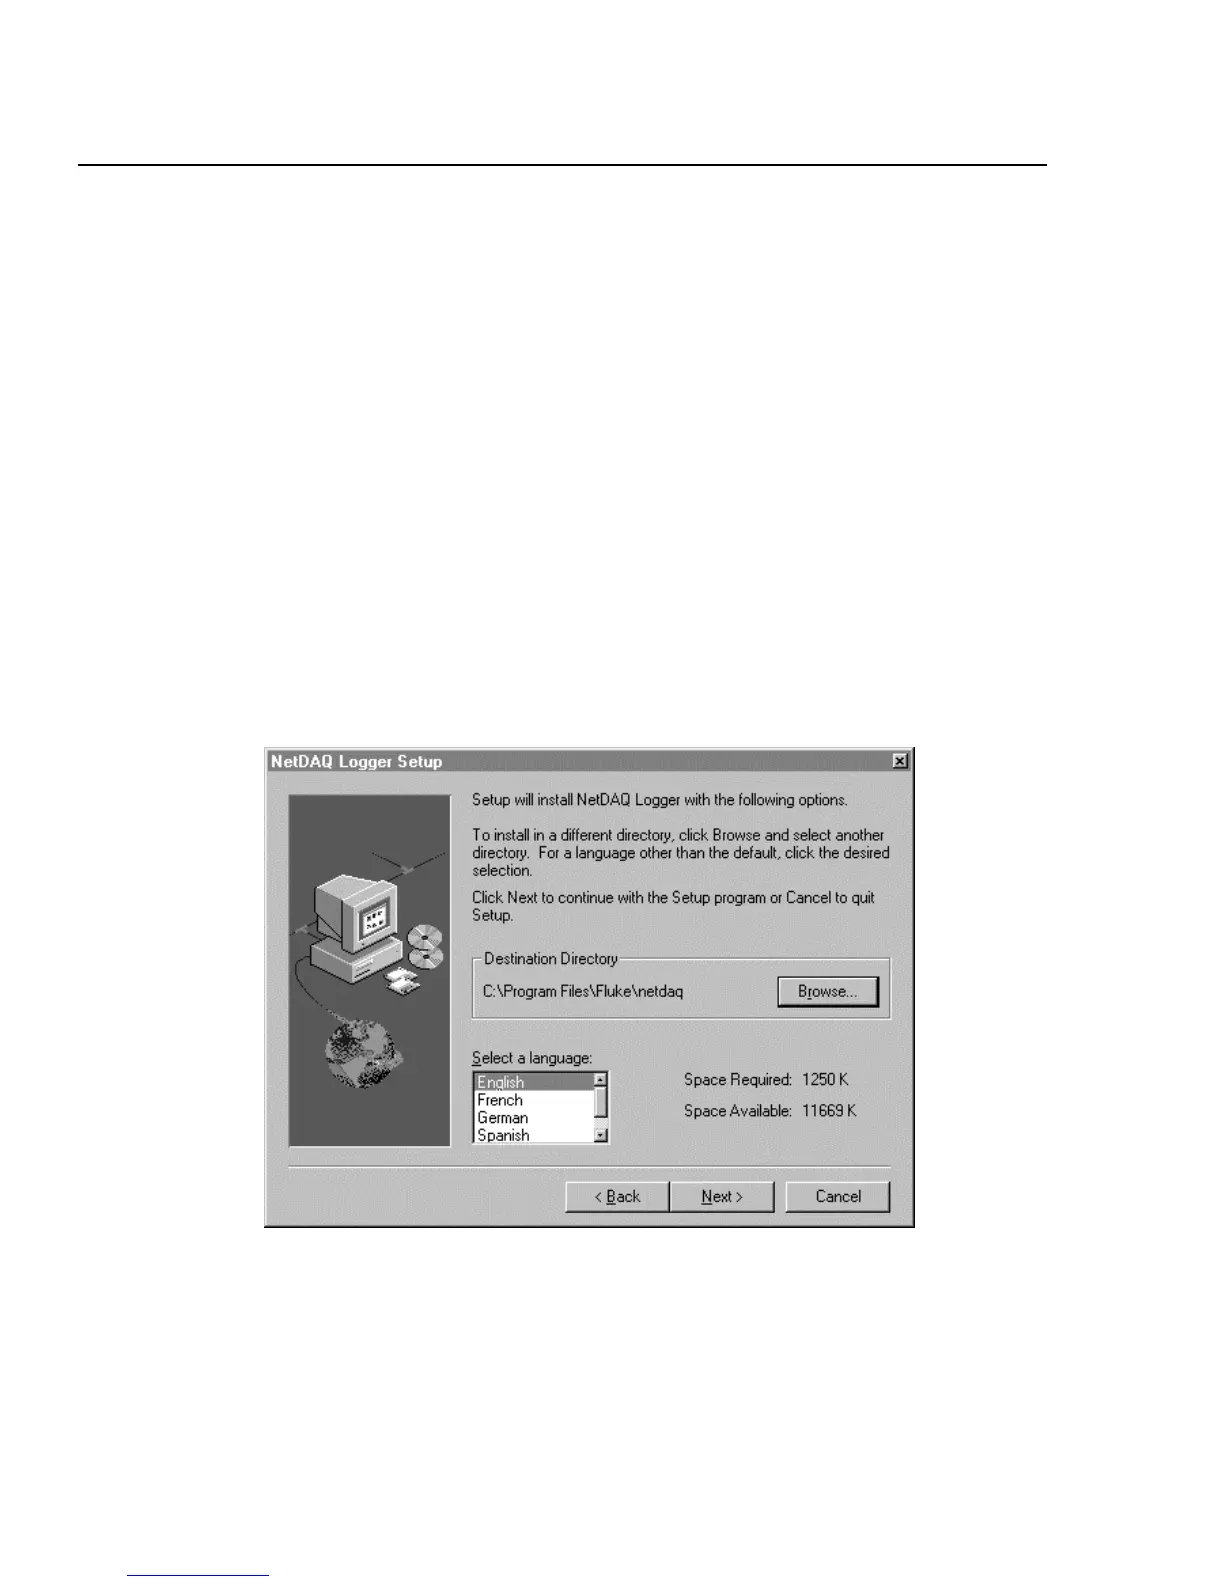
3. Select the desired destination directory. On 32-bit systems, the default is
c:\Program Files\Fluke\netdaq. On 16-bit systems, the default is c:\netdaq.
Setup and data file storage defaults to the same directory. Use Browse if you
want to change the destination directory.
ds305s.bmp
4. Select the language of the user interface: English, French, German, or
Spanish. Click Next.
5. Select the program folder. The default name of the program folder or program
group is Fluke NetDAQ Logger. You can select or type a different name.
Click Next.