51
!
"
#
/
(
"
#
%$ &
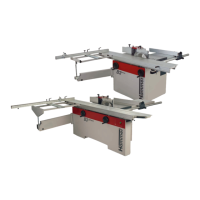
Saw-Spindle Moulder
B3 / B3 e-classic
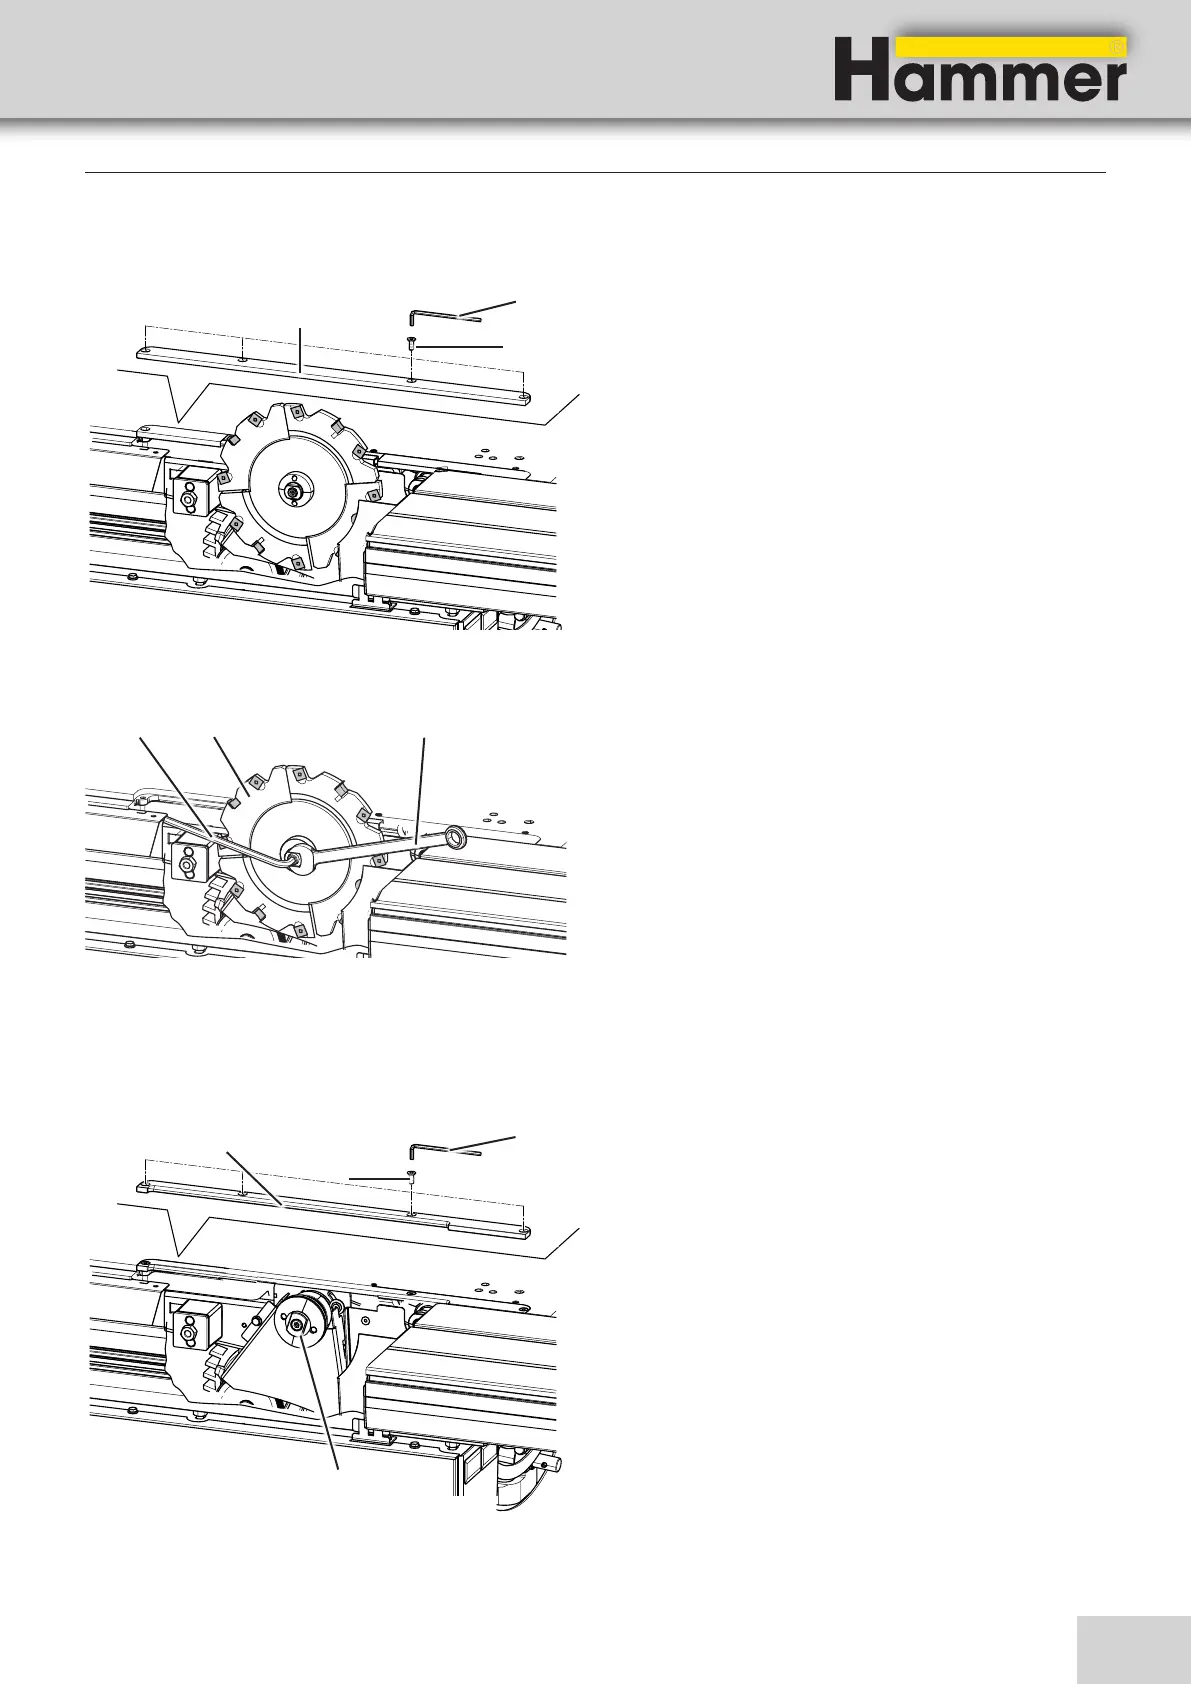
Required tools:
• Hex key 8 mm
• Spanner SW 22 mm
• Hex key 4 mm
1. Prepare to change tooling.
2. Move the grooving tool to the lowest position.
3. Unscrew the 4 screws with the allen key.
4. Remove the wooden insert.
5. Hold the circular saw flange with an open-end
spanner.
6. Loosen the socket head cap screw with an hex key.
(8 mm )
7. Remove the socket head cap screw and flange.
8. Remove the grooving tool.
9. Remove the spacer ring from the saw blade arbor if
present.
! Wooden insert
@ Screws
# Hex key 4 mm
$ Hex key 8 mm
% Grooving tool
& Spanner
Making adjustments and preparations
10. Place the synthetic insert into position.
11. Screw in the 4 screws with the Allen key.
12. Mount the rear flange.
13. Assemble the saw blade.
/ Synthetic insert
( Flange
8.11.3 Unchucking the grooving tools – Retool to a saw blade operation
Fig. 8-29: Wooden loading board
Fig. 8-30: Remove grooving tooling
Fig. 8-31: Rear flange/Loading board