Chapter 4: Installing the Ripple-2 Node
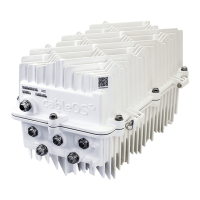
3. Feed the fiber cable's optical connectors through the port one at a time; when all have been inserted,
even them up and pull them through until the cable adapter (5/8-24) is flush with the node housing.
4. Thread the cable adapter onto the optical input and tighten in accordance with the manufacturer's
recommendations.
5. Firmly tighten the rotational nut against the adapter nut to secure the cable to the housing.
Figure 4-10: Threading the optical fibers and securing the cable adapter
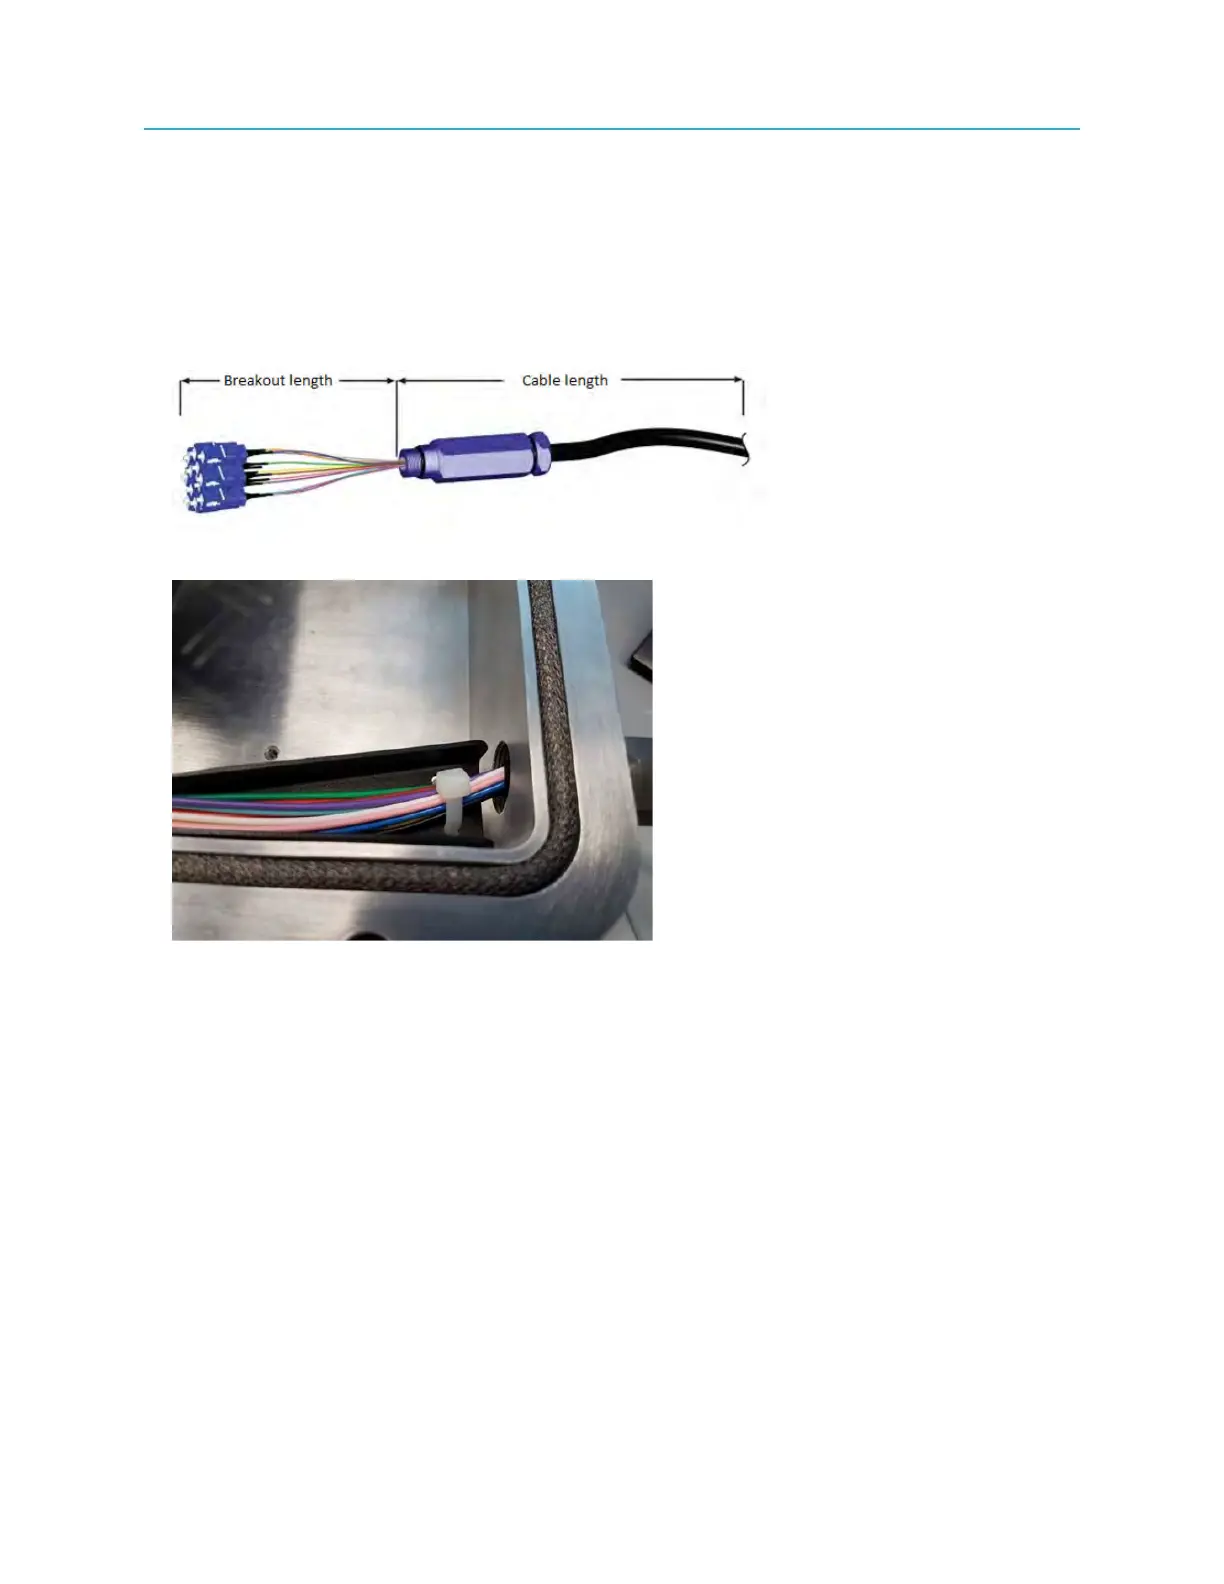
6. Loosely wrap the cable tie around the fibers.
Figure 4-11: Optical fibers loosely tied with cable tie
7. Install a heat-shrink tube to seal the cable-connector-port area to the Ripple housing.
8. Separate the active connectors (that you are using) from the spare connectors and route the spare
connectors inside the fiber tray, avoiding kinks.
44