3Dimensions System User Guide
Chapter 5: User Interface
MAN-05085-002 Revision 002 Page 49
DRAFT Preview Copy-Generated May 30, 2018
Table 13: The Select Patient Screen
Item Description
2. Tabs
The tabs at the top of the screen are configurable. A user with the correct
permissions can delete tabs and create new tabs.
x Scheduled tab shows the scheduled procedures.
x In Progress tab shows the procedures not complete.
x Completed tab shows the completed procedures.
x Current User tab shows the procedures for the current operator.
x Reject tab shows the procedures with rejected views.
x Pend tab shows the procedures with pending views.
x All tab shows all procedures for all users.
x Notices tab shows the patients with unviewed notices by default. Refer
to About the Notices Tab on page 50
for complete information.
x QC tab shows the Quality Control procedures.
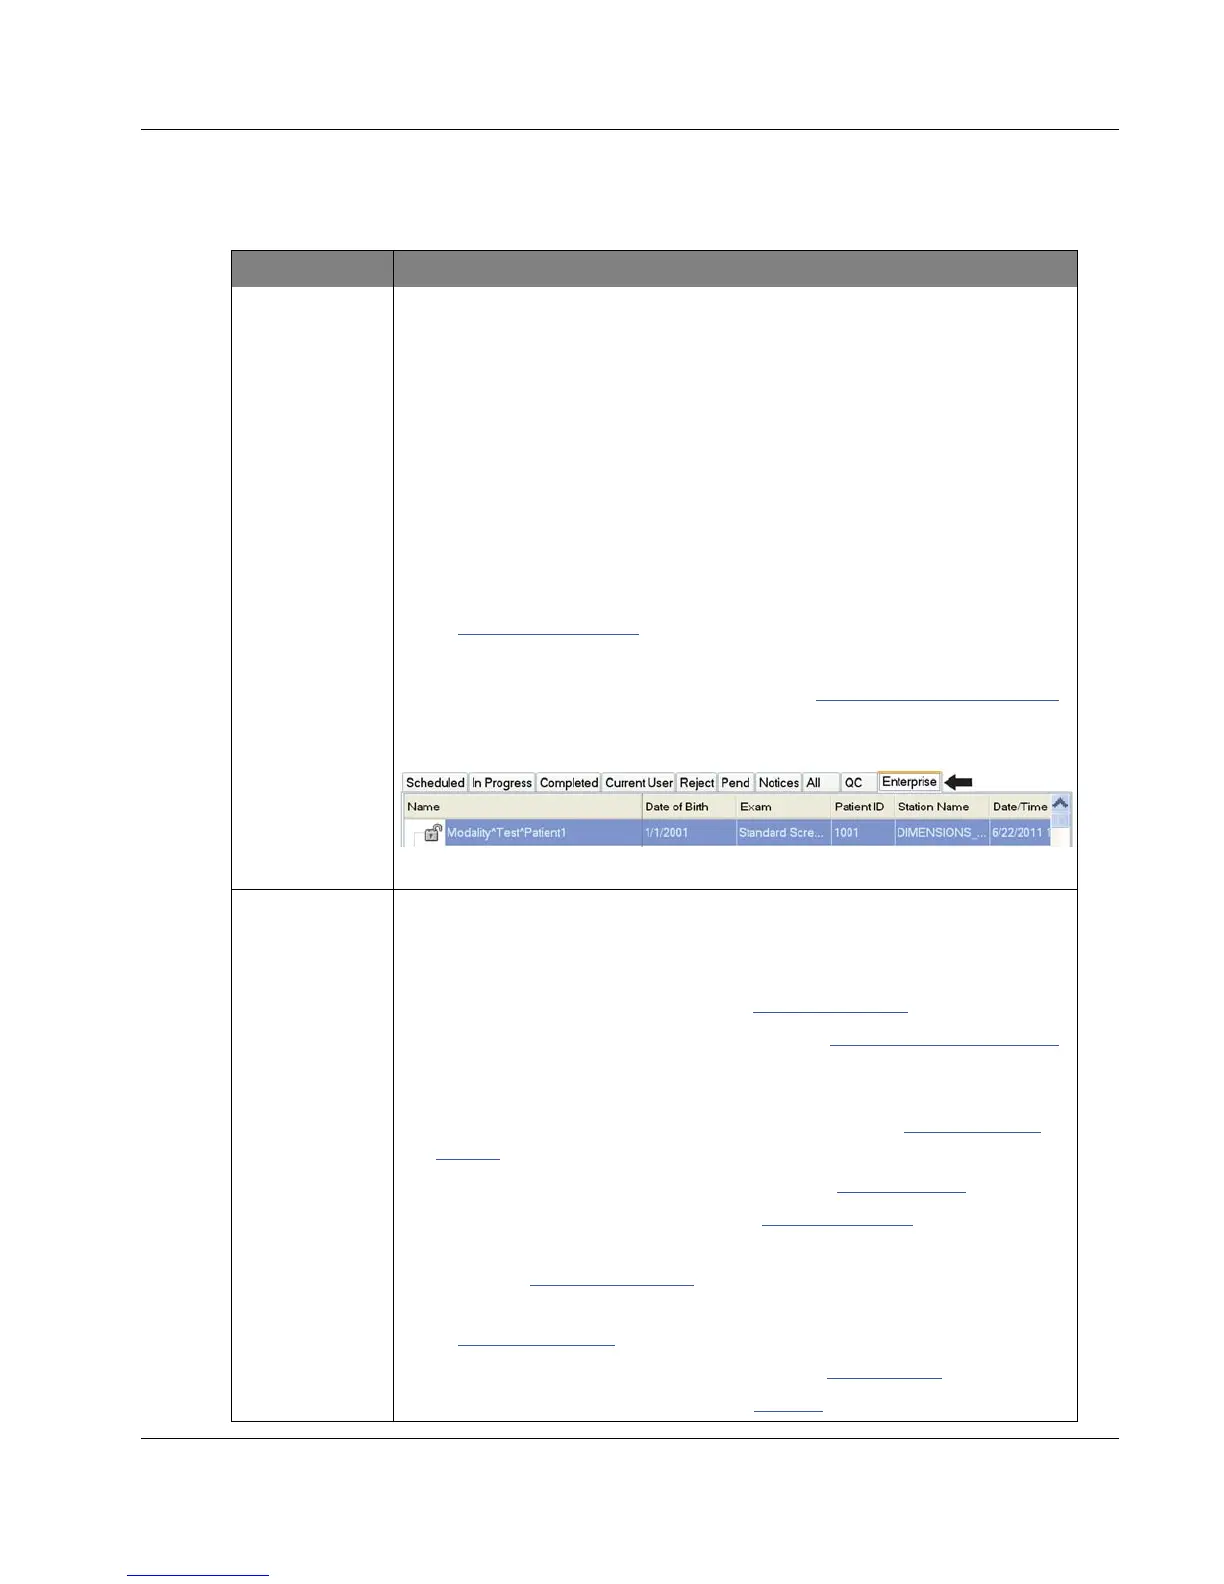
x Enterprise tab is displayed if you have the Advanced Workflow Manager
on page 56. This tab shows the procedures acquired on all compatible
networked systems.
Figure 24: Enterprise Tab
3. Buttons
Many functions are accessed from this screen by selecting a particular
button:
x Open: Open the selected patient.
x New: Add a new patient — refer to Add a New Patient on page 50
.
x Edit: Edit the patient information — refer to Edit the Patient Information
on page 51.
x Split: Remove the images from a procedure or a patient and move the
images to a different procedure or patient — refer to Split the Patient
Records on page 51.
x Delete: Delete the selected patient — refer to Delete a Patient on page 53.
x Filter: Use a Patient Filter — refer to Filters for Patients on page 53.
x Refresh Worklist: Update the Scheduled Patient Worklist information
— refer to Refresh the Worklist on page 55
.
x Query Worklist: Search for a patient in the Modality Worklist — refer
to Query the Worklist on page 55
.
x Admin: Access the Admin Screen — refer to Admin Screen on page 111.
x Log Out: Exit the system — refer to Log Out on page 55.