3Dimensions System User Guide
Chapter 6: Images
MAN-05085-002 Revision 002 Page 73
DRAFT Preview Copy-Generated May 30, 2018
6.3.3 How to Accept a Rejected Image
If a rejected image is better than the new image, you can retrieve and use the old image.
Select the thumbnail image on the Procedure screen to review the image, then Accept the
image.
6.3.4 How to Accept or Reject a Pended Image
To accept or reject a Pended image, select the Pended thumbnail image, then select the
Accept button or the Reject button.
Note
A manager user can configure the system to Auto-Accept or Auto-Pend new images.
6.4 How to Correct and Reprocess Implant Images
You must correct the image if you acquire an implant or an implant displaced view
without the Implant Present button activated.
6.4.1 If the Image Is Not Accepted
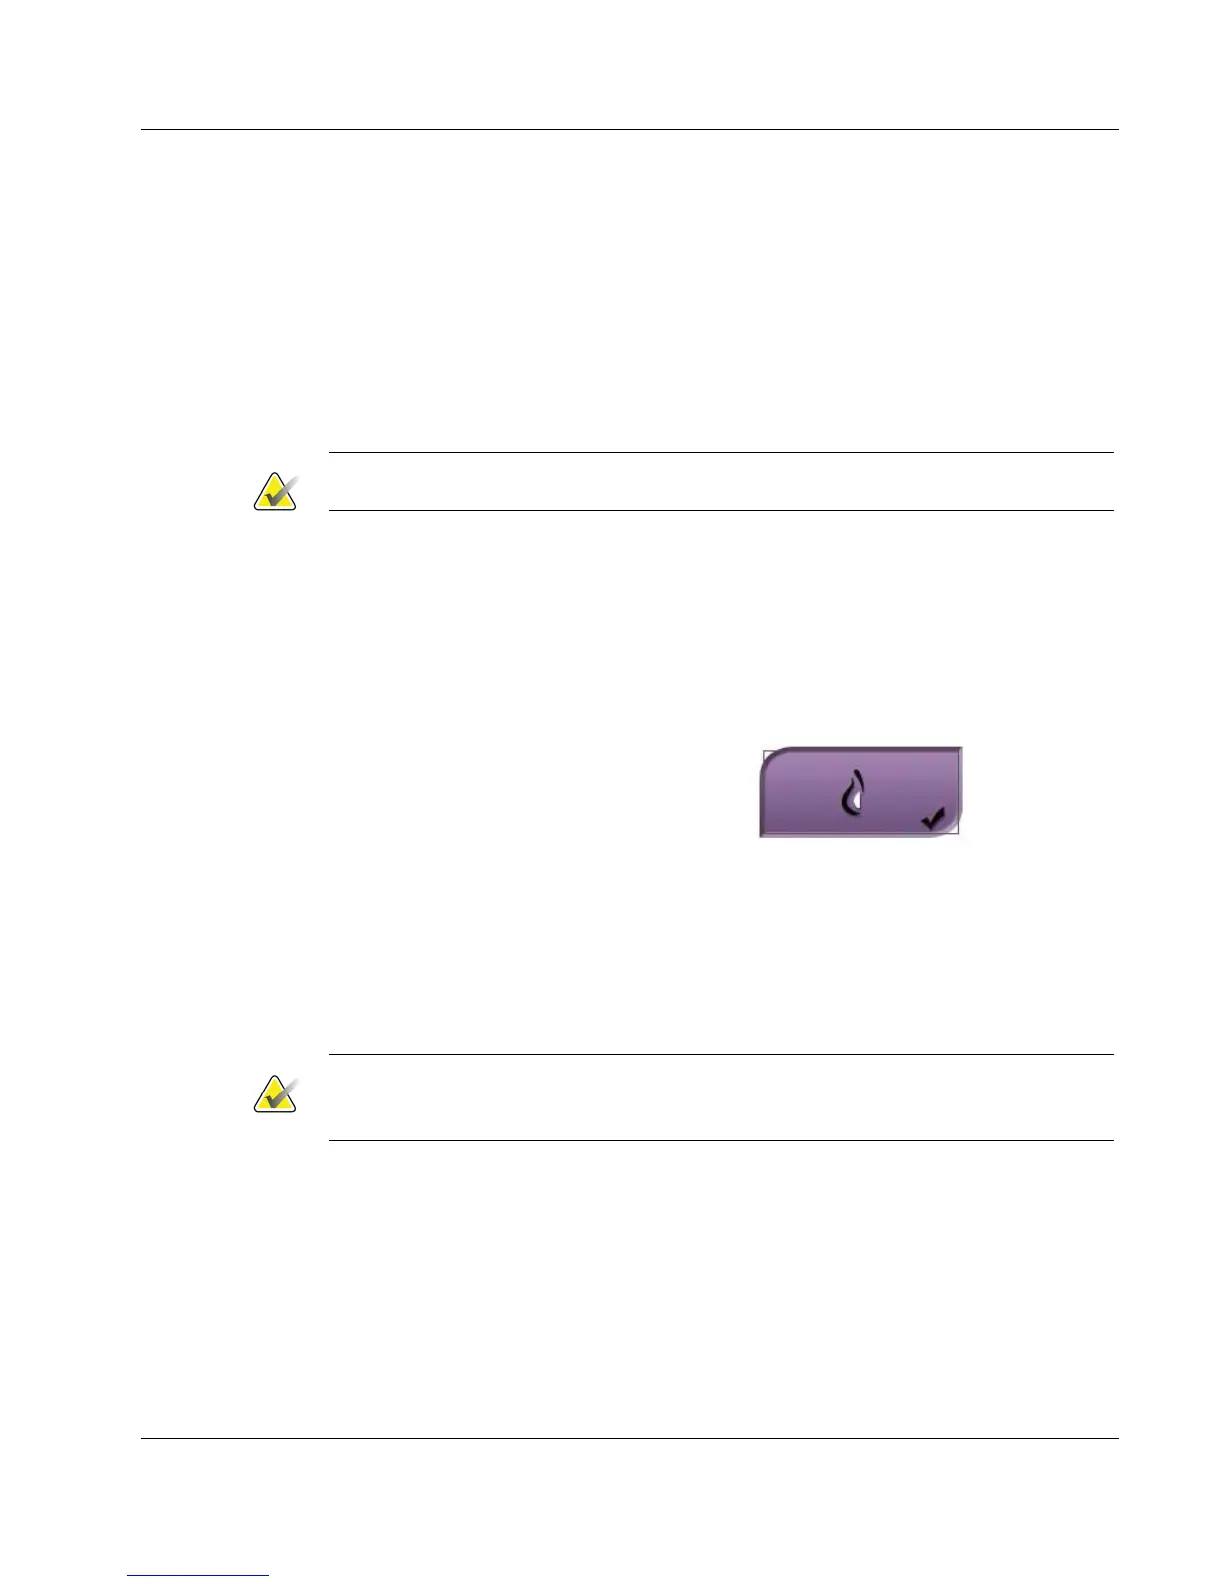
Select the Implant Present button on the
Procedure screen to indicate an implant exists.
A check mark appears on the button and the
image reprocesses.
6.4.2 If the Image Is Accepted
1. Select the image.
2. Select the Implant Present button on the Procedure screen to correct the image. A
check mark appears on the button and the image reprocesses.
3. Select the Accept button to accept the changes.
Note
The corrected image is sent automatically to the selected output devices if the system is
set to send images when the Accept button is selected.