3Dimensions System User Guide
Chapter 5: User Interface
Page 66 MAN-05085-002 Revision 002
DRAFT Preview Copy-Generated May 30, 2018
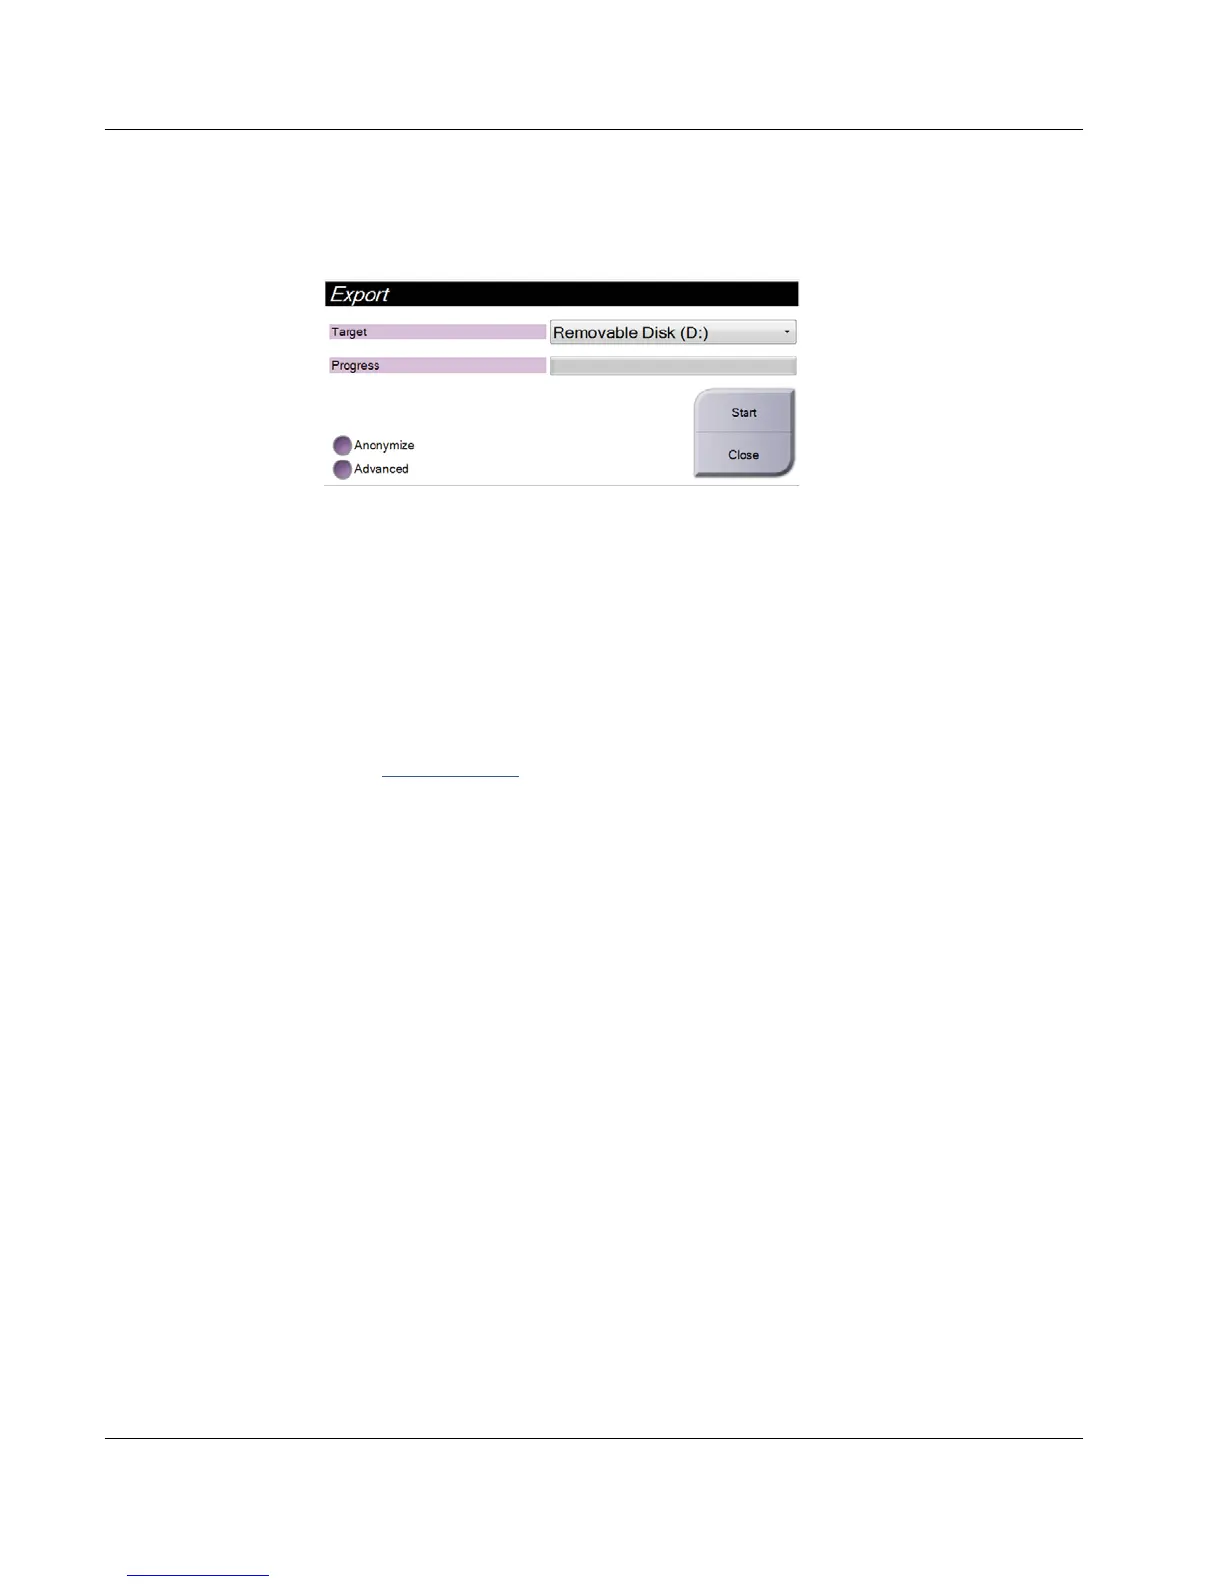
3. In the Export dialog box, select the target from the drop-down menu of media
devices.
Figure 38: Export Dialog Box
• To anonymize patient data, select Anonymize
• To select a folder on your local systems for storage of your selections and to
select the Export types, select Advanced.
4. Select the Start button to copy the selected images to the selected device.
5.7.3 Print
1. From the Procedure screen, select the Print button to show the Print screen. See the
figure The Print Screen on page 67
to prepare your print data.
2. Select the film format from the film format area of the screen.
3. Select a thumbnail image.
4. Select the image mode (Conventional, Projection, or Reconstruction). The C-View
button shows if the system is licensed for C-View imaging.
5. Select the print preview area (item 16) in the Print screen. The image that shows in
this area is the image that prints on the film.
6. To put other images on the same multiformat film, repeat steps 3 through 5.
7. To print a different film format of the same images, select the New Film button (item
12), then complete steps 2 through 6.
8. Use the buttons in the top left area of the Print screen (item 1 through item 6) to hide
or show patient data, markings and annotations, and to change the orientation of the
image.
9. Select the Print button to print your films.