32 P/N MAN-01964 Revision 001
DRAFT Preview copy—Generated 7/9/2010
User Manual
Chapter 3—The User Interface
The Procedure Screen
4.1.3 How to Use the AEC Sensor
The AEC Sensor has seven manual positions and an automatic position. The manual
positions start at the chest wall edge (position 1) and reach to the nipple edge
(position 7). The automatic position is Position 8.
Use the plus (+) and minus (-) keys on the Compression Device or in the AEC Sensor
area of the screen to change the sensor position. You can select Auto AEC to allow
the system to calculate the best exposure for the breast.
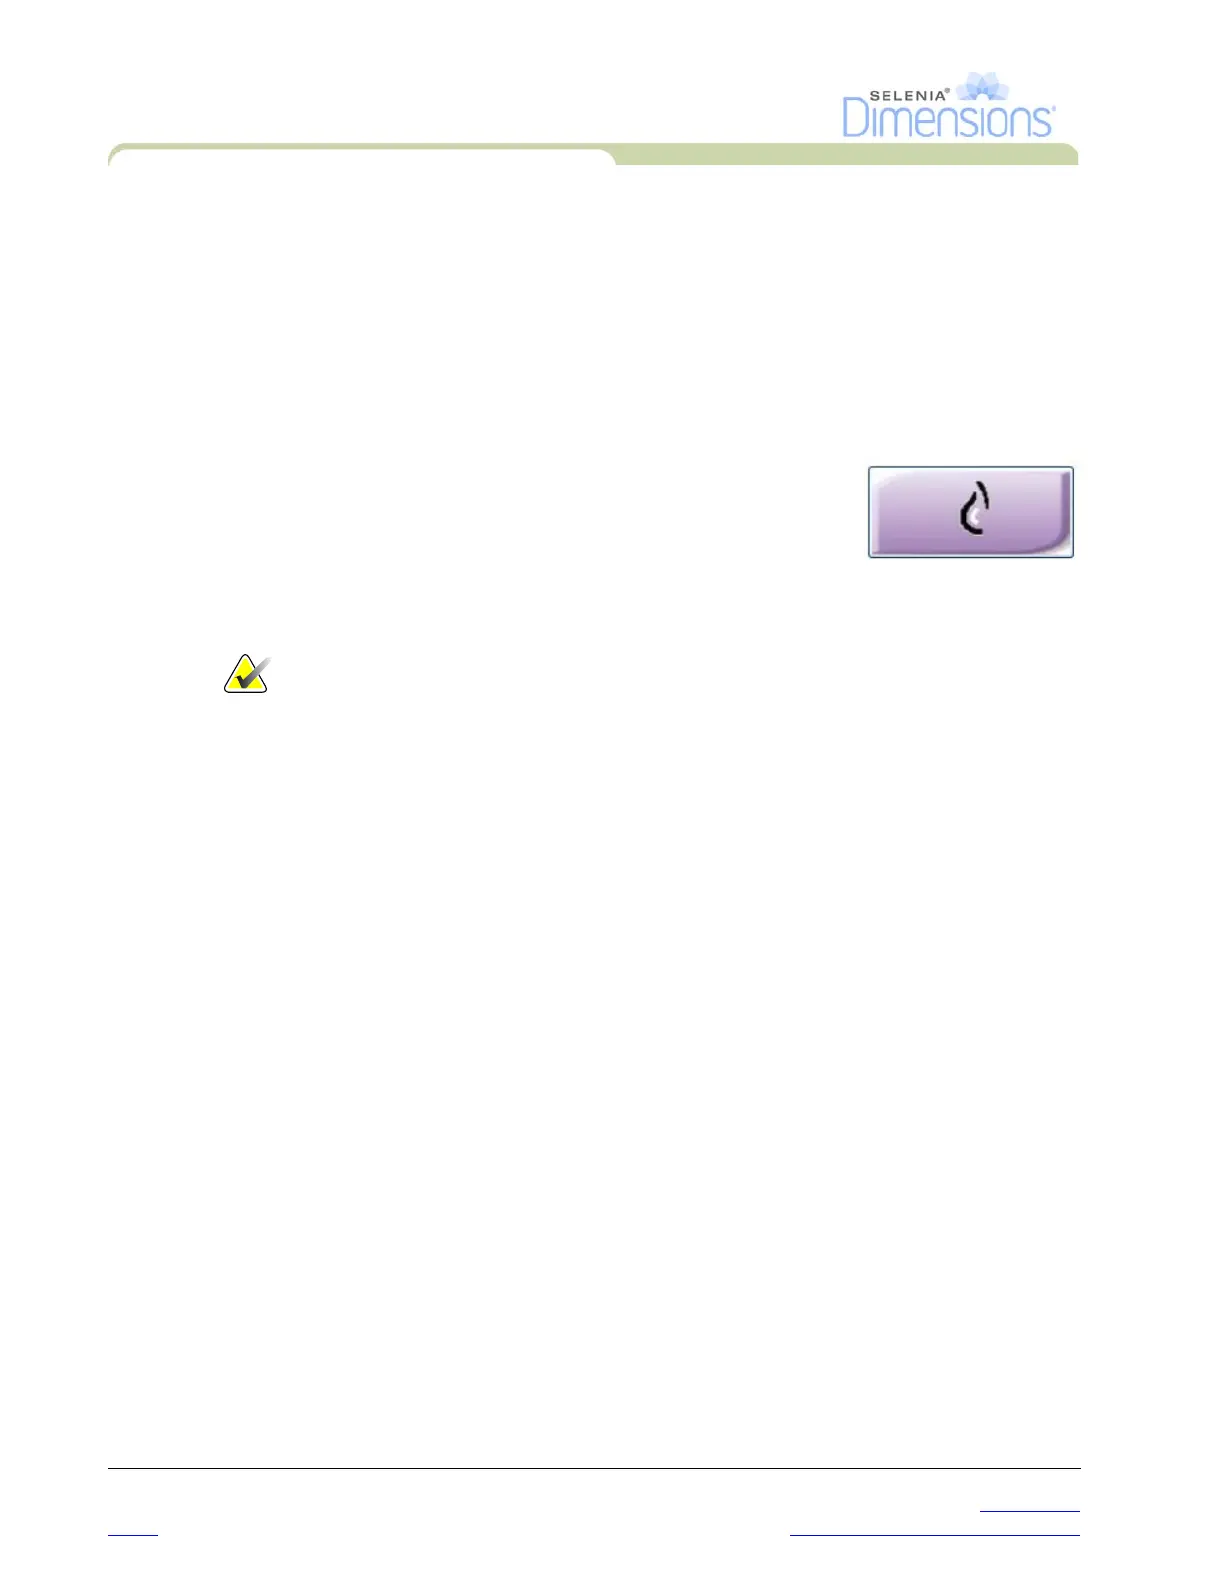
4.2 How to Use the Implant Present Button
The Implant Present button is above the Accept button on the
Procedure screen. This button applies special implant processing
to the implant and the implant displaced views, and changes the
“Implant Present” DICOM tag in the image header. When this
button is selected, a checkmark appears on the button.
Select the Implant Present button for both implant and implant displaced views before you
acquire the image.
Note… The Implant Present button is automatically selected if there is an ID
view in the open procedure.
4.3 How to Acquire an Image
See Chapter 6, page 59 for information about clinical procedures.
1. Select a view from the thumbnail images at the bottom of the screen.
2. Press and hold the x-ray button for the complete exposure. During the exposure, a
System Message appears, a tone sounds, and the x-ray indicator on the control panel
lights to indicate x-ray emission.
3. The image displays when the x-ray is complete. You must select how to complete the
acquisition.
• You can Accept the image. The locked image transmits to output devices with all
attributes and marks.
• You can Reject the image. The Preview closes. You can repeat the rejected view, or
select another view.
• You can Pend the image. The image saves for future review.
4. Repeat the steps 1 to 3 for each view.