MAINTENANCE
8.22
ThinPrep™ 5000 Processor with AutoLoader Operator’s Manual
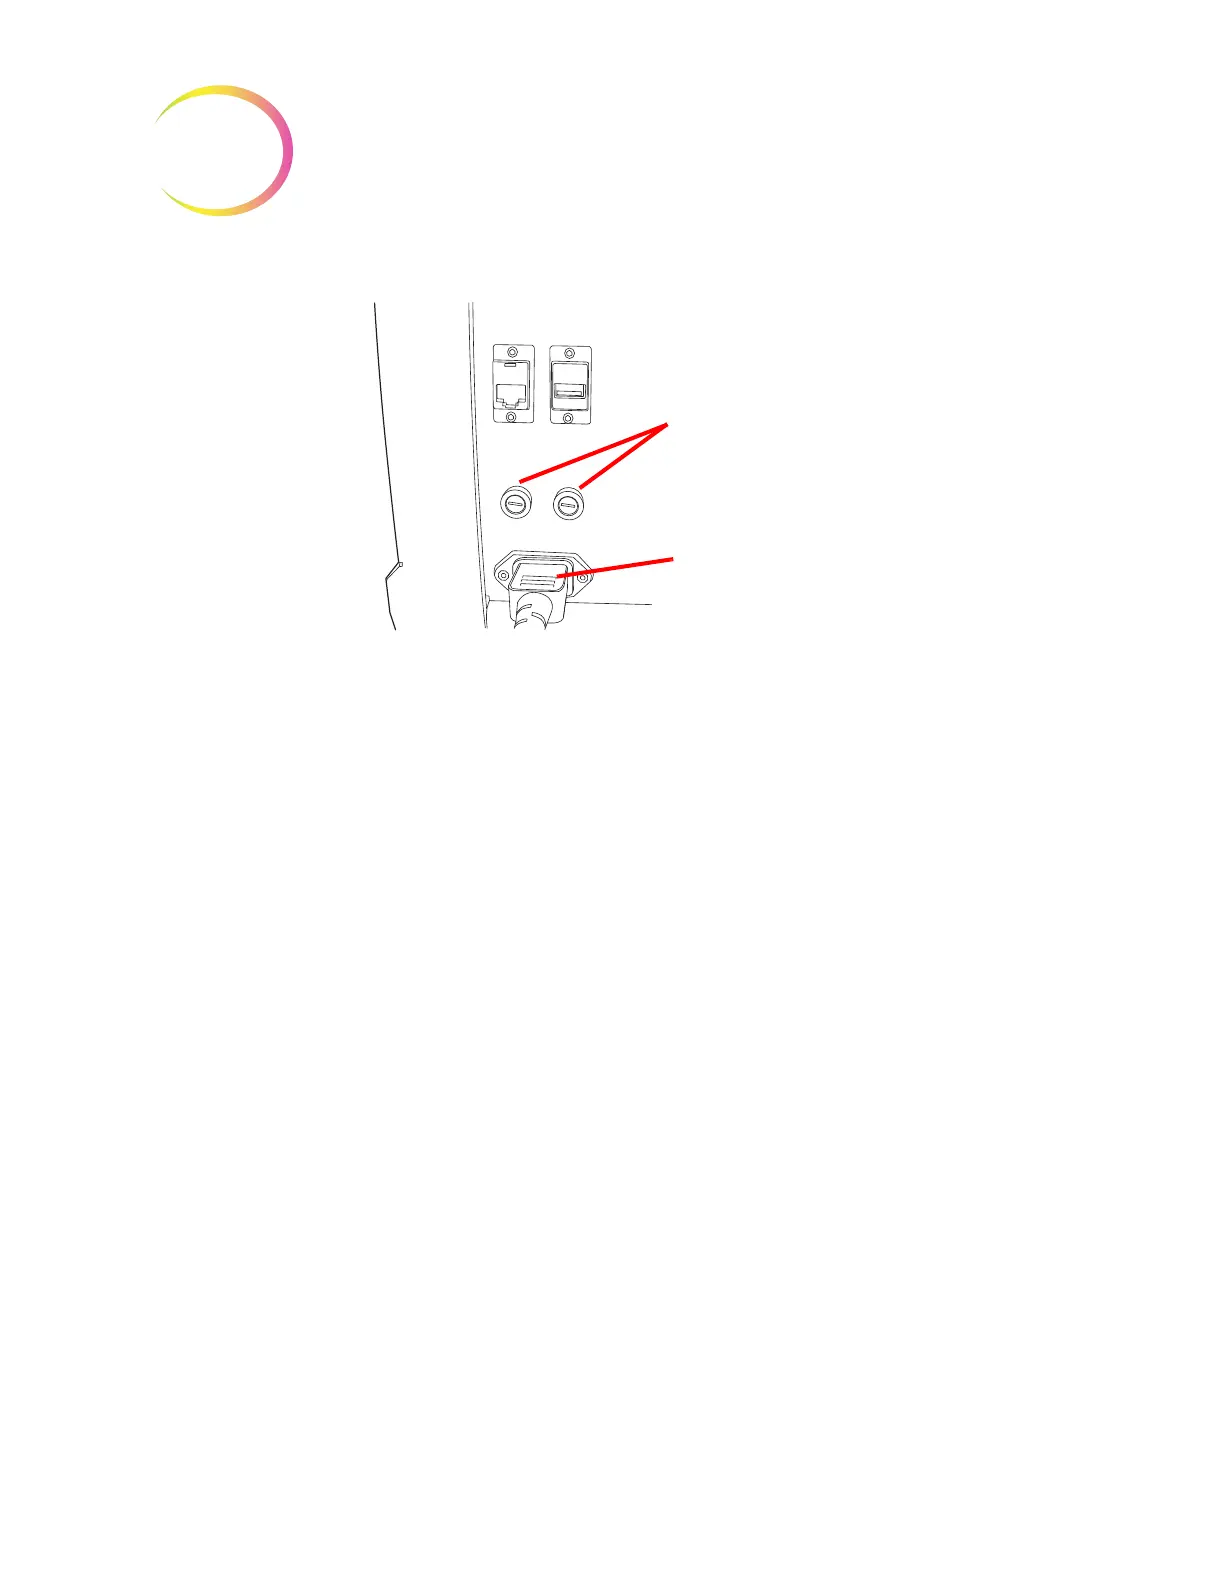
Figure 8-25 Location of User Accessible Fuses
1. Make sure the power switch is in the OFF position.
2. Remove the power cord from the receptacle on the instrument.
3. Using a small, flat-head screwdriver, turn each fuse head counterclockwise 1/4 turn. The
fuse, which is slightly recessed in the fuse holder when latched, will pop forward slightly
when it has been turned far enough to be released from the catches.
4. Pull the fuses out of the receptacles. They may be discarded as regular waste.
5. Insert two new 15A/250V 3AB SLO-BLO fuses (P/N 53247-015).
Note:
Hold the fuse by the metal ends.
6. Using the flat-head screwdriver, press each fuse cover into the receptacle while turning
clockwise 1/4 turn. The fuse can be felt to engage with the catches and it will be slightly
recessed into the fuse holder.
7. Reattach the power cord to the instrument.
8. Turn the instrument power switch ON.
If the instrument fails to operate, contact Hologic Technical Support.
AutoLoader fuses
WARNING:
Instrument Fusing.
There are also two user-accessible fuses located on the rear of the AutoLoader, just above the
AutoLoader power cord module (Figure 8-25). If the AutoLoader fails to operate, the fuses can be
replaced as outlined below. Hologic Field Service can replace the fuses as needed.
1. Shut down the processor. Make sure the power switch is in the “off” position.
2. Remove the power cord from the receptacle on the processor.