101
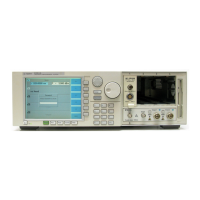
Tunable Laser Sources
How to Set the Power
How to Set the Optical Output
1 Move to [OUTPUT] and press ENTER.
2 Move to your chosen optical output and press ENTER.
How to Enable the Optical Output
3 Move to [STATE] and press ENTER.
4 Move to <ON>, by using the cursor key, and press ENTER to
enable the output. The LED beside the optical output is lit
constantly.
NOTE If you enable the laser output for a module with two optical outputs by
pressing the ACTIVE hardkey on the module’s front panel, you
automatically choose the optical output for that module. For example,
if you press the A
CTIVE hardkey beside Output 1, the Low SSE optical
output, you choose <LOW SSE> as the optical output, the LED beside
the Output 1 lights constantly, and you see the screen in Figure 5-2.
Furthermore, if you then proceed to press the ACTIVE hardkey beside
Output 2, the High Power Output, you choose <BOTH (MASTER:1)> as
the optical output, the LED beside the Output 2 flashes.
If you press the ACTIVE hardkey beside a flashing LED, you disable the
unregulated optical output. If you press the ACTIVE hardkey beside a
constantly lit LED, you disable both optical outputs.