42
Unite
®
Panel System - Gallery Panel Trim Installation
Assembly Instructions
Assemble units as described herein only. To do otherwise
may result in instability. All screws, nuts and bolts must be
tightened securely and must be checked periodically after
assembly. Failure to assemble properly, or to secure parts
may result in assembly failure and personal injury.
Gallery Panel In-Line
Change-of-Height Trim and
Intersection Cap Installation
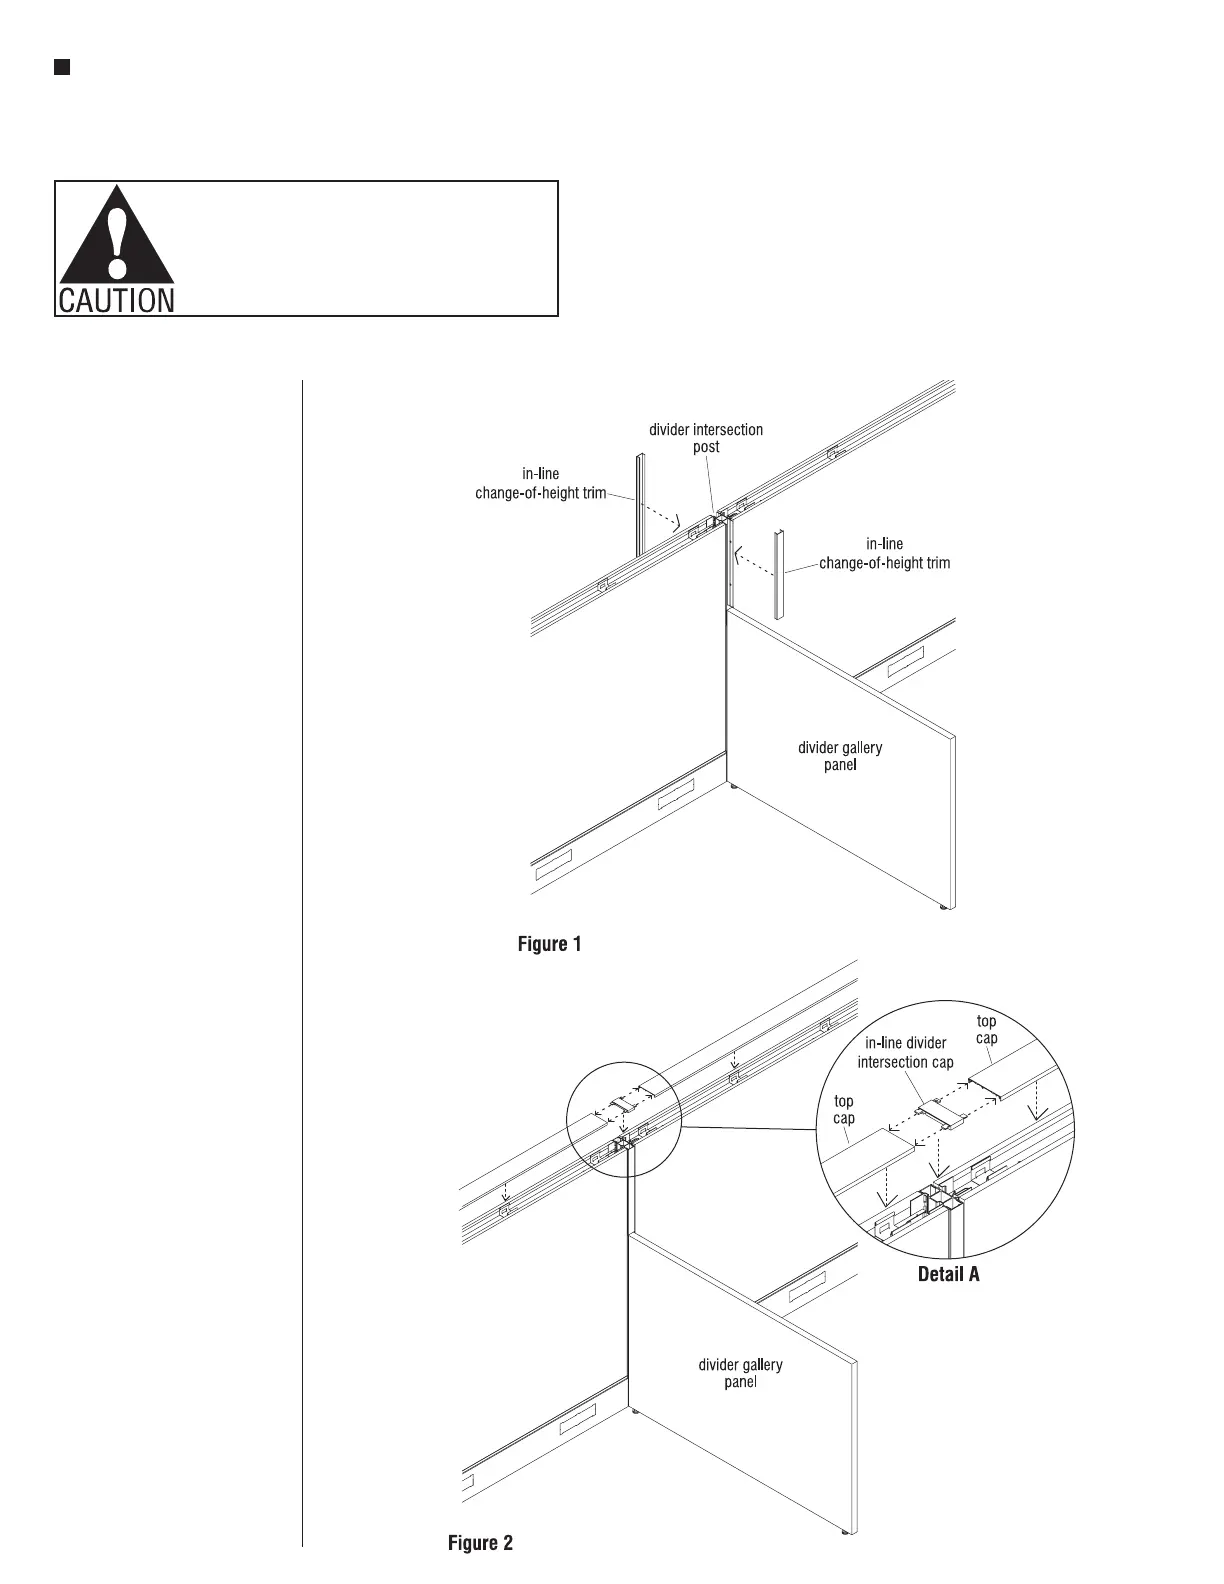
Note: In-line change-of-height
trim is used above a divider gallery
panel if there is a change-of-height
between the gallery panel and Unite
panel run. All 29” high divider
gallery panels require this trim.
Also used on exposed post, at the
opposite side if there is only one
gallery panel used at an intersection.
1. The trim has no top or bottom, so
simply snap the correct length
in-line vertical trim into the
divider post as illustrated
(Figure 1).
Note: Both sides of a divider
gallery panel intersection may
require trim. The height of each
side could be different. A divider
gallery panel could be used on
one side but not the other. In this
case, the back-side will require
the in-line trim as well (Figure 1).
2. Install in-line divider intersection
cap horizontal tabs into Unite
panel top caps and then snap into
place (Figure 2 & Detail A).
 Loading...


