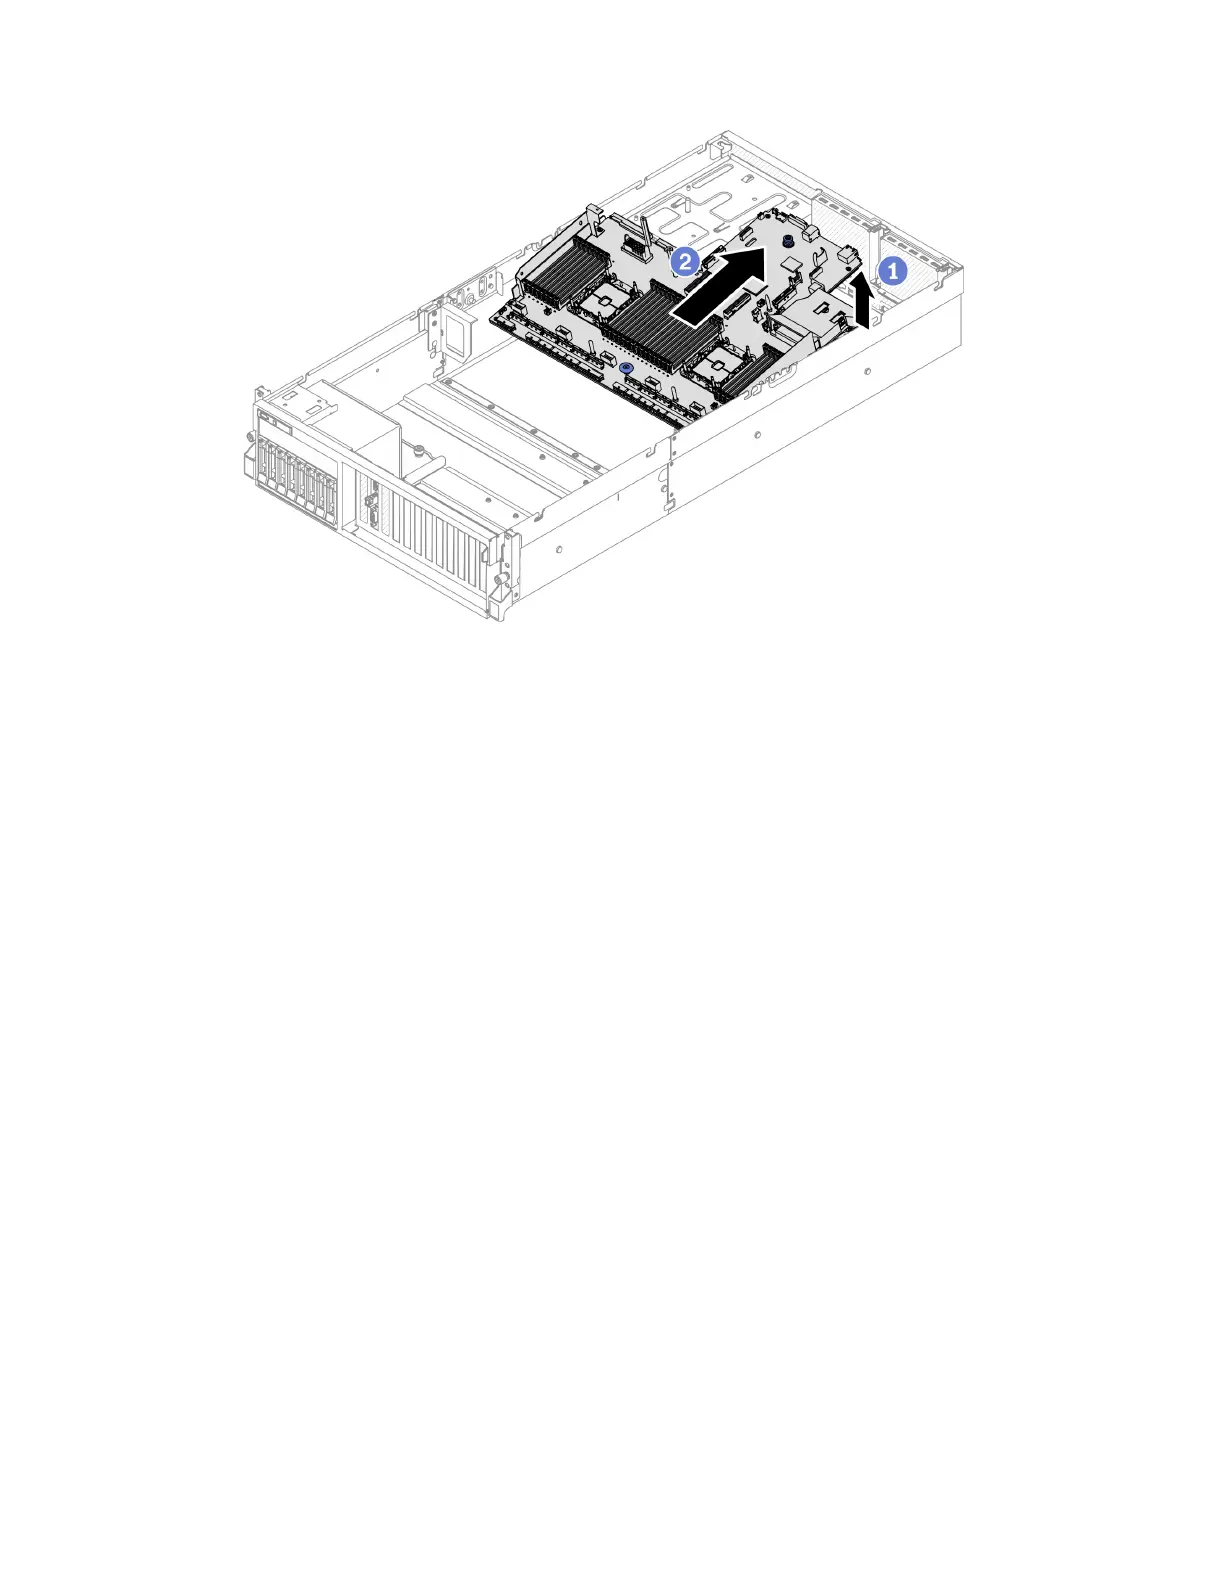
Figure 155. Removing the system board
After you finish
• If you are instructed to return the component or optional device, follow all packaging instructions, and use
any packaging materials for shipping that are supplied to you.
Important: Before you return the system board, make sure that you install the CPU socket covers from
the new system board. To replace a CPU socket cover:
1. Take a socket cover from the CPU socket assembly on the new system board and orient it correctly
above the CPU socket assembly on the removed system board.
2. Gently press down the socket cover legs to the CPU socket assembly, pressing on the edges to avoid
damage to the socket pins. You might hear a click on the socket cover is securely attached.
3. Make sure that the socket cover is securely attached to the CPU socket assembly.
• If you plan to recycle the component, see “Disassemble the system board for recycle” on page 363.
Install the system board
Follow instructions in this section to install the system board.
About this task
Important: Removing and installing this component requires trained technicians. Do not attempt to remove
or install it without proper training.
Attention:
• Read “Installation Guidelines” on page 121 and “Safety inspection checklist” on page 122 to ensure that
you work safely.
• Touch the static-protective package that contains the component to any unpainted metal surface on the
server; then, remove it from the package and place it on a static-protective surface.
Watch the procedure. A video of the installation and removal process is available:
218
ThinkSystem SR670 V2 Maintenance Manual

 Loading...


