Chapter 4 – ‘1+N’ System Liebert Hipulse E Installation Manual
Single or '1+N' UPS System
Page 4-8 (07/04)
4.3.1.1 Installation Procedure (Common Battery)
WARNING
If differential circuit breakers are used on UPS inputs, be sure to use a common device for all input lines. If the
configuration has inputs from separate mains, a common device will also be required for all the System’s bypass
mains.
t the instant of electrical connection, the current may not be split instantaneously and this may cause the
residual current circuit-breakers to trip separately.
Refer to the general diagram shown in figure 4-3.
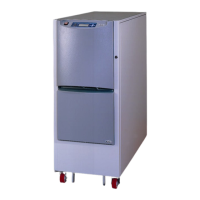
The 1+N parallel system with common batteries (only for two units) also uses the ”Common Battery Box” optional kit
(box type depends on UPS dimensions). This box uses two isolators to connect the battery to the two UPS modules,
and thus individually isolate the two modules from the system.
The box is also designed to supply the two UPS modules with a battery current measurement (charge or discharge).
The Common Battery includes protection fuses of the DC power supply (F1&2):
Type GL = Size 10x38 – 1A\500V.
4.3.1.2 Connection between UPS and “Common battery box”
Refer to the diagram shown in figure 4-5 and the attached table.
1. POWER CABLES:
For the connection between the UPS modules and the common battery box use cables with the section indicated in the
Installation Electrical (table 2-1).
2. AUXILIARY CABLES:
The auxiliary cables of the common battery box must be screened and double insulated.
The screen is connected to the earth of the common battery box.
Use multiple-core shielded cables with a section of 0.5 to 1 mm
2
.
Connect the cables with the Fast-on 6.3x 0.8 mm terminals (female).
The temperature sensor, contained in a bag inside the Common Battery Box, must be mounted in the battery cabinet
next to the sensor which was previously installed, and connected to the Common battery box through cable “B” as
illustrated in figure 4-5.
Note: Power and auxiliary cables are not included in the supply.